
Knitted Poncho, Take 2
Since I started knitting El’s poncho, Em has been asking every day, “Where’s my poncho?” I finally finished it on Wednesday. She has been wearing it almost constantly since then. I even had to wash it yesterday after she spilled milk on it! If you missed my earlier post about making one for my older daughter, you can read it to see why I started knitting again recently: Knitted Poncho.
One of the reasons that I am glad that I made these ponchos is because the girls can put them on all by themselves quickly and easily when they want to go outside—no buttons and no zippers! If you knit and know a little one who could use one of these for Christmas, I highly recommend this project, and I will share the pattern (includes two sizes), yarn information, and a few tips in this post.

Although I learned to sew and crochet when I was a child, I did not start knitting until I was in my early 30s. At first, I did not think that I would ever learn. Many times, I nearly gave up because I could not figure it out! But I was trying to teach myself from a little pamphlet that came with the yarn I bought. When I asked someone to teach me, it went much better. Eventually, after several years of knitting many dishcloths and a couple of baby blankets, I decided that I wanted to take it to the next level and registered for knitting classes at a local knitting shop about six years ago. It was a game changer! The two most important things I learned were how to follow a pattern and how to correct my mistakes. Always before, whenever I made a mistake, I would start my project again…so I didn’t actually finish many knitting projects, but I started them over and over. If I had not taken those classes, I doubt that I would have had the courage to start this knitting project because I had not knitted much in the past five years of motherhood. Mistakes are inevitable and learning how to fix them makes knitting go more smoothly.
Although I cannot teach you how to correct your knitting mistakes in a blog post, I can share the other tip about following a pattern that I learned in the class. I had always struggled to follow a pattern because I would get lost in it—which row am I on? What am I doing? But now, if I start by using the pattern to write out a guide like the one seen in the notebook below, I know exactly where I am in the pattern and what I am supposed to be doing on each row. I also keep the pattern with my handwritten guide to refer to when I get to a row that is more than simple knit or purl stitches. My knitting teacher used these sticky notes with a grid to attach her guide directly to the pattern. Either method works!
Here is the original pattern, which you can download for free here: Premier Sweet Tooth Poncho. If you want to order the yarn from Premier, I have included a 15% discount code link at the end of the post.


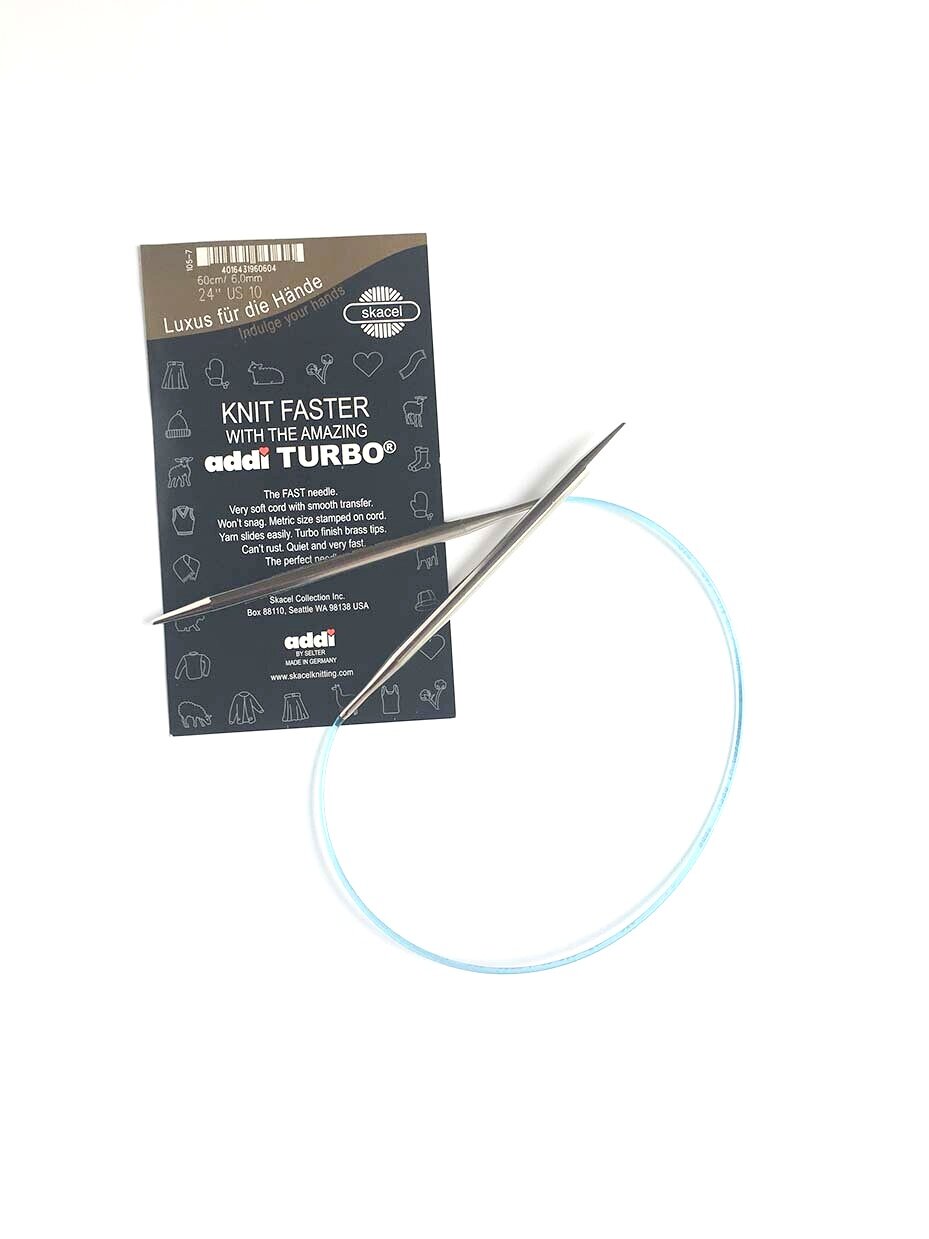
I only had 24” circular size 10 needles in my collection, but before I ordered size 10 16” circular needles, I checked my gauge by knitting a swatch and comparing it to the pattern.
The Addi knitting needles have been my favorite needles since I learned to knit. I like how they glide through the yarn. Most of my needles are the Addi Turbo shown in the second picture below; however, this time, I decided to try the Addi Rocket needles because the tip is more pointed than the Turbo needles, and I must say that it was a good choice. The sharp tip really helped when I was getting the project started, and when I changed to the 24” inch needles when the 16” became full, I noticed the difference between the sharp tips and the blunt tips. Side note: I use circular needles for all of my projects—not just knitting-in-the-round. I find the circular needles are easier to hold, and after too many times of accidentally letting go of a straight needle and having it fall out of my stitches, I decided to use circular needles for all projects.

These ponchos that I made were the first knit-in-the-round projects that I successfully made, and I discovered why I hadn’t been successful in the past: I had not been using the right length of circular needles, which was creating too much space between my rounds, which simply didn’t work. So, always make sure that you have the right size and right length of needles!
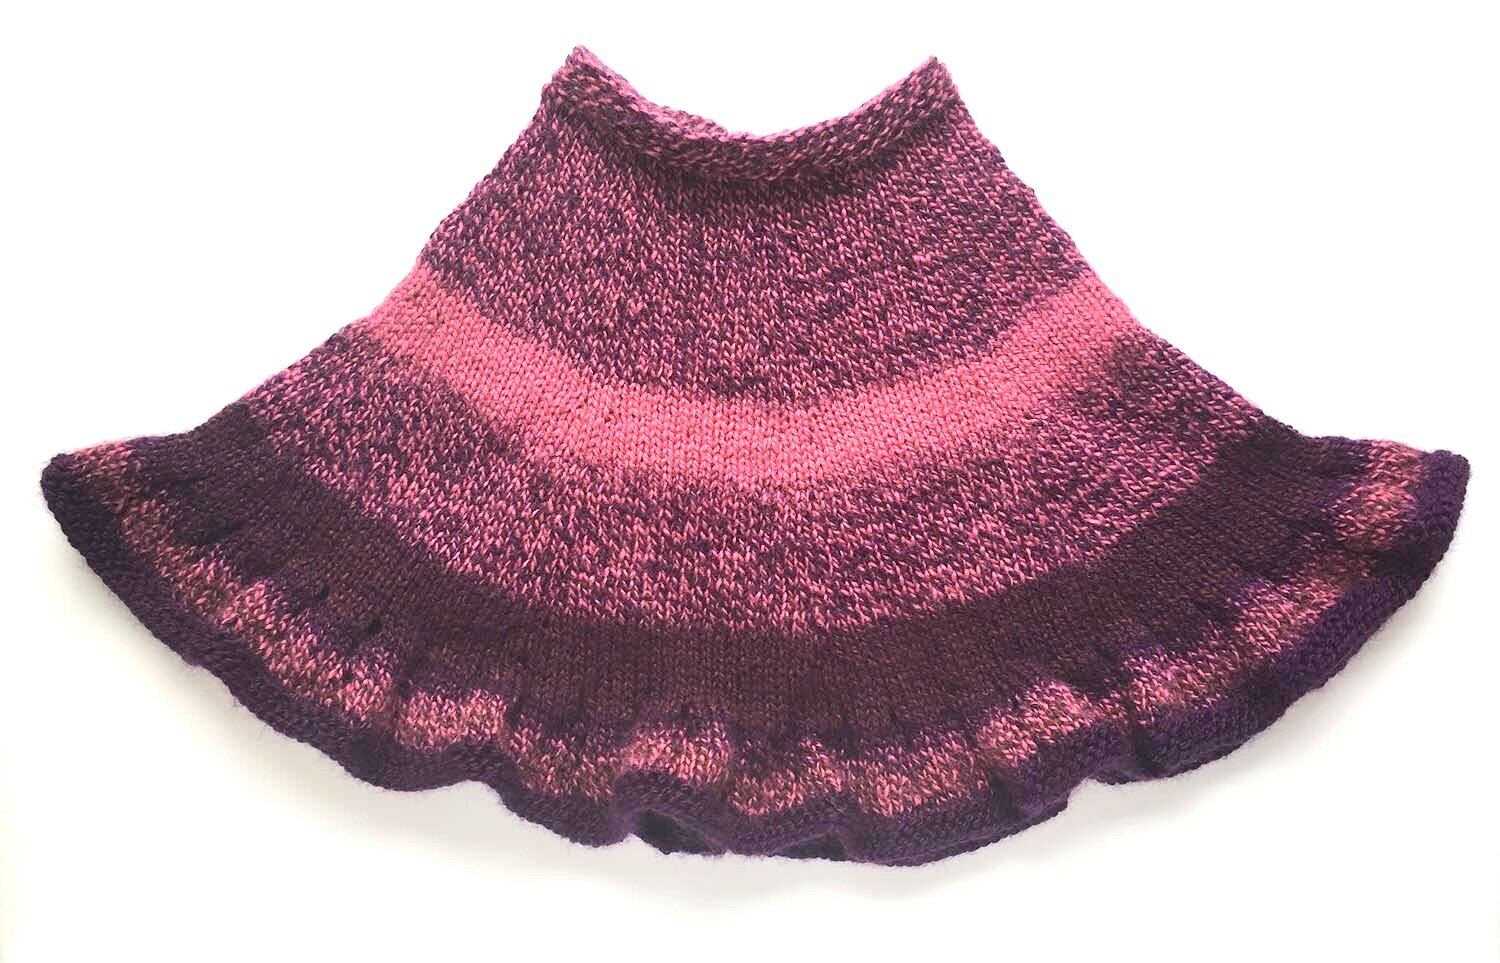
This project starts at the top and is knitted on one piece. The increases are made by using a make one stitch. I had forgotten what that stitch was so I went to my favorite website for knitting tutorials to refresh my memory. The ruffle is made by using a yarn over to increase the stitches. The project ends as it begins with a garter stitch of knitting and purling alternate rows.
It was a fun project to make! Here, again, is the finished result:
And because I formed the habit of picking up my knitting whenever I have a moment where my hands need something to do, I will be starting more projects…
I noticed that Premier Yarns has an anti-pilling yarn, which I want to try now. I also have some un-dyed organic cotton yarn that needs to be used. Hmm, what to make?
What are some of your favorite knitting projects? Do you have any favorite types of yarn?
If you want to try Premier Yarns, use this link to receive a 15% discount code. As of today, however, the yarn used in this project is on sale for 4 skeins for $10. I was able to get the yarn for both projects, including shipping, for less than $20!
Disclosure: This post contains affiliate links. As an Amazon Associate I earn from qualifying purchases. Also, if you purchase from Premier Yarns using the referral link, I will receive reward points.