
A Dress Makeover

In today’s post, I am going to show you the transformation of a dress that I took from a baggy/frumpy/awkward fit on my body to something that makes me feel comfortable and happy when I wear it. Note: the coordinating fabric that I used for the modifications is one that we have in stock. If you are local, and are interested in purchasing this or other linen fabrics, please reach out to see what we have available! (We are still trying to find a space for a pop-up event in the Harrisonburg, VA area!)

Recently, a friend sent a message about the woes of fitting room mirrors. And her comment evoked a personal response. I hate shopping. I have always hated clothes shopping. It started back when I was a child and could not find shoes that fit comfortably because of the structure of my feet, which had narrow heels and high arches. And, trust me, it frustrated my mom also!
When I became an adult and started shopping for ready-to-wear garments, I began to feel extreme frustration with the lack of options for my body shape. No matter what my weight range or size range, ready-to-wear clothing has never fit me well.
I have narrow shoulders and wide hips, and most of my life I had a fairly small waist. Modern clothing isn’t made for such proportions. Even at my smallest at size 2 for my top, I needed a size 4 for my hips, but then the waist was too big…and the frustration has continued from my maidenly, willowy curves in my 20s and 30s to my matronly mid-40s body.
I have begun to wonder if body image issues have been caused, not only because of comparison to supermodels, because of the frustration of poorly-fitting ready to wear clothing. When clothing ready-to-wear clothing doesn’t fit our bodies, it makes us feel that we aren’t normal. The fast fashion industry has robbed us of the joy of wearing custom-made, well-fitting garments.
Today, I am going to tell you the story about a dress that went from ready-to-wear to customized, based on my personal style preferences.
When my Granddaddy passed away last fall, I didn’t have anything suitable to wear to his funeral. I had been sick for weeks, and although we knew that he was on his death bed, I did not have the energy to make a dress to wear.
After he passed away, I knew that desperate times called for desperate measures. I ordered a dress from Amazon. Because fabric content is important to me, I searched for a dress with natural fibers, and found this linen/cotton blend. And while this dress style is very popular and looks great on many women, it does NOT work for my body as I discovered upon fitting it on when it arrived. And, yes, it arrived in time, but barely.
(I saw that it was out for delivery and went to the mail station near our house to ask for it from the postal worker. Fortunately, it was one of the top packages in the large bin of packages she had to deliver. I brought it home, ran it through a quick wash cycle and put it on to wear to the family visitation evening while is was still slightly damp.)

The dress made me feel awkward and frumpy and ugly. But I had to wear it anyway. And I continued to wear it for a couple of months after his funeral, but each time, I felt like something was wrong, and the idea formed in my mind to cut it apart and redesign it.
Goals I wanted to accomplish: make it longer (because I feel most comfortable in floor-length skirts or pants), add some detail to the top, make the bodice more fitted, and remove the bulk of excess gathers around the waist.
In February, I spent a day sewing with my friend and business partner, Brookeneil. I asked her to take some before photos so that I would have a comparison once finished. Isn’t her sewing room gorgeous?
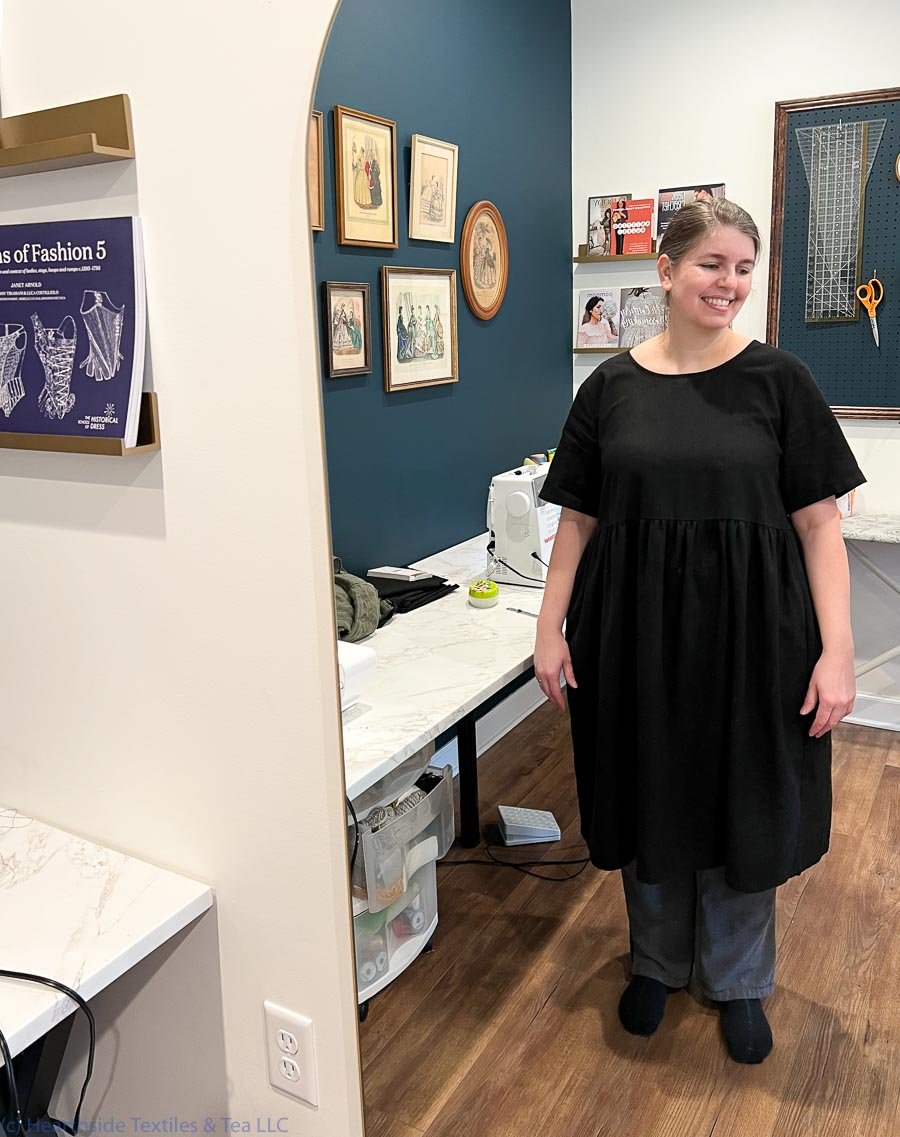
Photo credit: Brookeneil Tate
And, while I won’t bore you with ugly process photos, I will outline the steps that I took to reach the end result (after Brookeneil helped me measure how much I needed to adjust the bodice for a good fit while I was wearing the dress since I don’t have a dressmaker’s form):
1) Removed the stitching at the waist seam to separate the bodice from the skirt.
2) Removed the stitching at the neckline.
3) Cut the bodice in half (both front and back).
4) Added pintucks to the front on both sides of the bodice.
5) Sewed the back bodice together with a seam allowance to get the fit I wanted.
6) Added an inset of the gray fabric in the front bodice.
7) Removed the sleeves and added bust darts.
8) Gathered the sleeves and sewed them back in place.
9) Cut the neckline to create a square-neck shape.
10) Added a bias trim to the neckline.
11) Added a trim to the sleeves.
12) Cut a section of fabric from the front skirt to make it narrower to eliminate gathers across the front. (I used that piece to create an elastic channel between the bodice and skirt.)
13) Sewed the skirt back together and added gathering strings.
14) Assembled the elastic channel and skirt.
15) Added a piece of gray fabric at the bottom of the skirt to lengthen it, and added pintuck detail at the bottom to match the pintucks on the bodice. I intentionally added gathers to the skirt extension only at the back to give a more streamline appearance on the front.
16) Of course, the final step was to hem the skirt!
While it was almost as involved as making a dress from start to finish, I am glad that I put the effort into making this dress into something that works better for me.
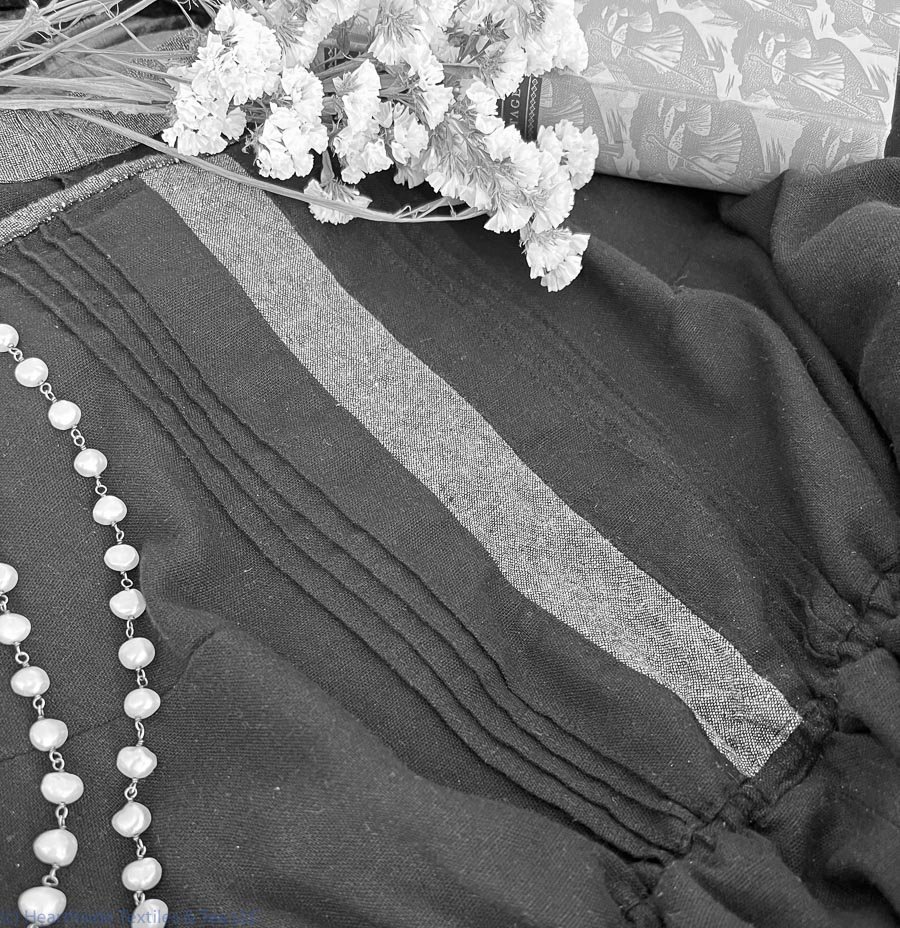
Pintucks and inset on bodice.

Pintucks on skirt.
A day or so after I finished the dress makeover, my husband and I went out for a date to downtown Harrisonburg. We had brunch at Heritage Bakery and Cafe, which was delicious and lovely. Because we wanted to give our table for other cafe customers when we were finished eating, we relocated ourselves to another part of the Hardesty-Higgins House to continue our conversation. I realized that the setting was perfect for Ryan to take a few photos of the dress in the room where we were sitting!
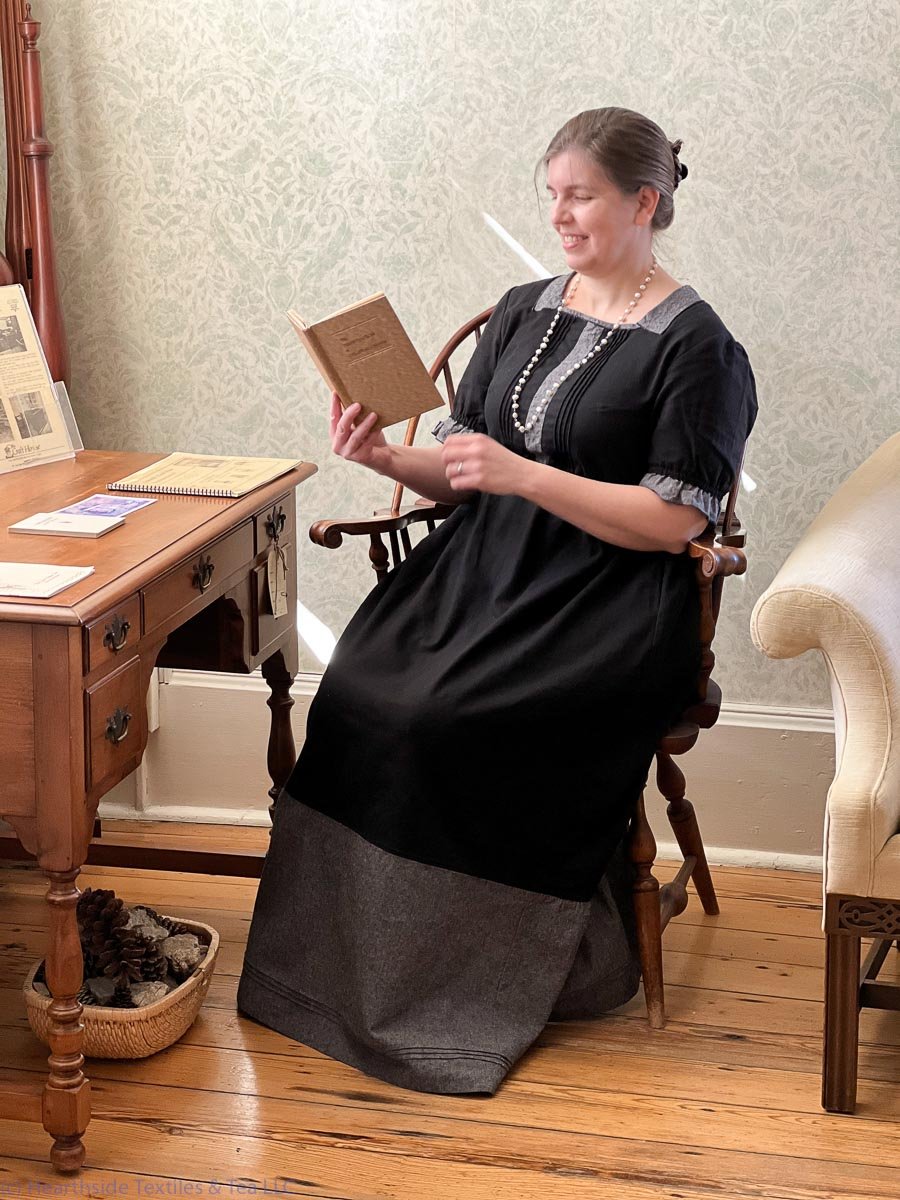
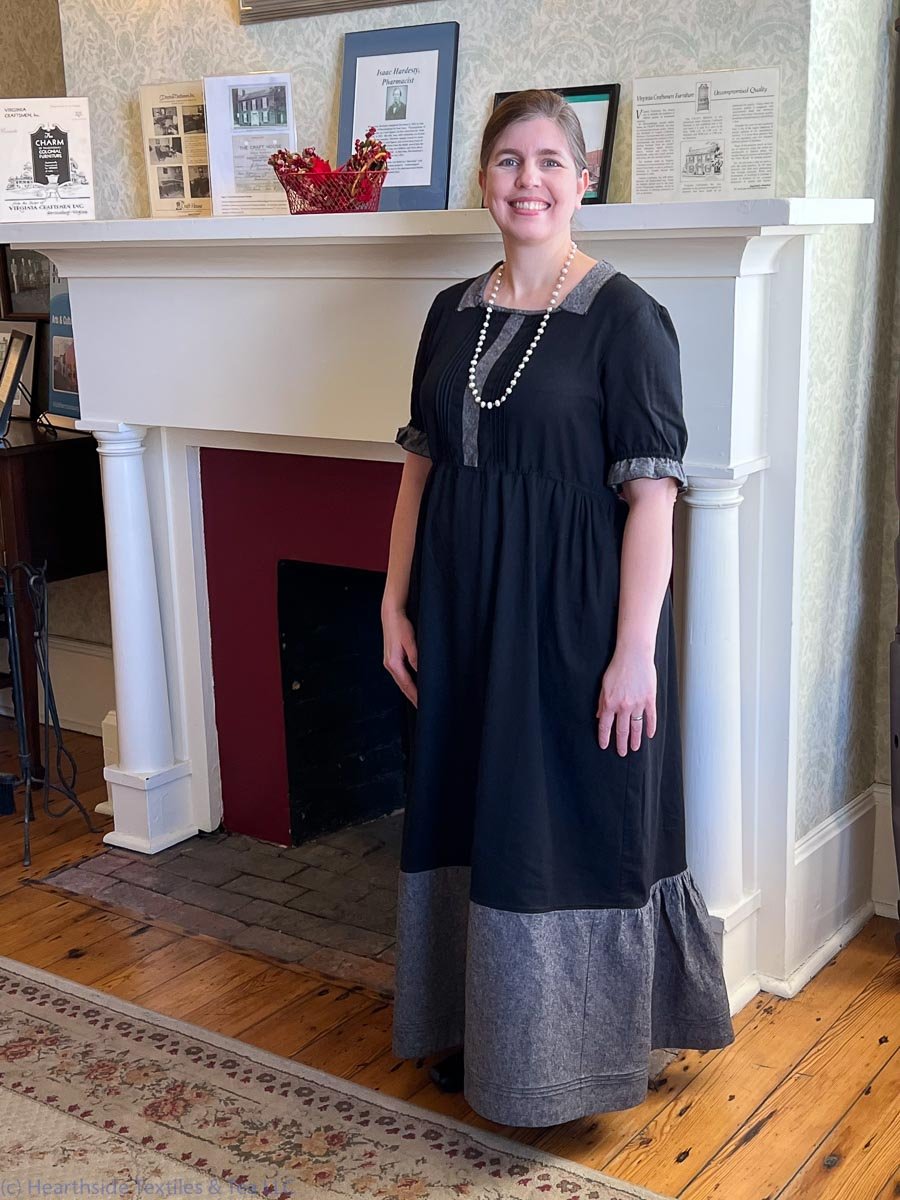
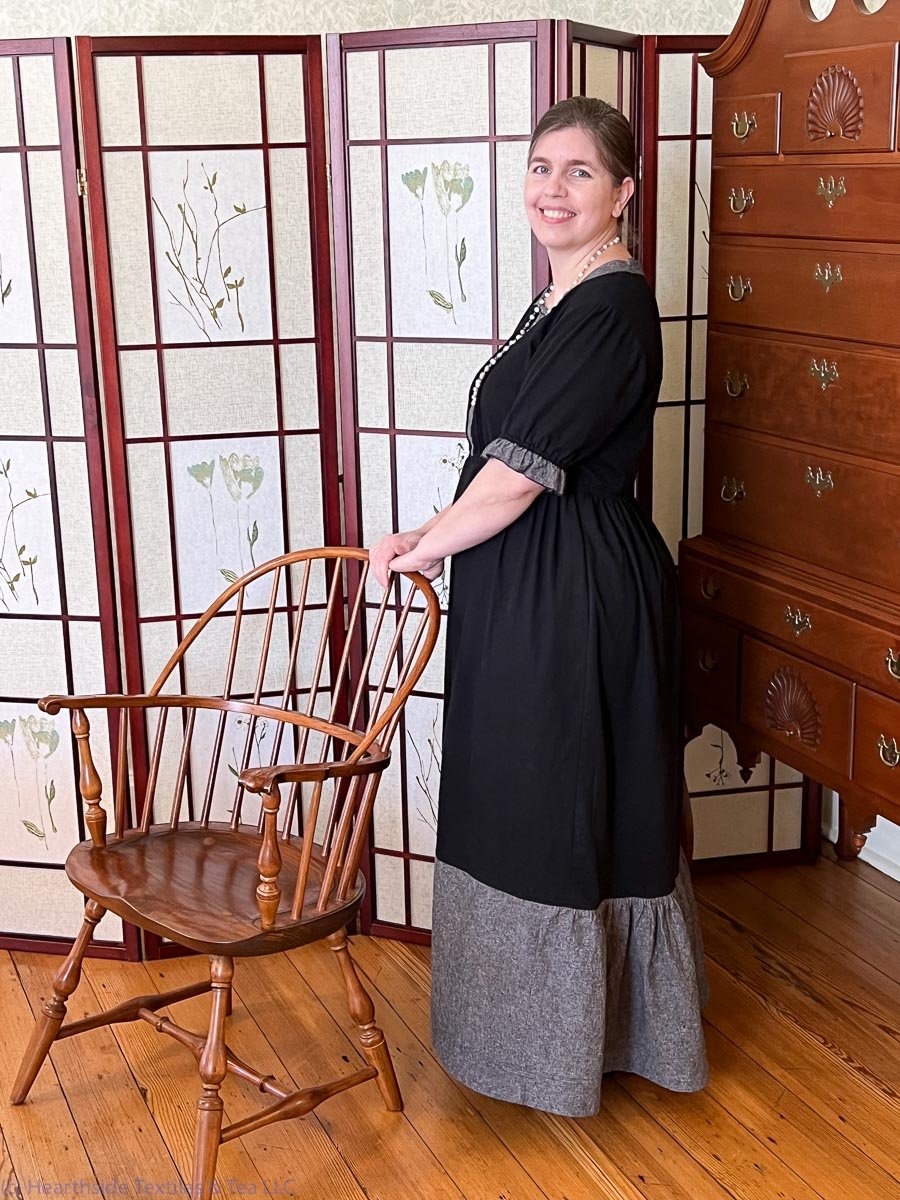
Now, I love wearing the dress because I feel like myself in it.
I was planning to share some wardrobe advice and tips, but because this post is so long, I will save that to share another time.
Other upcoming projects that I will share are as follows (not necessarily in order):
Edwardian-style walking skirts that Brookeneil and I made;
The first quilt my Grandmother made (a double four patch with feed-sack fabrics); and
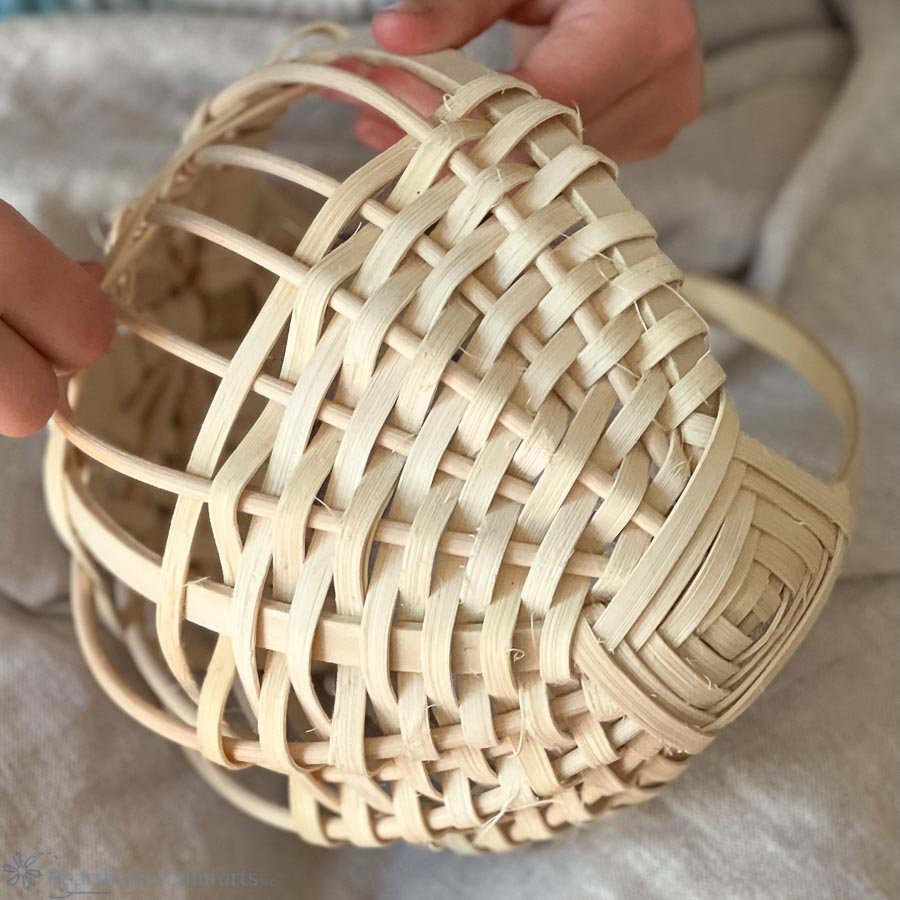
The girls and I tried our hand at basket weaving this past week!

Have a great week! And thanks for following along with me even though writing blog posts has had to take a lower priority now that I am back to working in public accounting. I love sharing my creative journey with you.
Disclosure: This post contains affiliate links. As an Amazon Associate, I earn a commission on qualified purchases at no additional cost to you.