
A Gift for Grammy: A Living Memory Quilt
Today, I am sharing what I made last week; however, I waited to post it because I wanted to surprise my mom on her birthday last Friday.

My mom is one of the best gift givers I have ever known. Her gifts are always just what I need or want, but I have so much trouble reciprocating that thoughtfulness in giving gifts to her. I wanted this year to be different. And the idea of a living memory (I think I made that term up) quilt came to mind. My youngest brother’s wife agreed to help, and we decorated squares of fabric with our children’s handprints, Bible verses, and other small drawings to sew together to make a small quilt to give to my mom. I was planning for it to be a throw-size quilt, but after seeing it, Mom said that she would prefer to hang it on the wall in her bedroom. So, I will be adding a rod pocket on the back after it’s quilted.
This post is not a quilt tutorial—that will be in an upcoming blog post. Rather, this post is to provide you with the idea and I share the process and tips on what I learned.
The Process
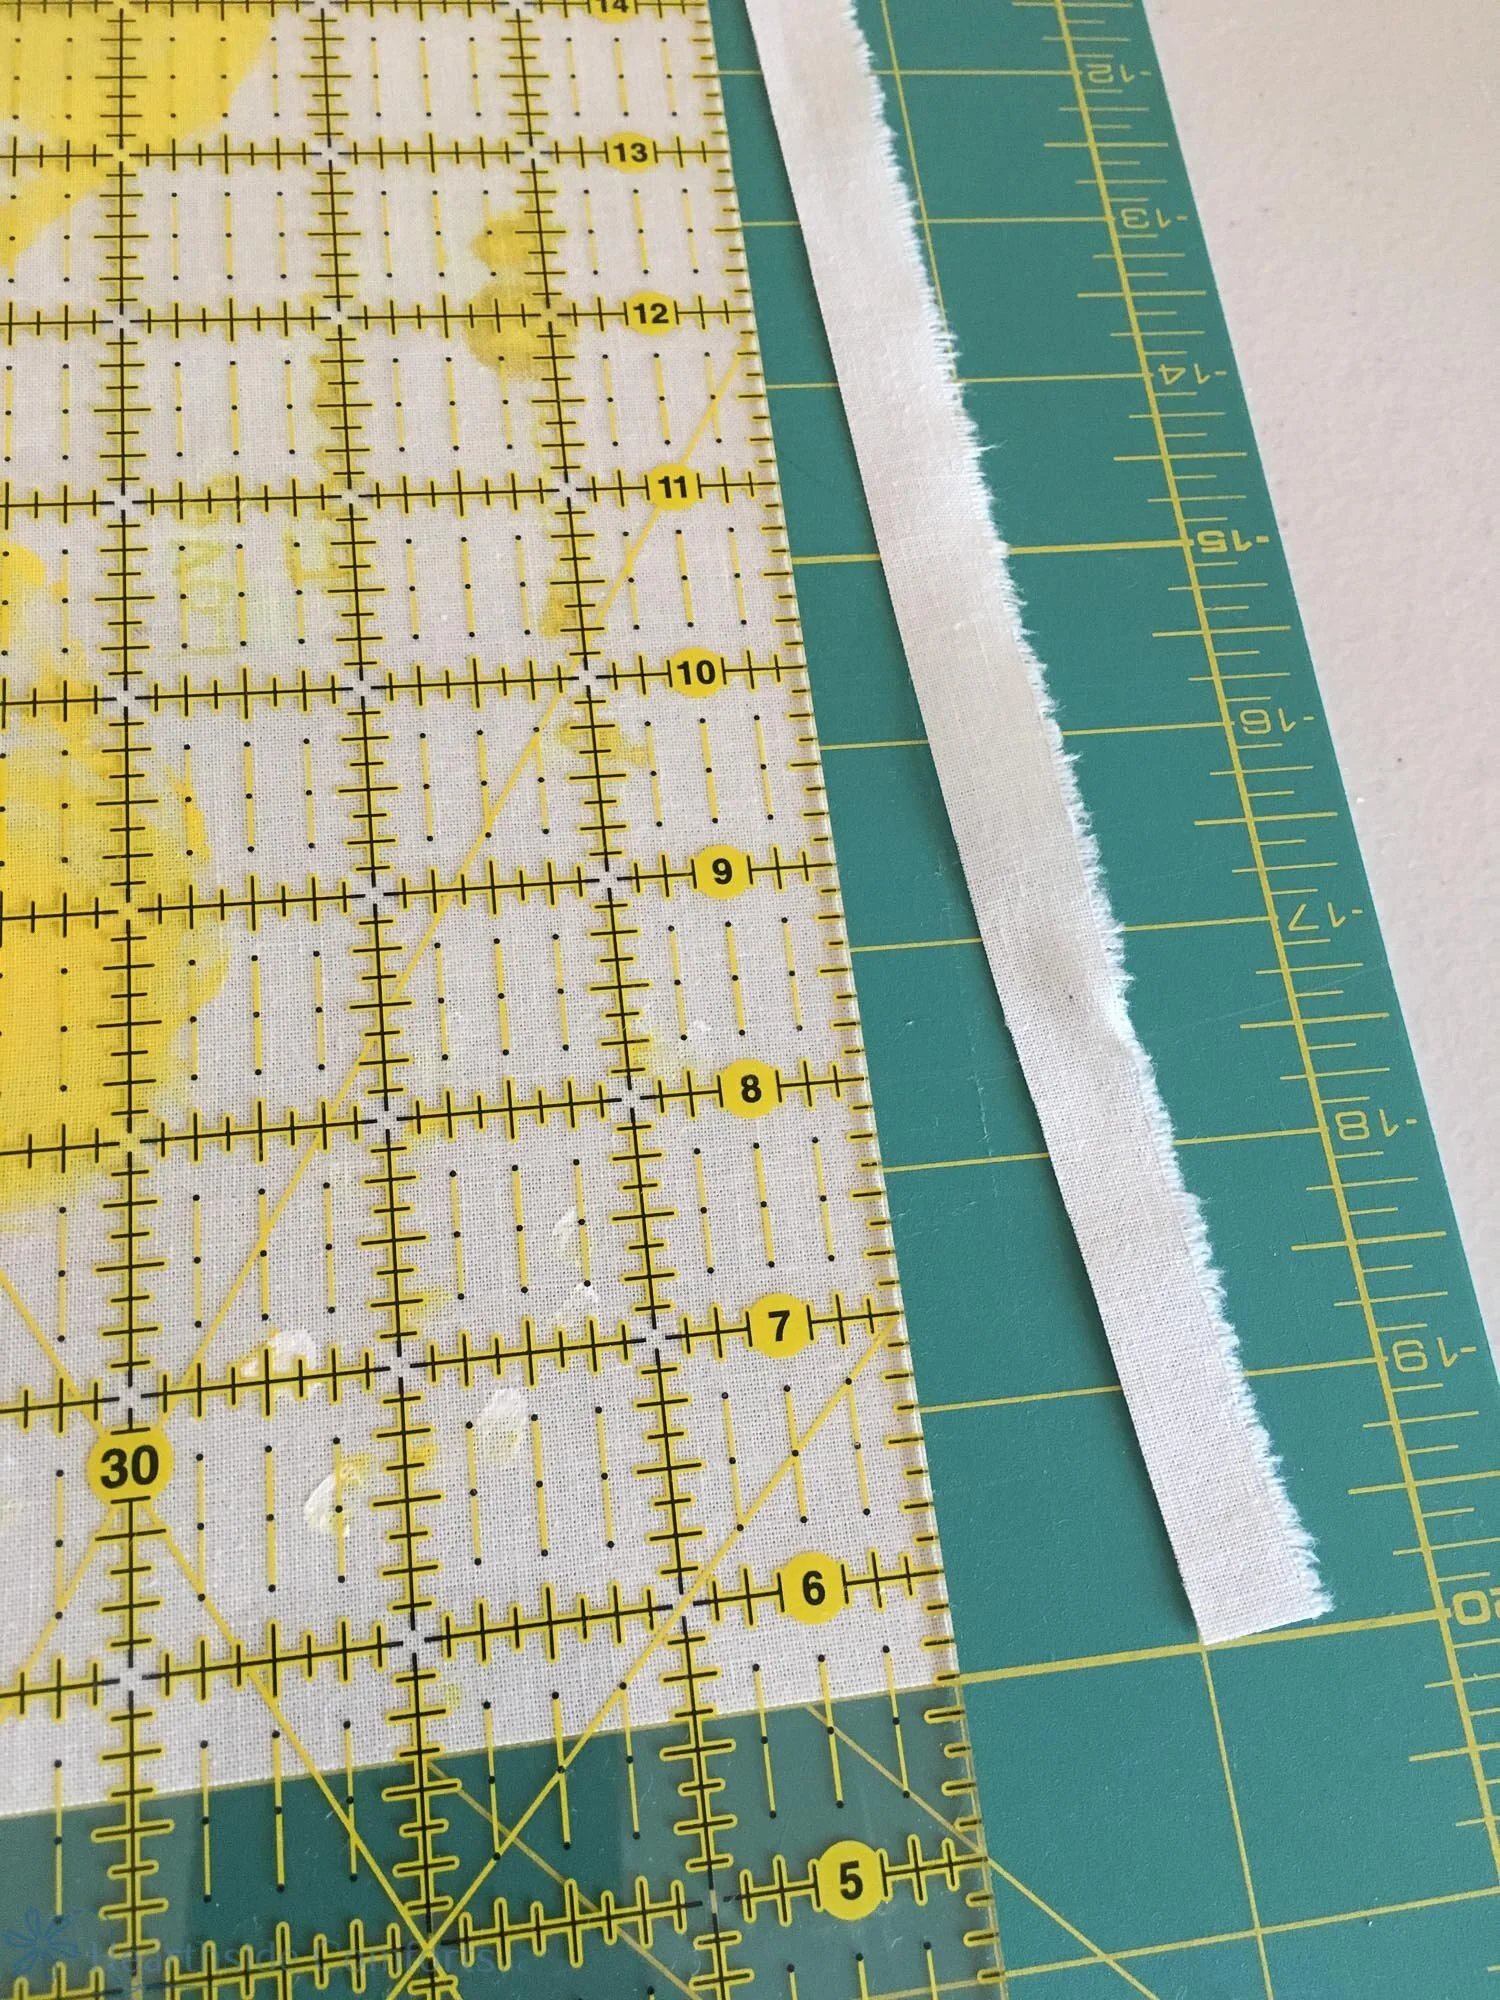
First, cut or tear fabric squares to the desired size.
I used this fabric: Kona Cotton 57” PFD Bleach White
I tore the fabric for these squares into 13” square, planning to trim them to 12 1/2” for a 12” finished block. I accidentally trimmed them to 12”, but it all worked for the best anyway because it enabled me to make wider joining strips and border, which adds a nicer contrast.
Make sure that you get the squares large enough to fit the biggest handprints! I nearly didn’t make these squares large enough to fit the handprints of my 14-year old nephew!

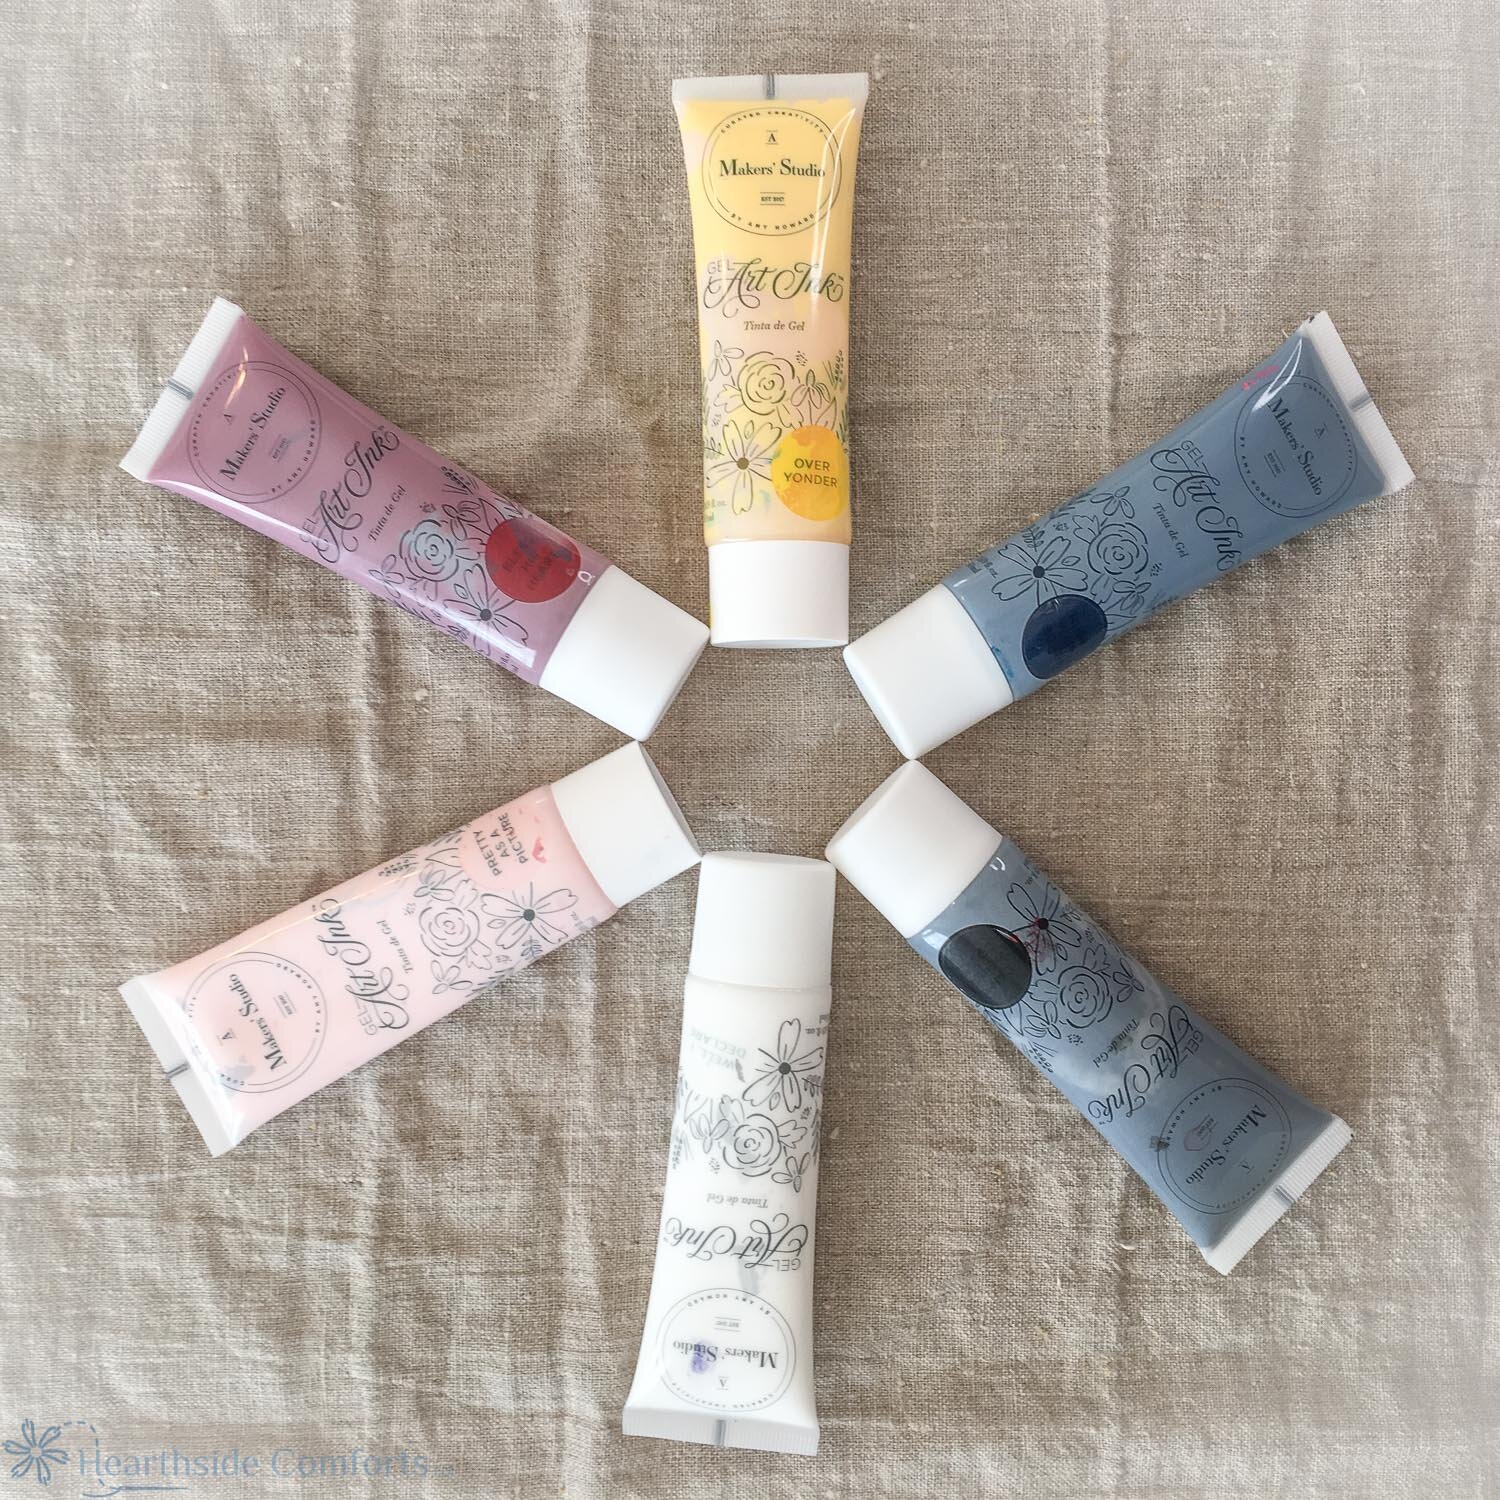
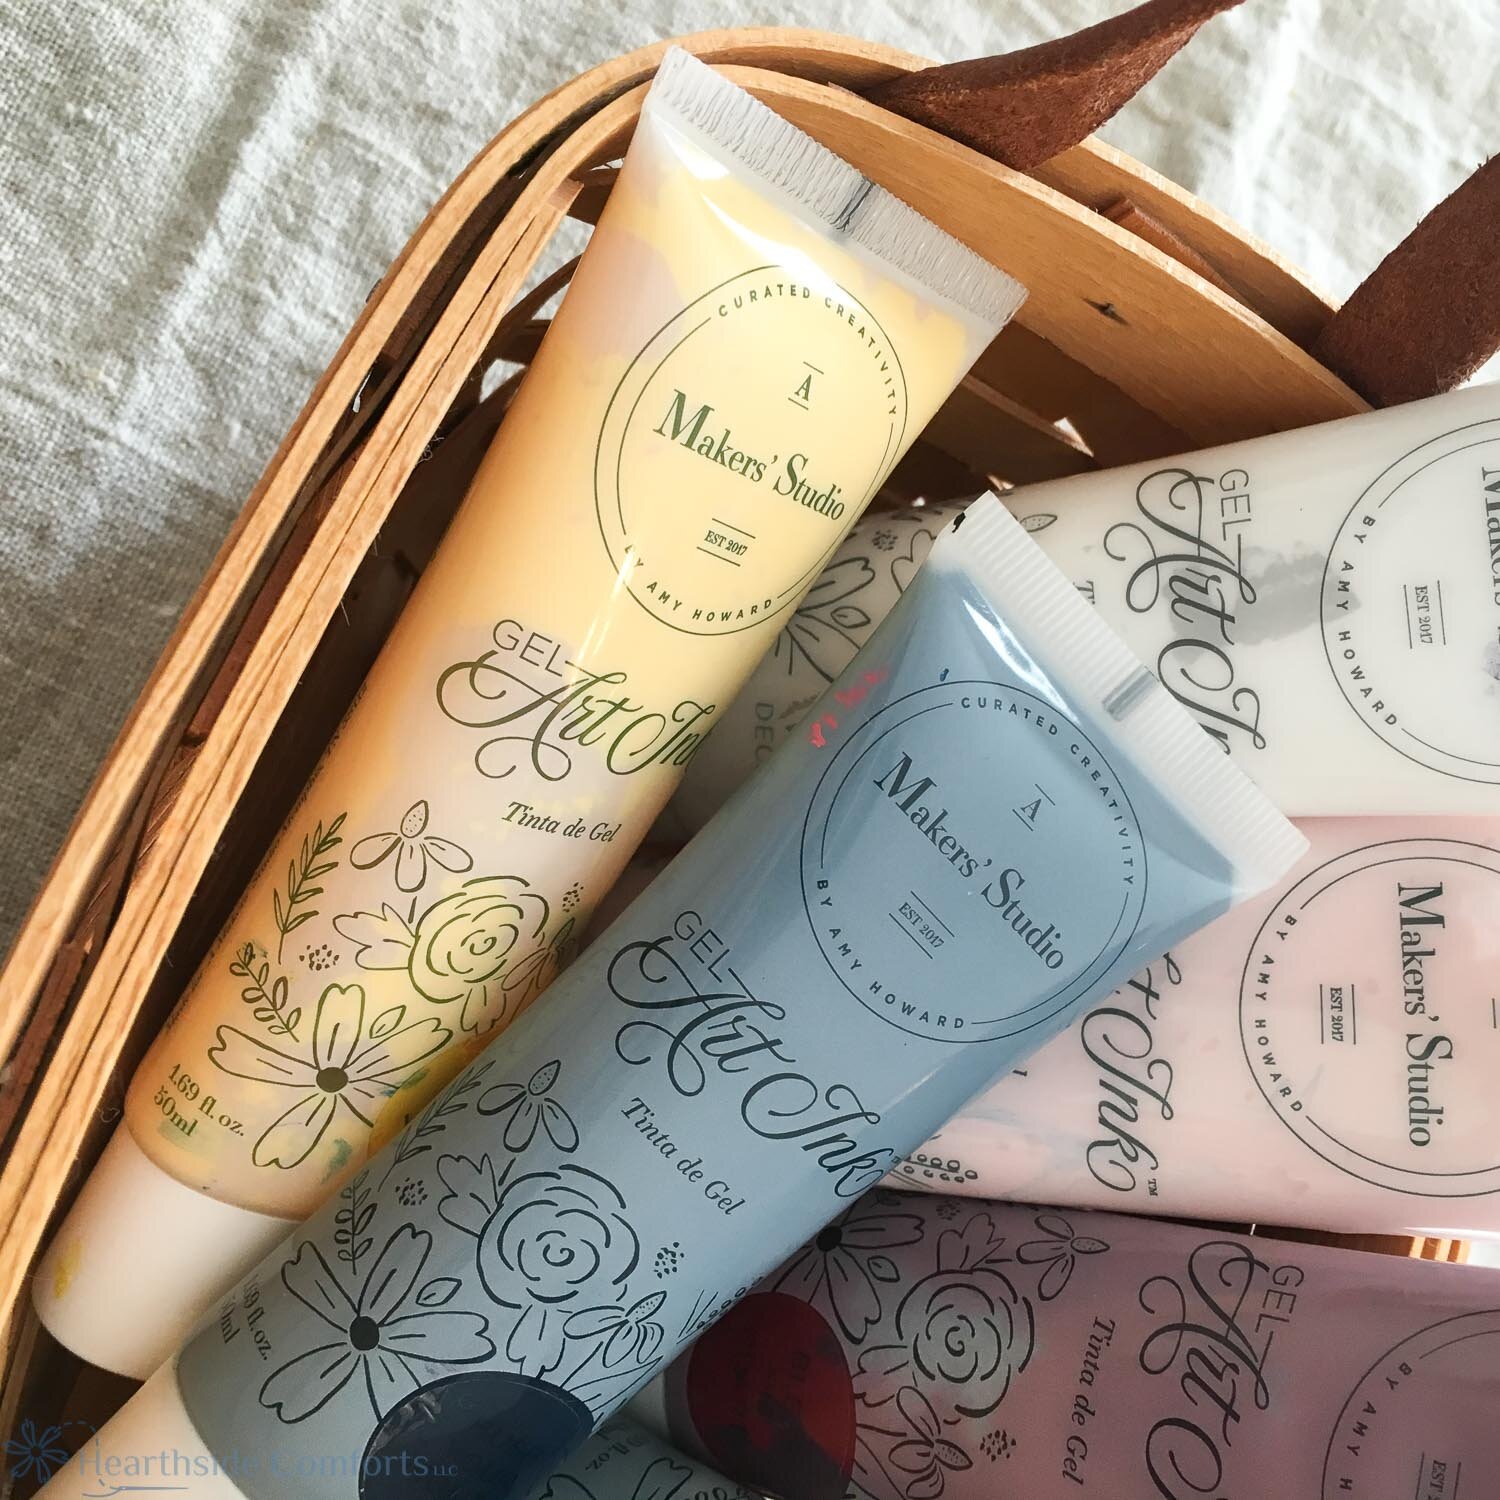
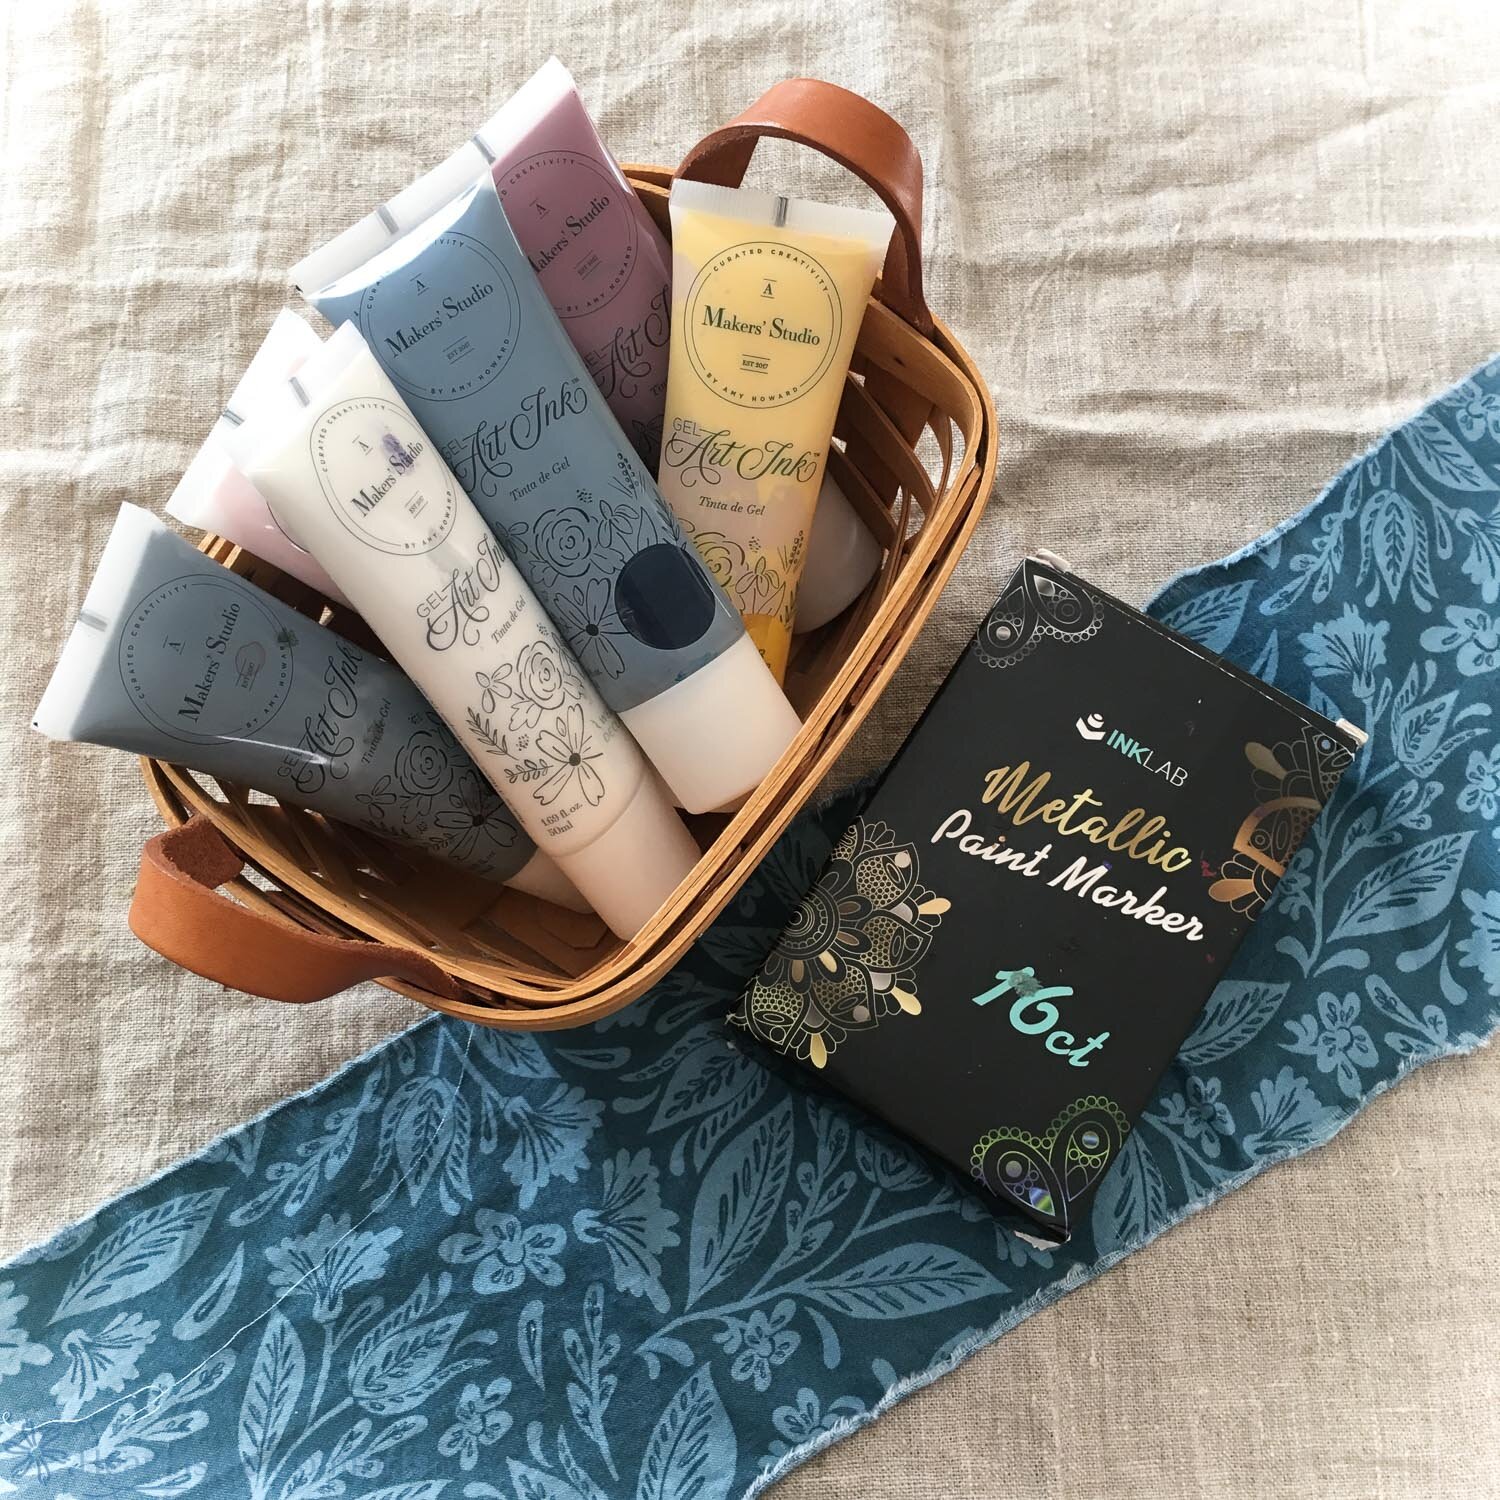
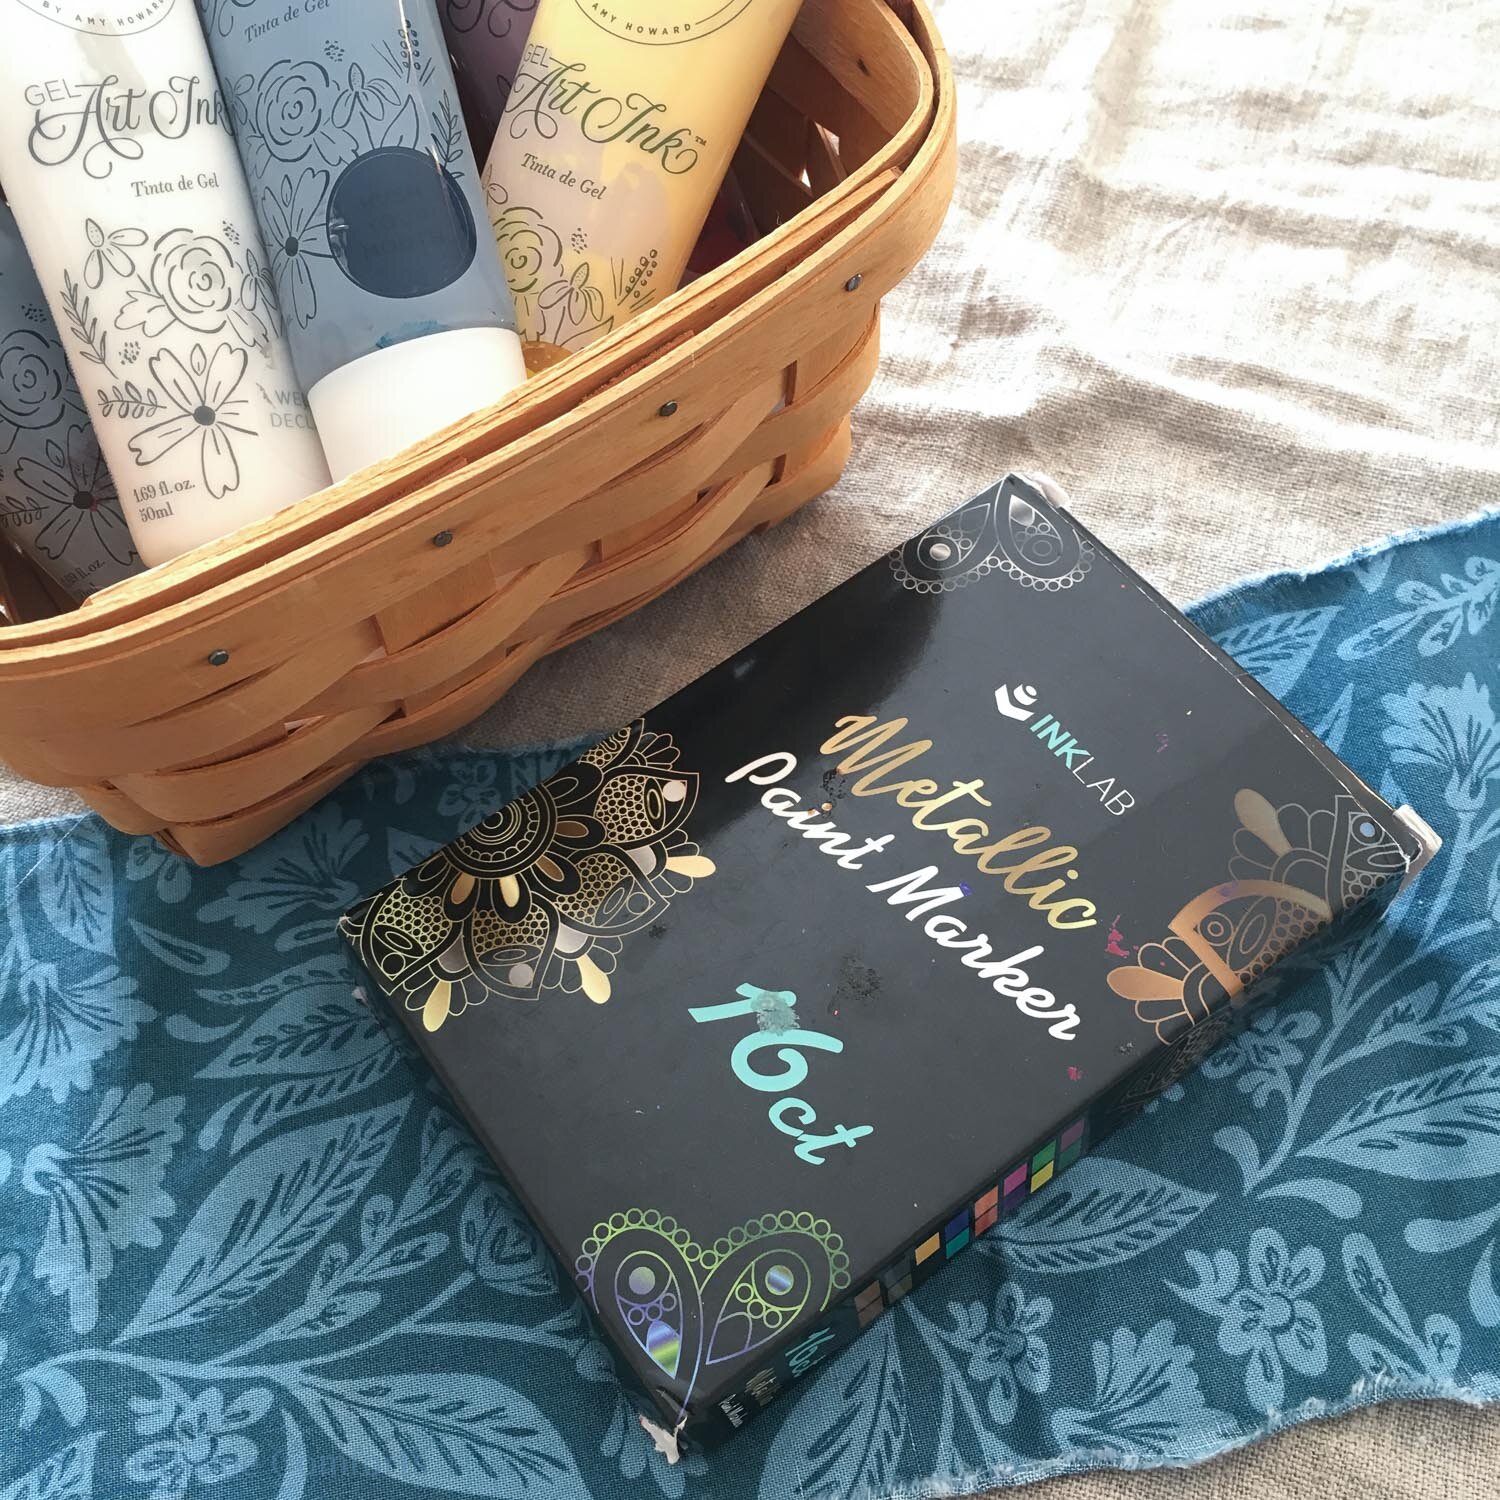
Secondly, decorate as desired. We used A Maker’s Studio gel art ink and paint markers.
Here are some of the blocks created by the grandchildren with the help of their mothers.
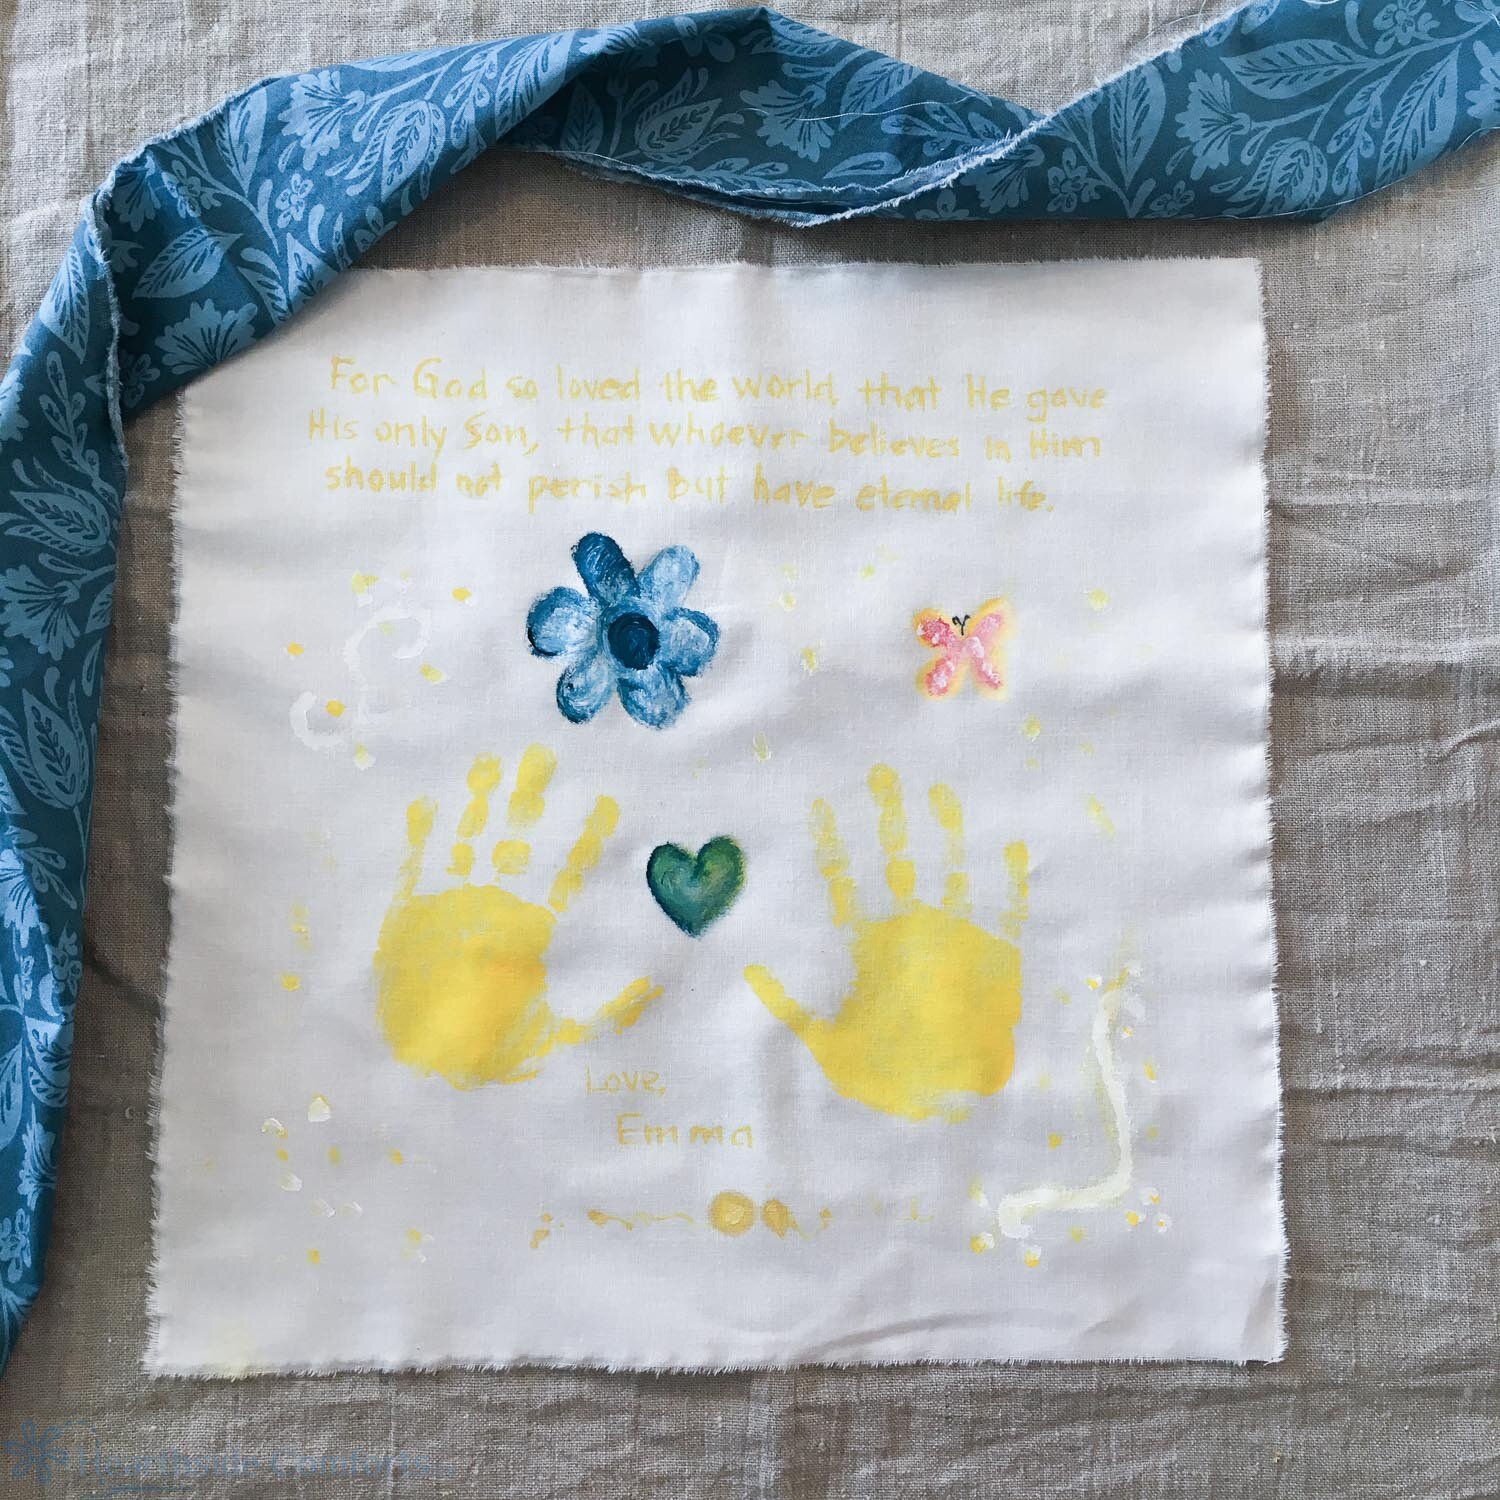
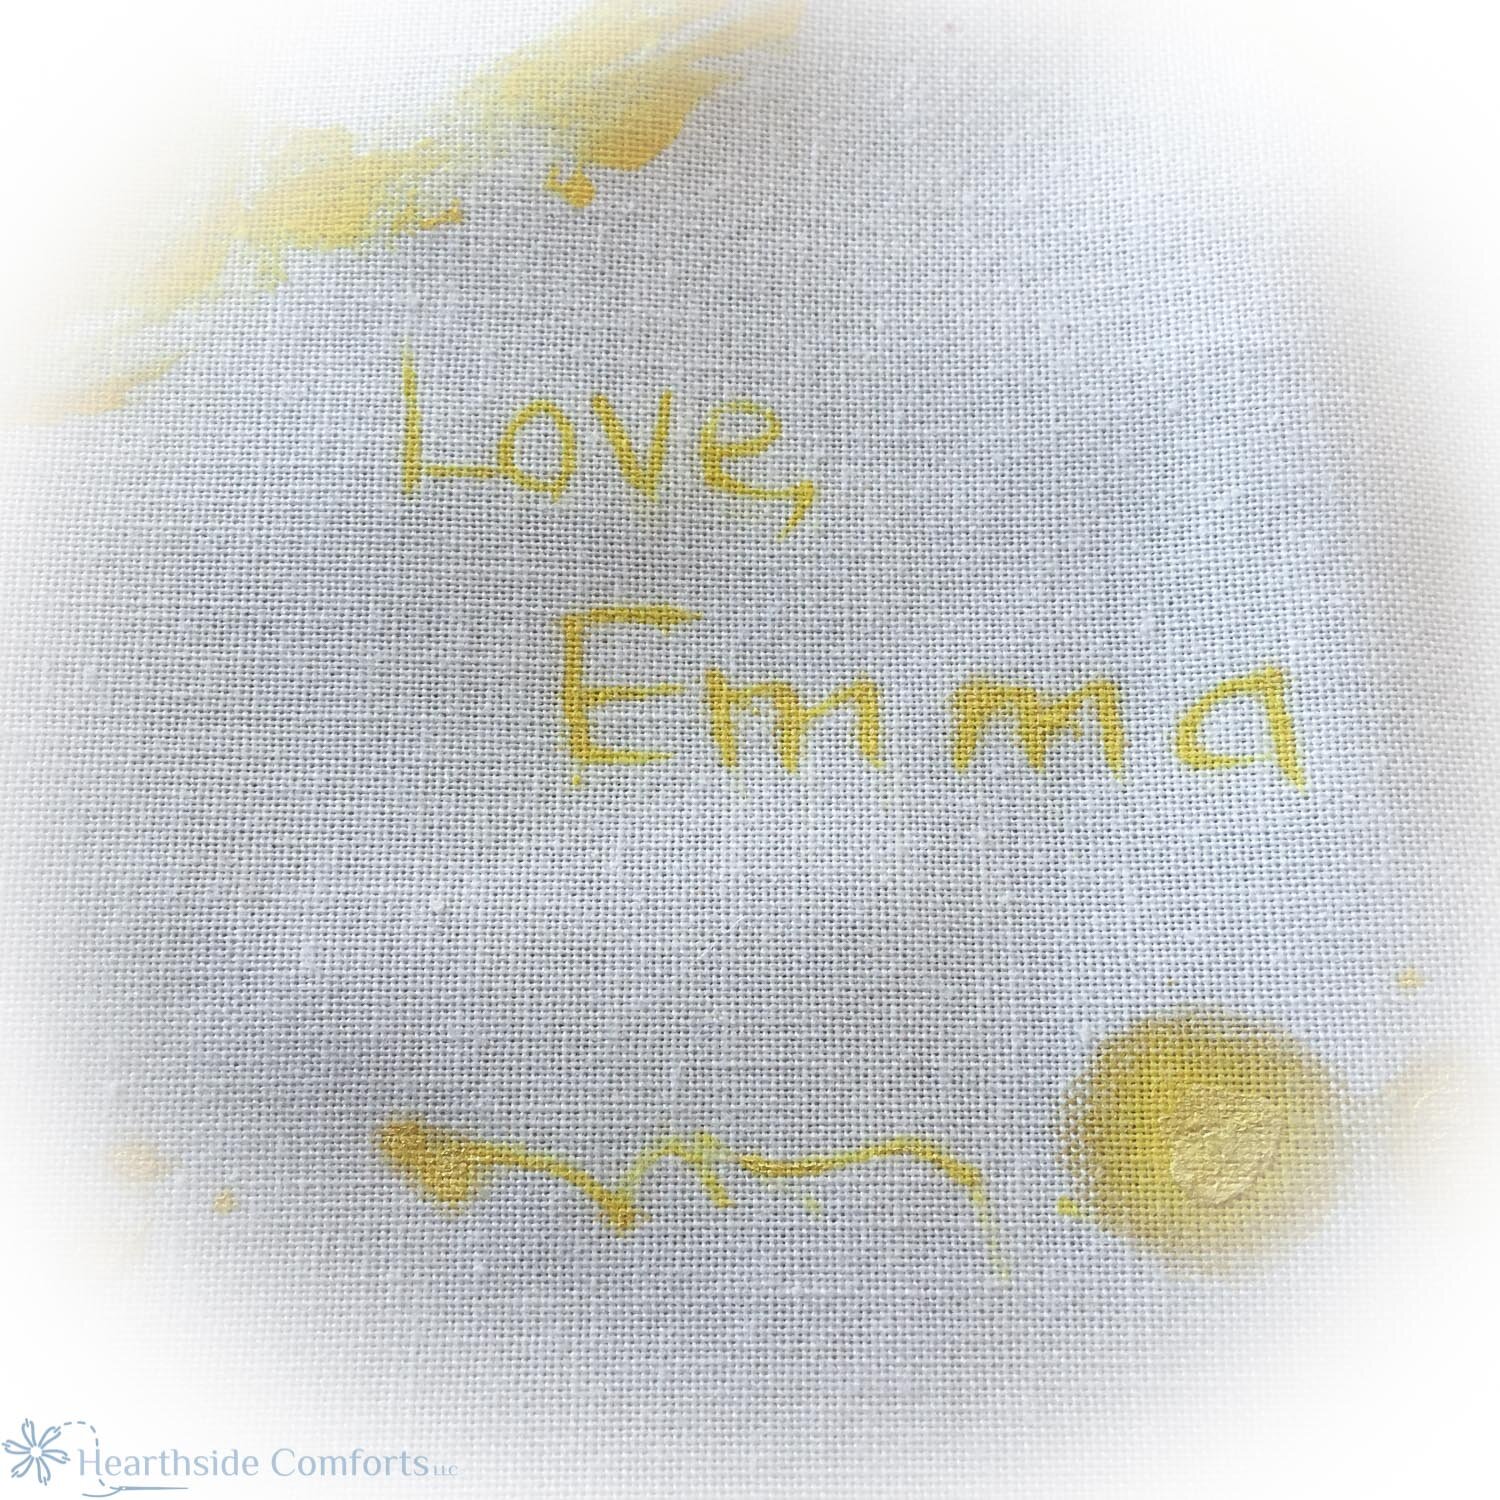
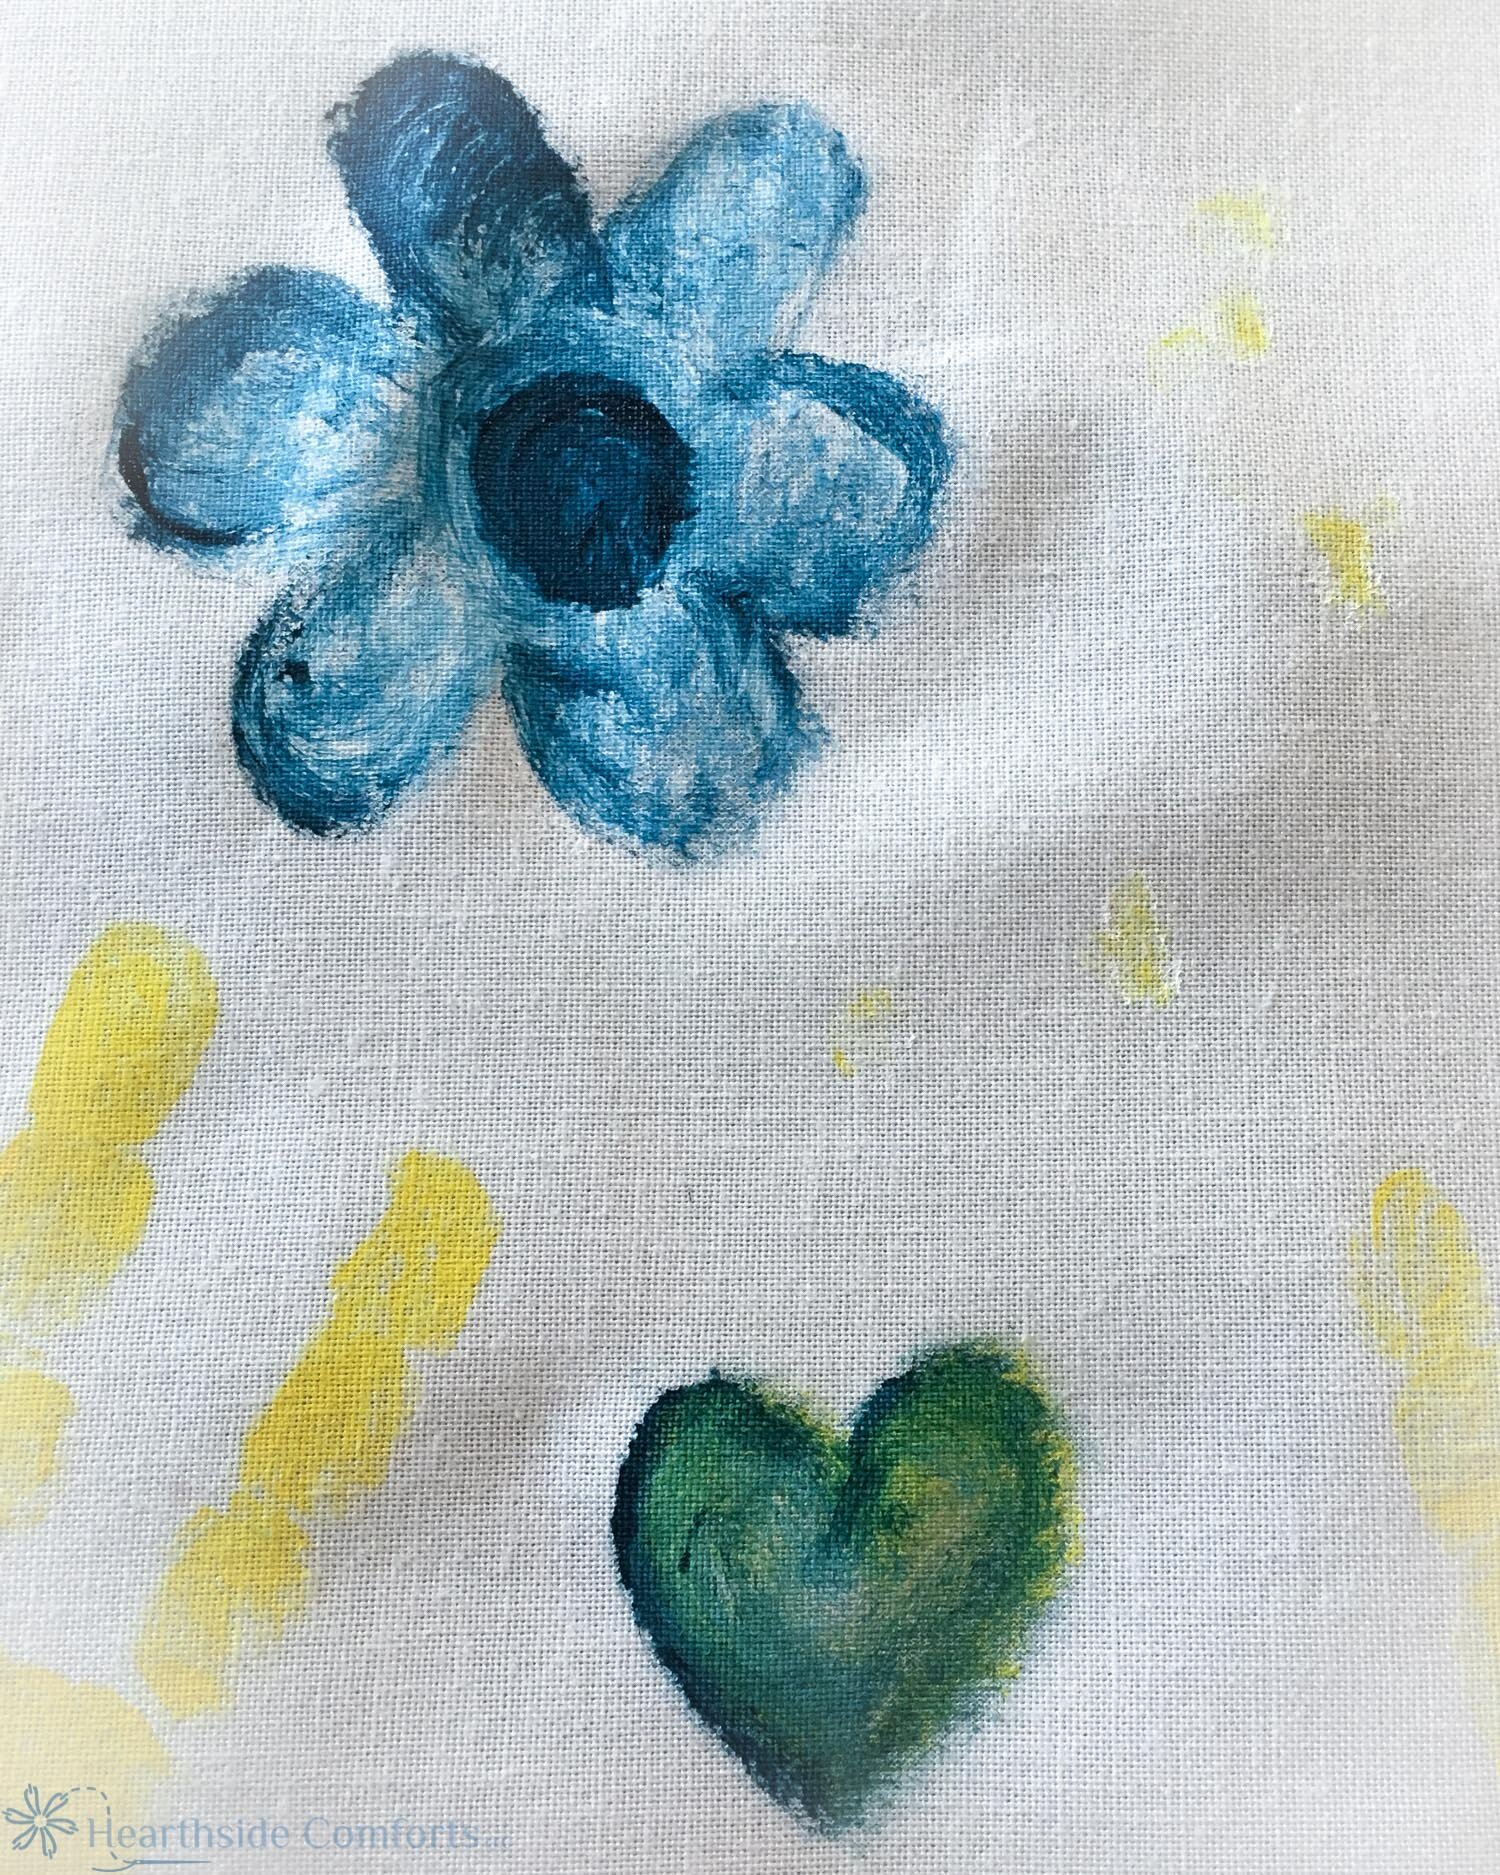
Emma is the youngest grandchild, and her favorite color happens to be yellow as you might be able to tell. This was actually the second block we made for her. I hadn’t set the parameters the first time when I gave them the ink and markers, and Emma went a little overboard. The picture below doesn’t show the end result which had a very dark could or mountain range where she mixed all of the colors together across the top. It is rather ominous looking and, although it is priceless because of all of the work she put into it, it didn’t fit in well with the other blocks. I will be saving, it, though.

These blocks were made by the other 3-year old grandchildren, the twins, who are three months older than Emma.

The next photo shows the blocks by the six-year olds. My daughter Ellie is only six months younger than Jordan, and they are finally at the stage that they enjoy playing together. Ellie found it rather challenging to write on fabric with the markers, but I knew that Grammy wouldn’t mind the imperfections.

Three of the grandsons chose black as their main color. And I love the little airplanes that the 11-year old drew on his square. Since toddlerhood, he has wanted to fly airplanes. The desire to be a pilot must run in the genes. Many members of my family enjoy seeing the world from the air with recreational aircraft of gyrocopters and ParaPlanes and single engine airplanes. And my older brother, who got his private pilot’s license at the age of 16, is now a professional pilot, and flies a MedEvac helicopter. My younger daughter is obsessed with the thought of flying, too, and asks for a yellow airplane and helicopter frequently.


The gel ink needs to dry for four hours before you can set the ink with a hot iron. (The instructions are on the tube of ink.)
During this process, I found that some of the paint markers were not colorfast. I ended up placing a piece of cotton terry cloth under the squares as I ironed them to protect my ironing board cover. And, of course, I followed the instructions in the gel ink and covered the squares with fabric to protect my iron! I was so nervous about getting marker or ink on my new iron pictured below that I ended up using my 25-year old iron to finish the project. I would not recommend using those paint markers for this project!
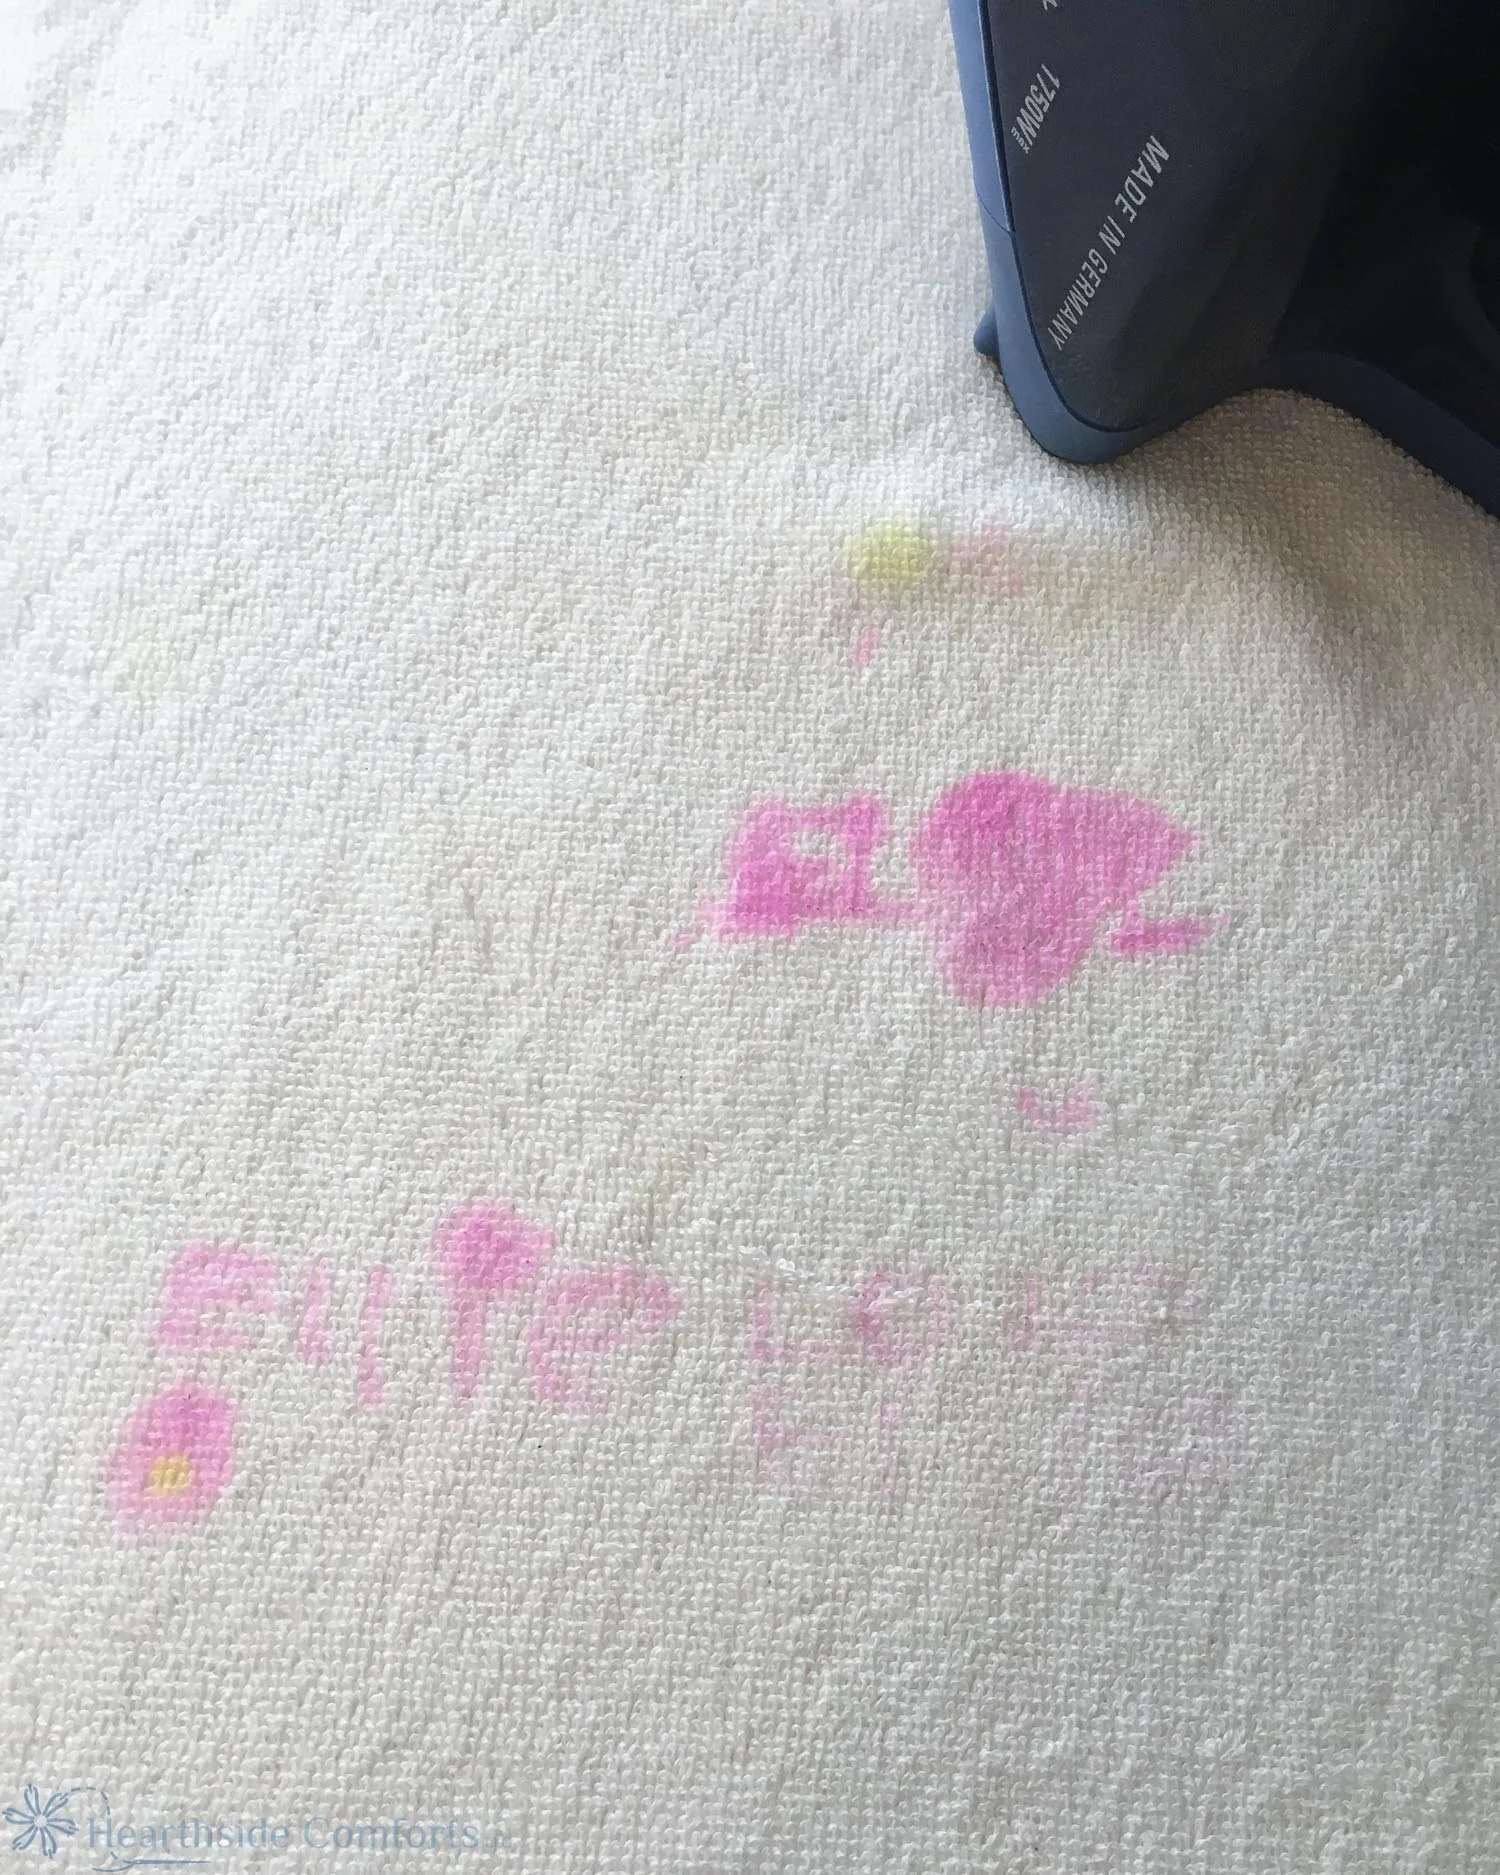
Here you can see the paint marker that bled through the fabric to the terry cloth below.

Make sure that you cover each block with a piece of cotton fabric!
Then, wash the blocks in a cold water quick cycle in the washing machine or hand wash and then lay flat to dry or iron once again to dry (not forgetting to use your cloths to cover the squares!)
I wanted to get out any dirt or oils before I sewed the blocks together and I wanted to make sure that the ink was indeed set in the fabric. After washing, I learned that it is important not to apply the ink too thickly. In the wash, it clumped up in the areas where it was thick. I scraped it away while the squares were wet. Once I ironed everything again, the ink set properly and was smooth and not clumpy. Maybe if I had applied heat longer than a minute in the initial ironing, it would not have done this??? I don’t know, but I do now that I won’t be using as much ink in the future.
Once the squares are dry, trim them to the desired finished size plus seam allowance.
The final step in completing the quilt top is to piece the blocks together and add a border with a fabric that will provide a nice frame for the squares.
I determined what width I wanted the joining blocks to be by sketching the dimensions of the quilt on graph paper. I knew that I wanted the width of the quilt to be no more than 46” wide. So, I determined that I wanted the joining pieces to be a finished size of 2 1/2”. And the borders of the quilt are a finished size of 3”.
Something that I struggle with when piecing blocks together in this way is getting them to line up perfectly. I picked out this one seam at least three times.

Although the final result still isn’t perfect, I learned to line up the seams by placing my ruler along the block above, and then placing a tiny notch in the fabric where I needed to line up the seams.

Once all of the blocks are joined and borders have been added, it is ready to add the batting, backing and binding!
If you have any questions, please let me know by sending me an email.
And I will be sharing a quilt tutorial soon!
Disclosure: This post contains an affiliate link. from which I earn a small commission on qualified purchases at no additional cost to you.