
An Upcycled Dress
In this blog post, I am going to give you a quick overview of how I turned an old button-down work shirt into a comfortable, Edwardian-era-inspired, dress.

In August 2021, I decided to make a dress to work in the garden. As I was deciding what to make, I remembered that I have quite a few of my Dad’s old work shirts on hand because I had gotten them to cut up for quilts. The thought occurred to me that I could re-work one of those to be used as a bodice for a dress: no additional buttons or buttonholes needed! I started the project and then set it aside because other projects came up that took a higher priority. Last week, I cut out the skirt and finished the dress in time for Easter. Now, mind you, it’s not a fancy dress. In fact, its future purpose is my original plan—a dress to work in the garden. Nevertheless, I wore it on Easter and asked my husband to take a few pictures of me wearing so that I could share the finished product with you.
I had never done a project like this so I just figured it out as I went (the process is shown in the pictures below with the basic steps outlined in the text.)
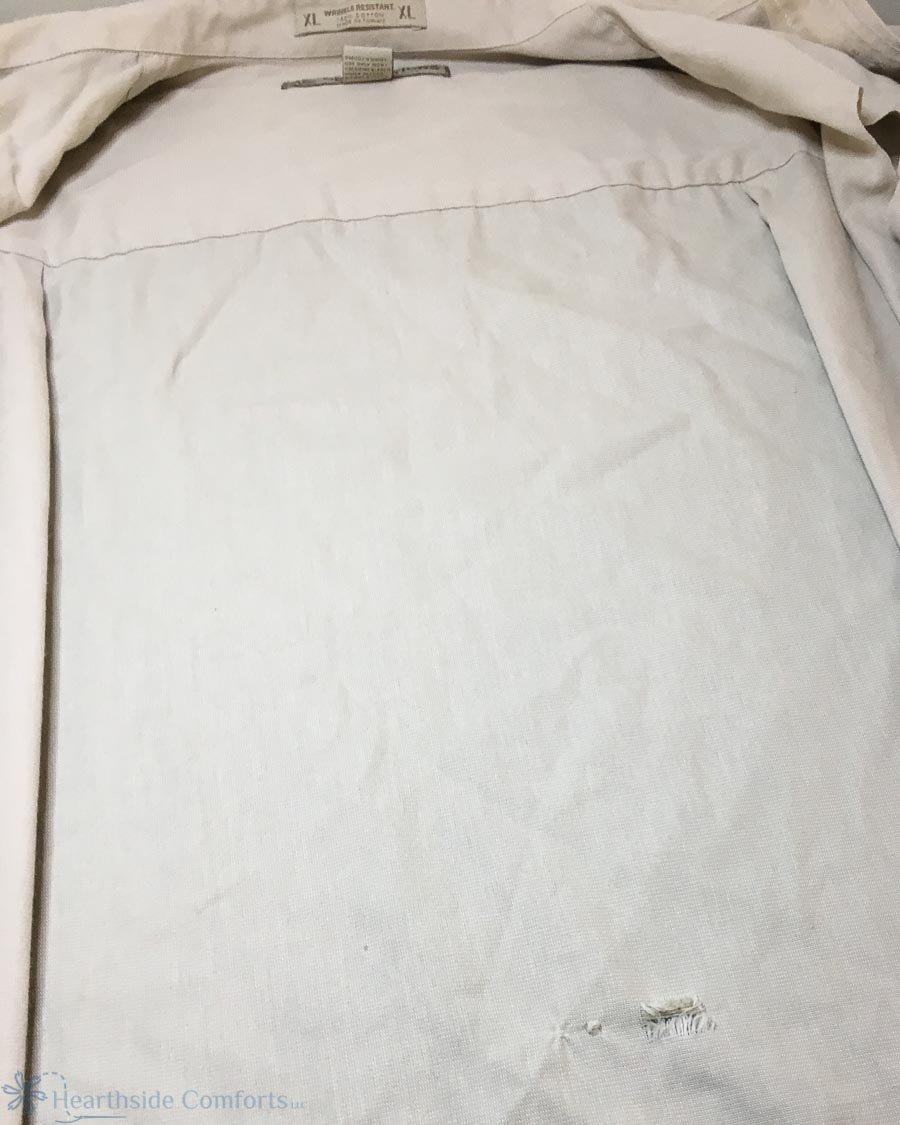
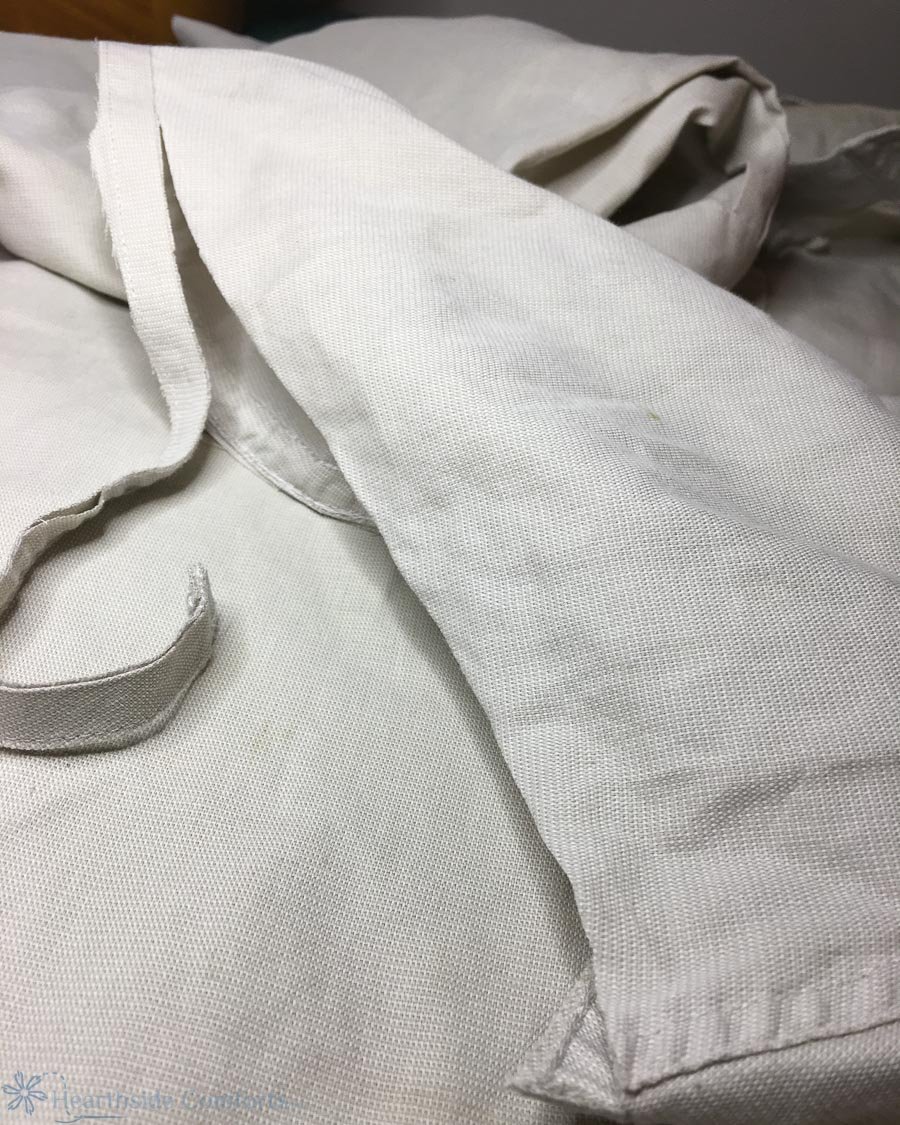
The shirt I chose had a tear in the back of it, so I decided to cut it off and shorten it.
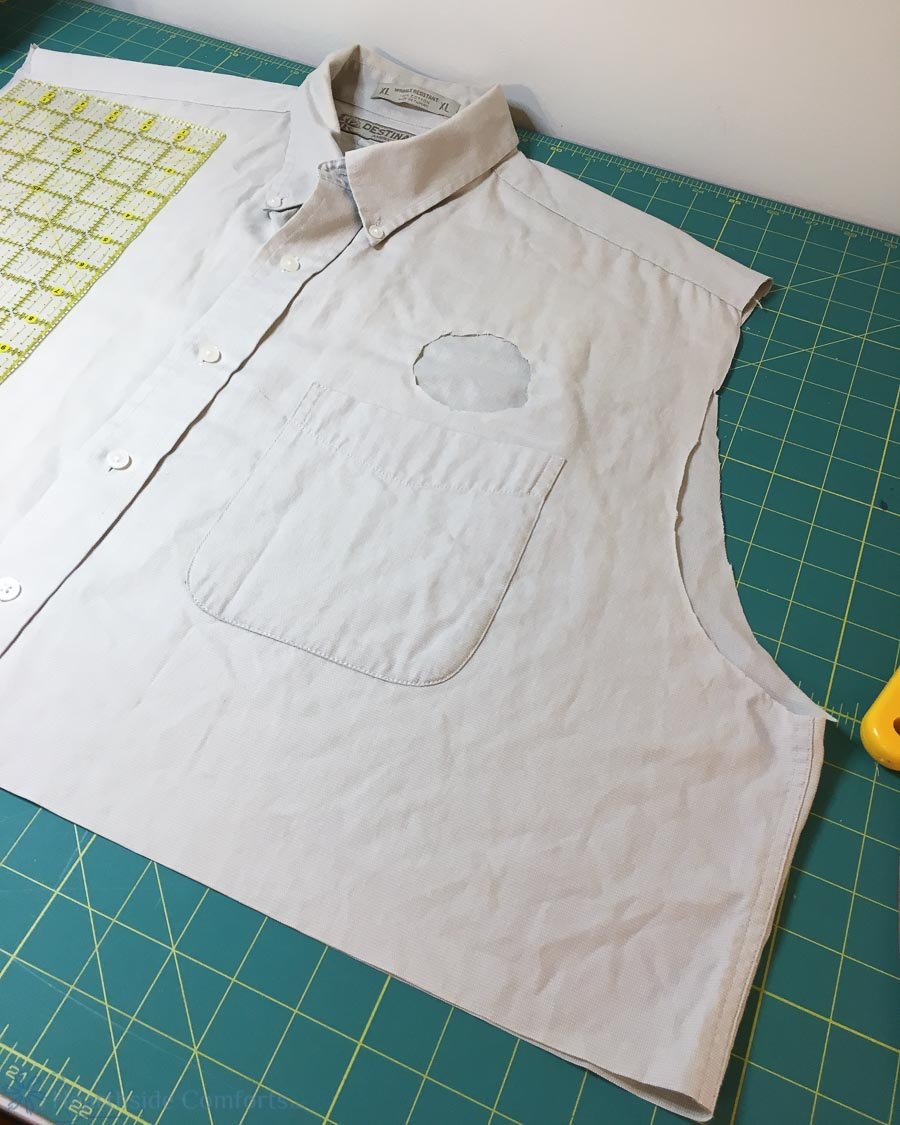
I removed the sleeves and the machine-embroidered logo, and patched the hole.
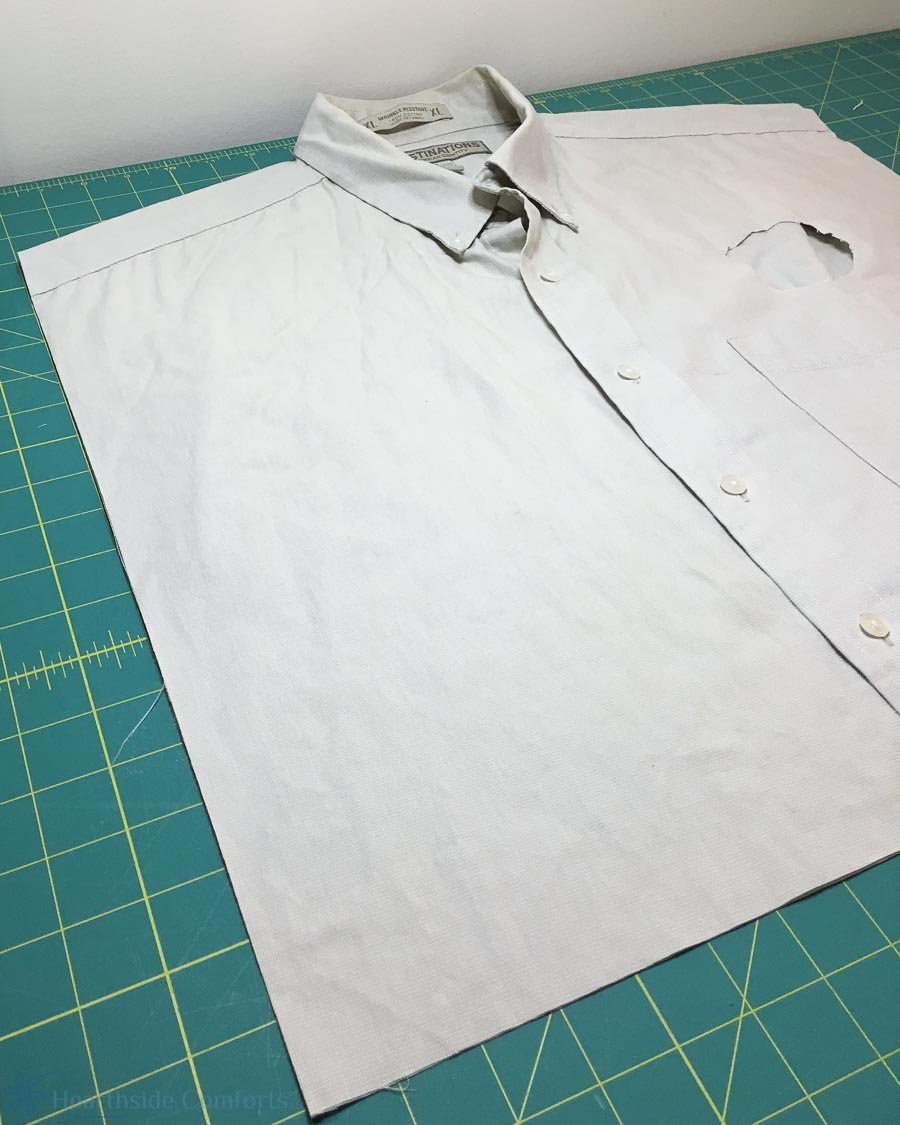
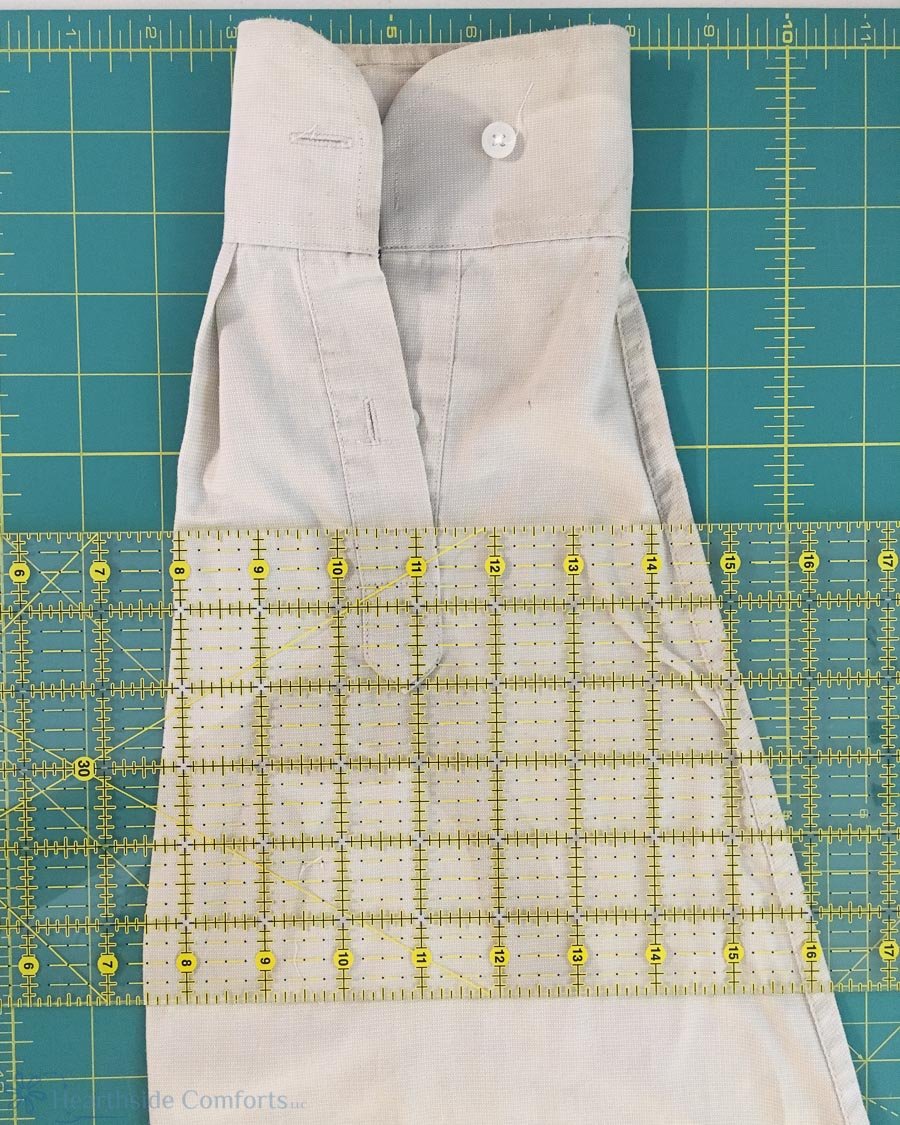
I determined approximately how big I wanted the waist to be and trimmed the sides of the shirt to that size.
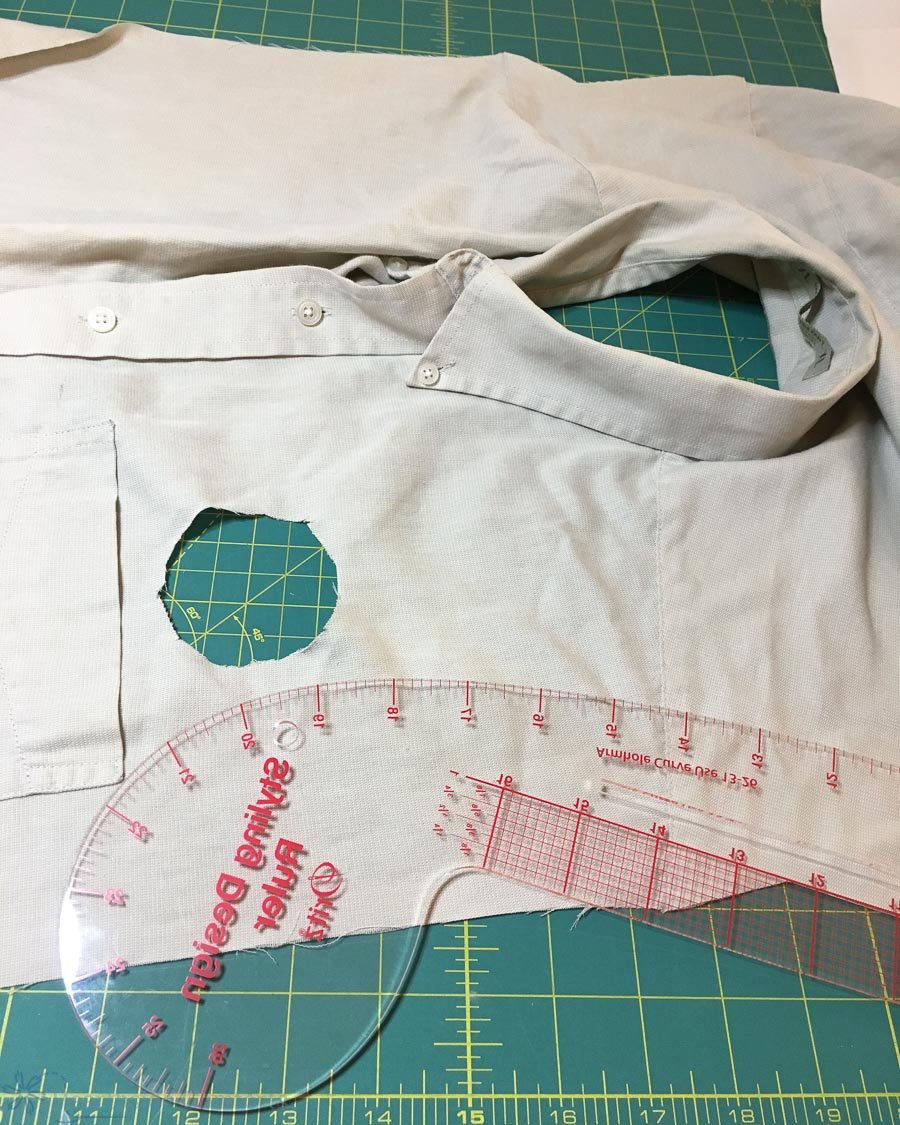
I used a French ruler to make the curve for the arm holes.
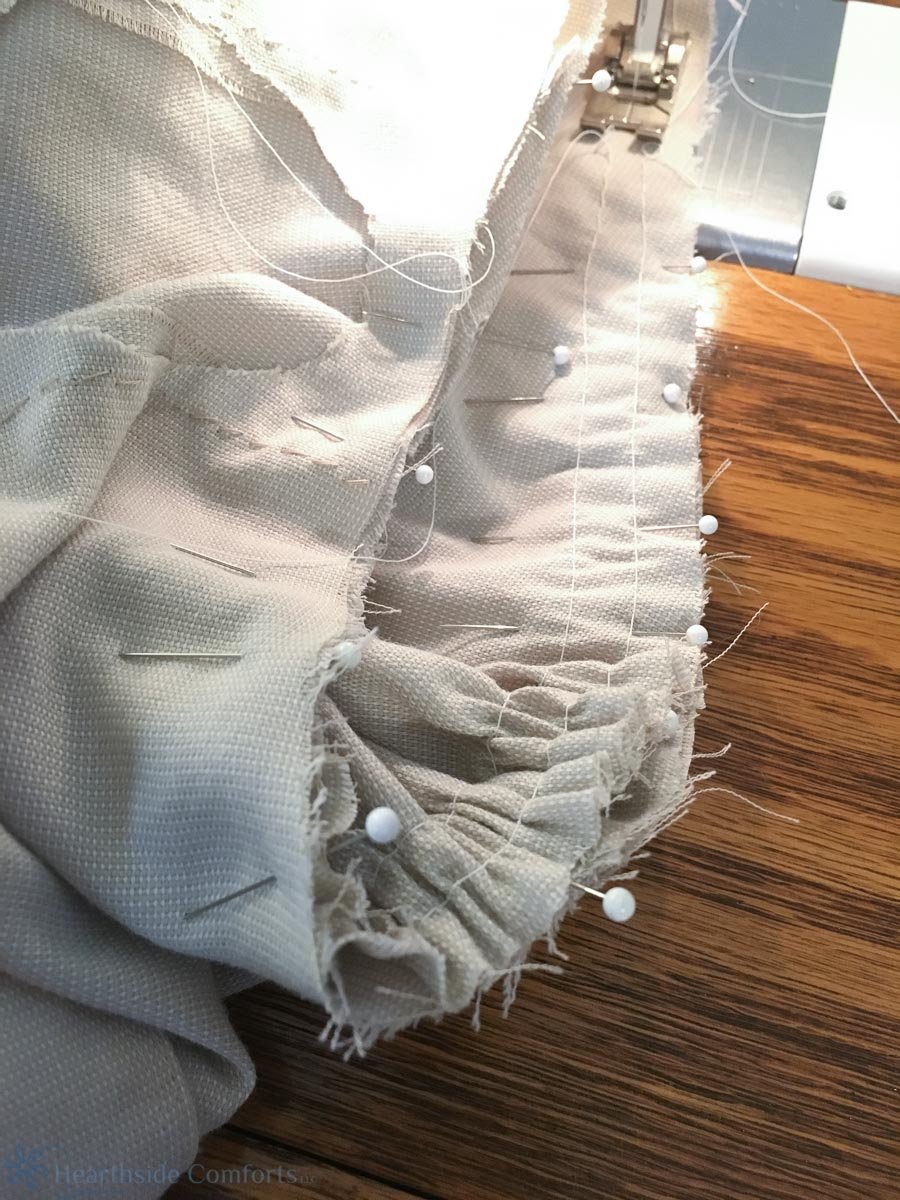
I cut the seams from the sleeves that I had removed and cut them the length I wanted them to be. Yes, I could have left them as long sleeves to be more correct for the period of the style, but I wanted short sleeves.
Then, I gathered the top of the original sleeve to fit into the new armhole that I had cut with my French ruler, making cute gathered sleeves—not quite puffed sleeves, but at least not as plain as they were before.
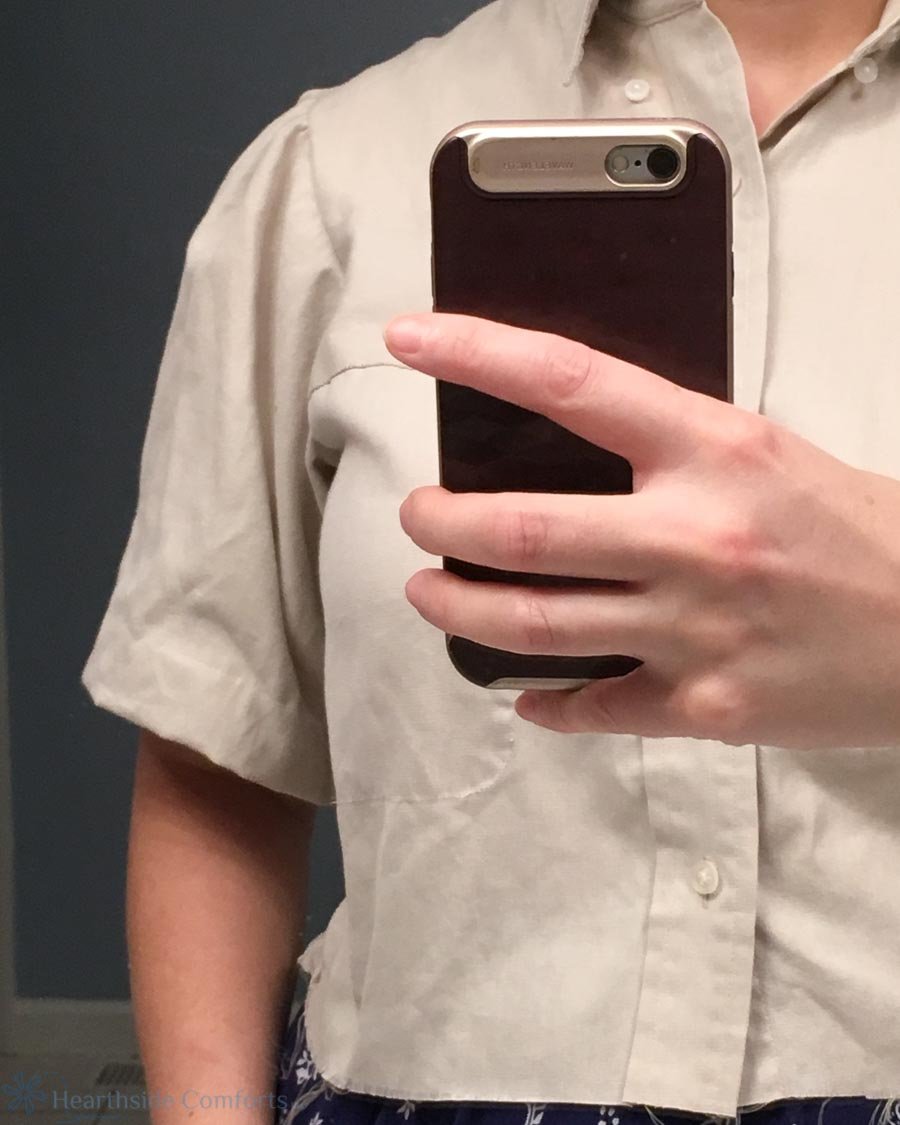
I took a progress selfie. And that is where I stopped with the project last year…
I recently finished filling all of my orders, which meant I could begin on the projects that I had set aside. I picked up this project, deciding to add an Edwardian skirt to the bodice. Although this one-piece style is not correct to the period, I love the design of this skirt, and I wanted a dress that I could wear in the garden without worrying that the blouse would separate from the skirt. The only drawback to my choice is that it is challenging to get the dress on—it would be better with a zipper in the side.
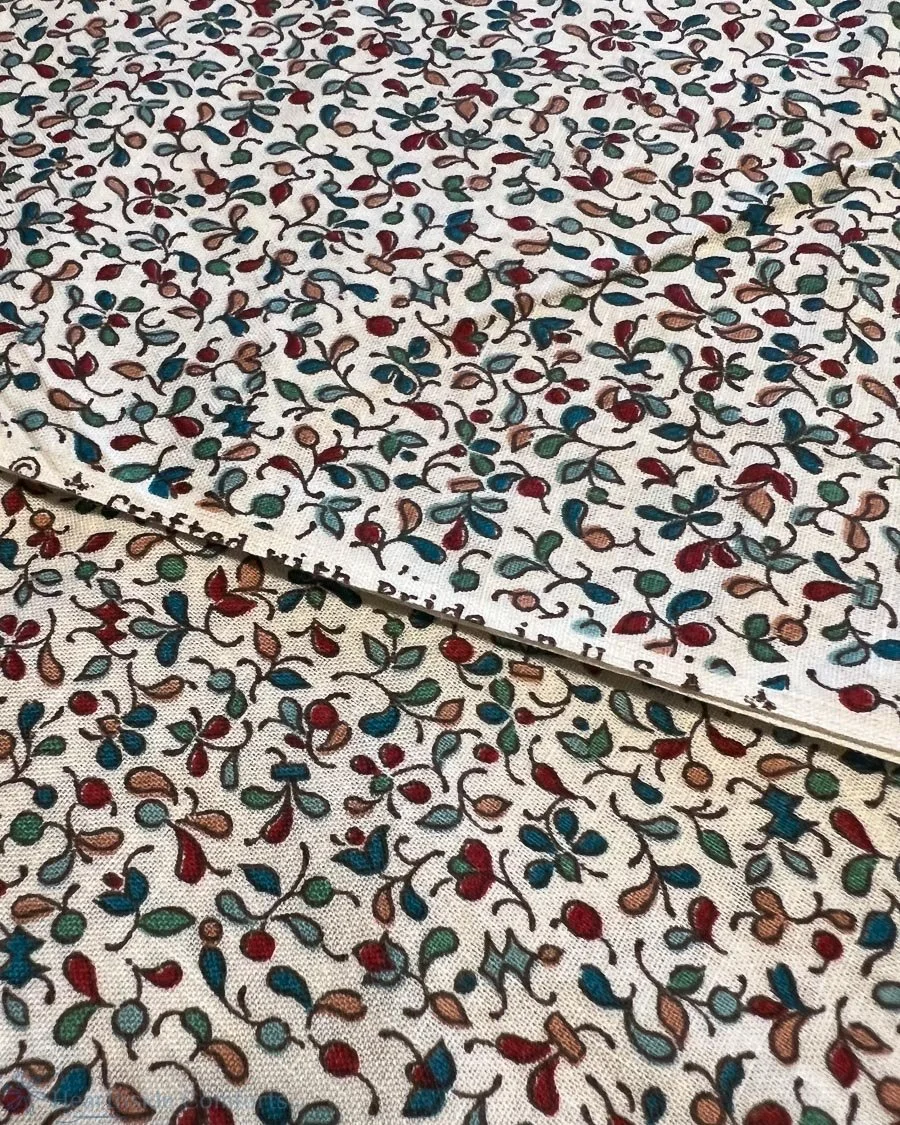
For the skirt, I used a vintage fabric that had been in storage for probably 30 years. I think I had picked it out when I was a preteen, and Mom had kept it all of these years. I don’t know why she had purchased so much of it, because I had over six yards, which is more than she typically purchased for a dress back then. I was so happy to see that this fabric was “Crafted with pride in USA” which is so rare to find these days.
All cut out and ready to sew!

I attached the bodice to the waistband just gathering in the extra fabric instead of making darts.

My pre-hemming-fitting. I wrapped a piece of fabric around my waist as a sash. I had hemmed one sleeve, but not the other, and still needed to hem the skirt.
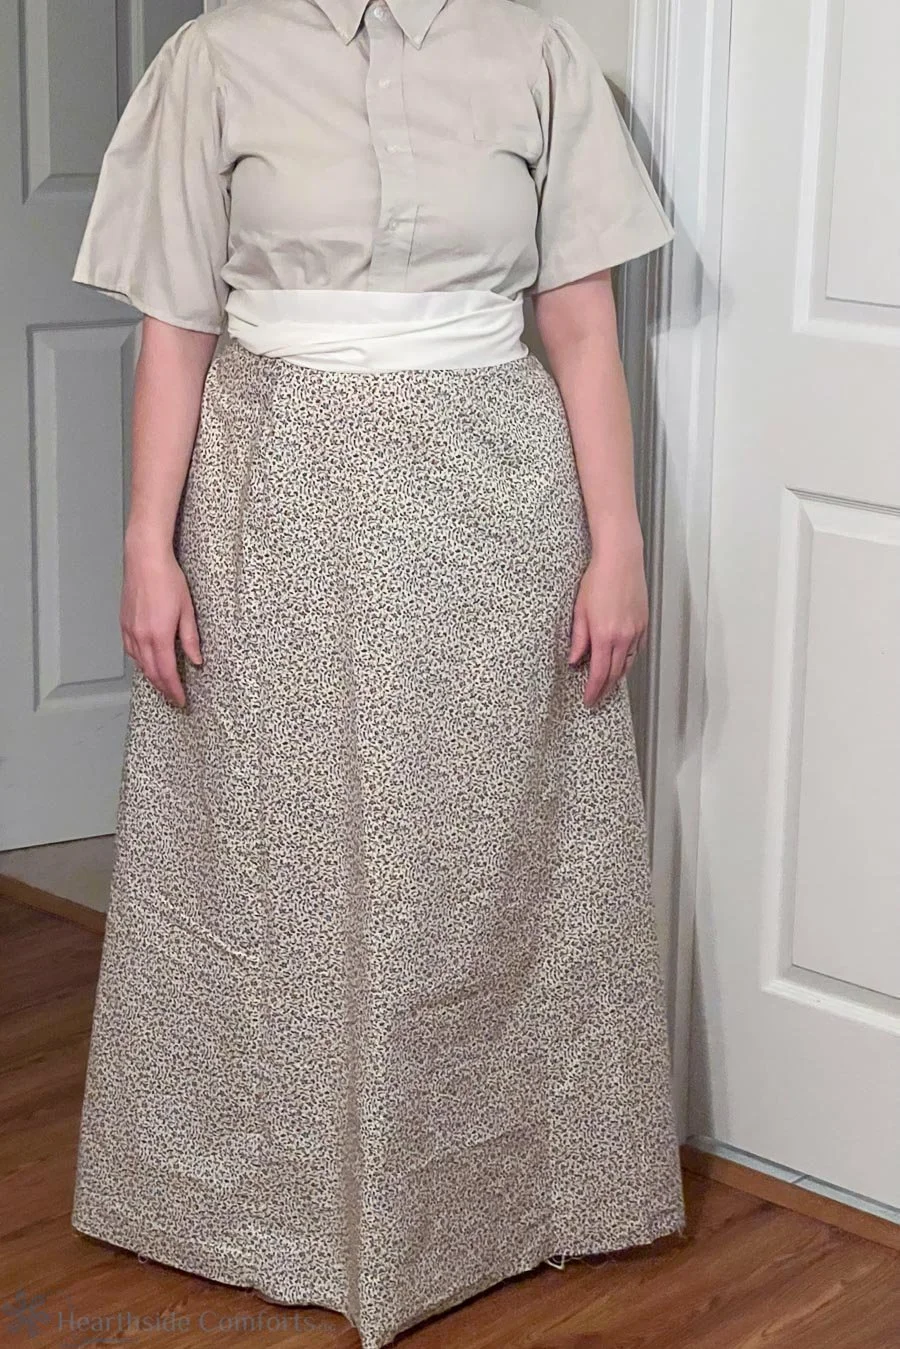
Two of my friends encouraged me to remove the collar and leave the stand, and it was an easy fix to make it more comfortable.

And the timing of completing it was perfect! I had a new “old” dress to wear on Easter Sunday, which is where I asked my husband to take some photographs of me wearing the dress. The shawl is one that I crocheted for my daughter and then borrowed to wear with the dress.

Soon, I will be making myself more of the Edwardian skirts and blouses to wear. The skirt is so comfortable, and I feel like myself when wearing this style of period clothing. I have always been an old-fashioned soul, and I am finally feeling the freedom to dress the way I want to to feel beautiful.