
DIY Simple Pillow Cover Tutorial
Mornings are cool; daylight is fading earlier. Fall is just around the corner! Would you like to add some fall color to your home by covering some throw pillows? If so, this tutorial will show you how to make a simple pillow cover for an 18” pillow form in less than 30 minutes. In fact, you might be able to make 2 or 3 pillow covers in 30 minutes!
A few weeks ago, I ordered some pillow forms because I was planning to include pillow covers in my upcoming color chart collection release. A few days after placing the order, I was excited to see that the box of pillow forms had arrived. I eagerly opened the box, only to discover that the shipment contained four pillow forms of the wrong size and were blue instead of white! The size wasn’t an issue—I could have adjusted my design; however, considering that I was planning to photograph light-colored linen over these pillow forms, I really wanted white ones as I had ordered.
I reached out to the company and spent at least 30 minutes on hold and then talking to a customer service rep. She assured me that the matter would be quickly resolved. A few days later, I received another shipment! I was so disappointed to see that I had received only one pillow insert—and it was still not the size that I had ordered originally!
And so, more time on the phone….another shipment….and I received yet another pillow insert. Right size and right color. Wrong quantity. Finally, the fourth shipment brought me what I had originally ordered: 4 white 20” pillow inserts!
Because getting pillow forms was so complicated, I decided not to offer pillow covers in my upcoming collection release at this time….
But today, I am going to share with you a quick and easy way to make pillow covers for 18” pillow forms! I wish that I had some lovely, cozy fall fabric to share with you in my photos, but I used what I had on hand this time.
Materials needed for one pillow:
18” square pillow insert
at least 1/2 yard of 42” wide fabric (I like a little extra to make sure that I can get the grain straight—often fabric is cut crookedly at the store)
Scissors
Ruler and or yard stick (I used a 24” Omnigrid Ruler)
Sewing machine and thread
Iron
Pins
Wonder Cips (optional)
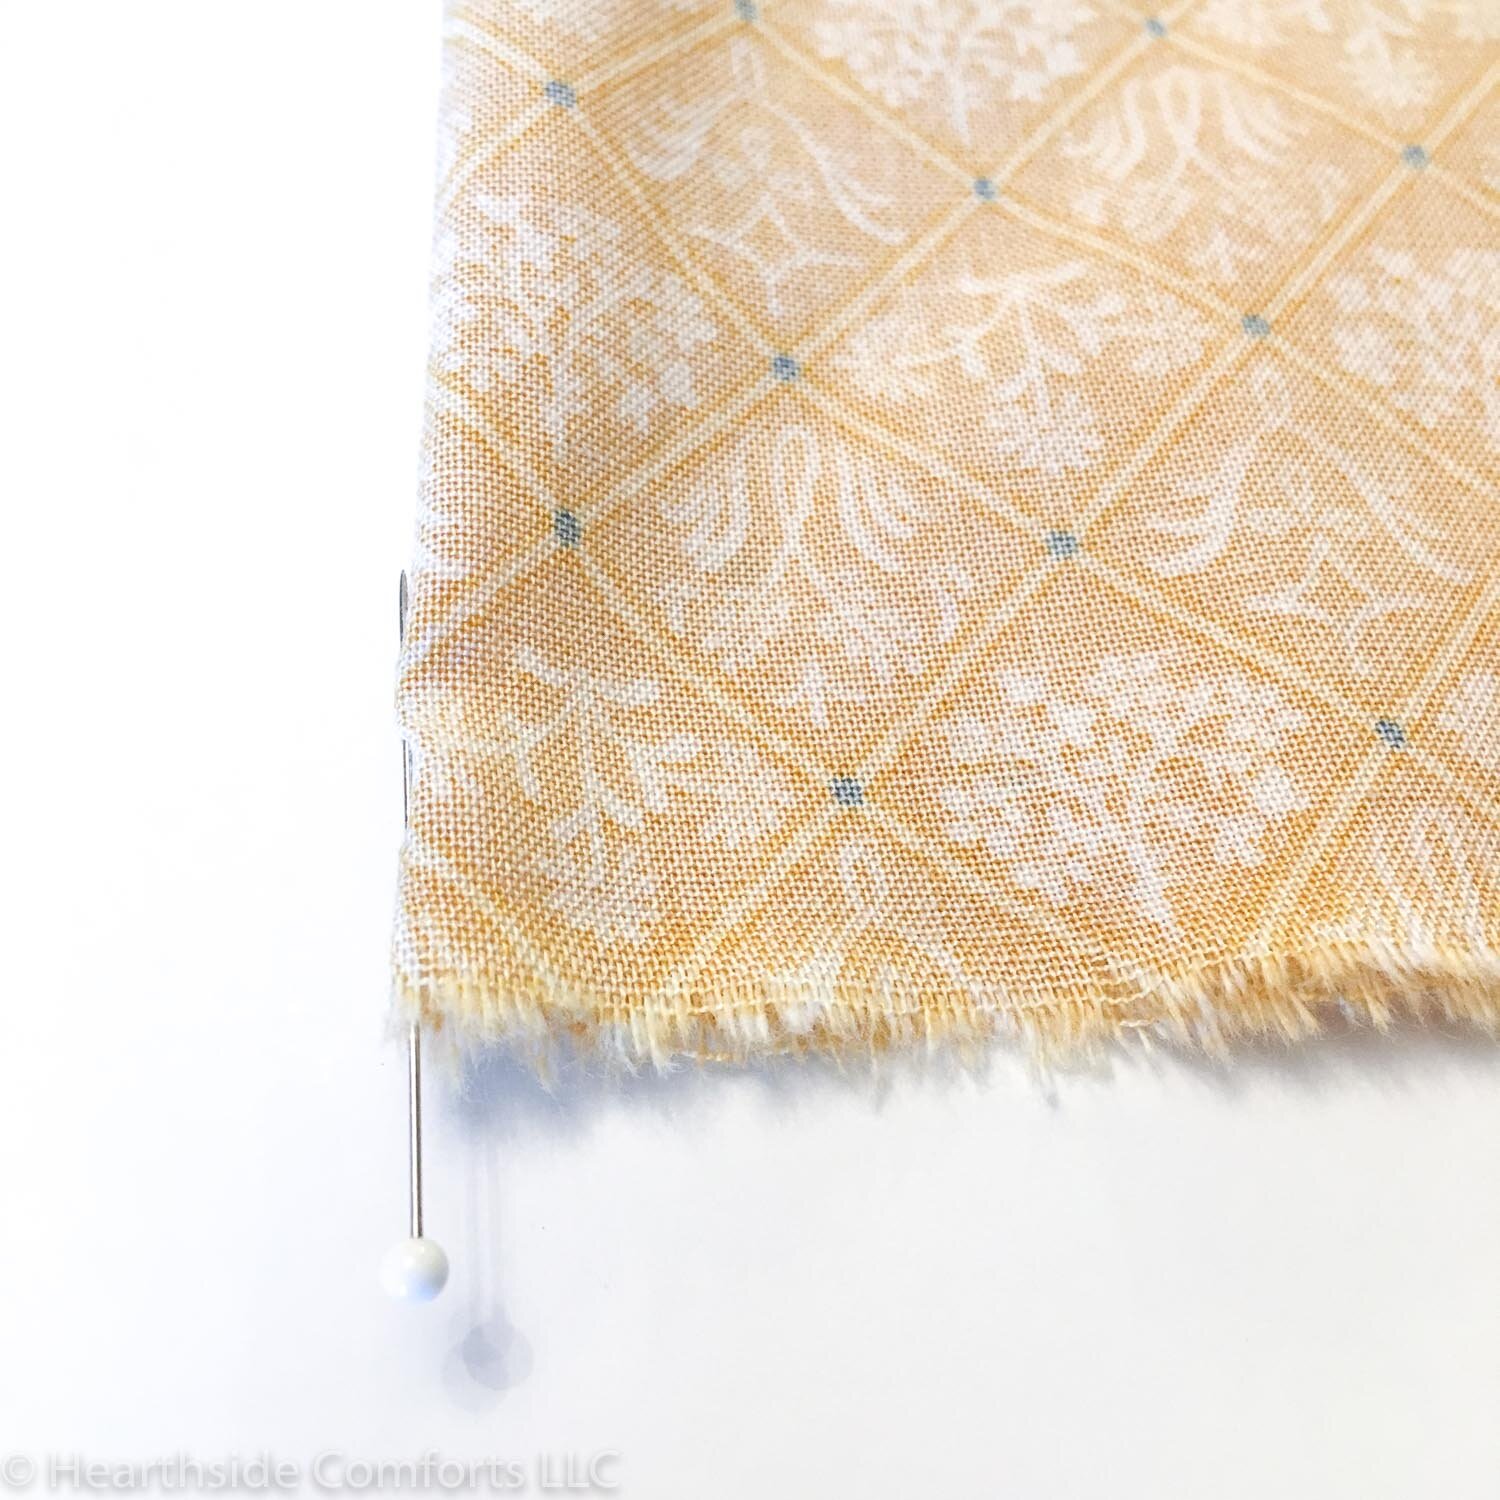
Once you have your fabric prewashed (assuming that the fabric you selected is washable) and materials assembled, cut or tear a piece of fabric to 18” wide. Note: I like to tear my cotton fabrics to make sure that I am getting the grain of the fabric straight.
Next, hem one of the selvage edges by folding in the fabric about 1/2” to 3/4”, pressing, and stitching in place.


Then fold the fabric in half, lining up the hemmed edge and the selvage edge.

Place a pin to mark the center of the fabric.
Unfold the fabric and measure 8.5” from the pin. You will be folding the fabric towards the center with the fold 8.5” inches from the center pin.

Fold in the sides of the fabric with right sides together as shown below:


Once you have both sides of the length of fabric folded in, measure to make sure that it is 17” across. Make sure that the folded edges are lying flat—it is VERY important to have the grain straight or your pillow covers will not look good!

Next, pin or clip the raw edges to be sewn.

Sew, using 1/2” seam allowance. You may finish the seam as I did below with a serger or zig zag stitch.

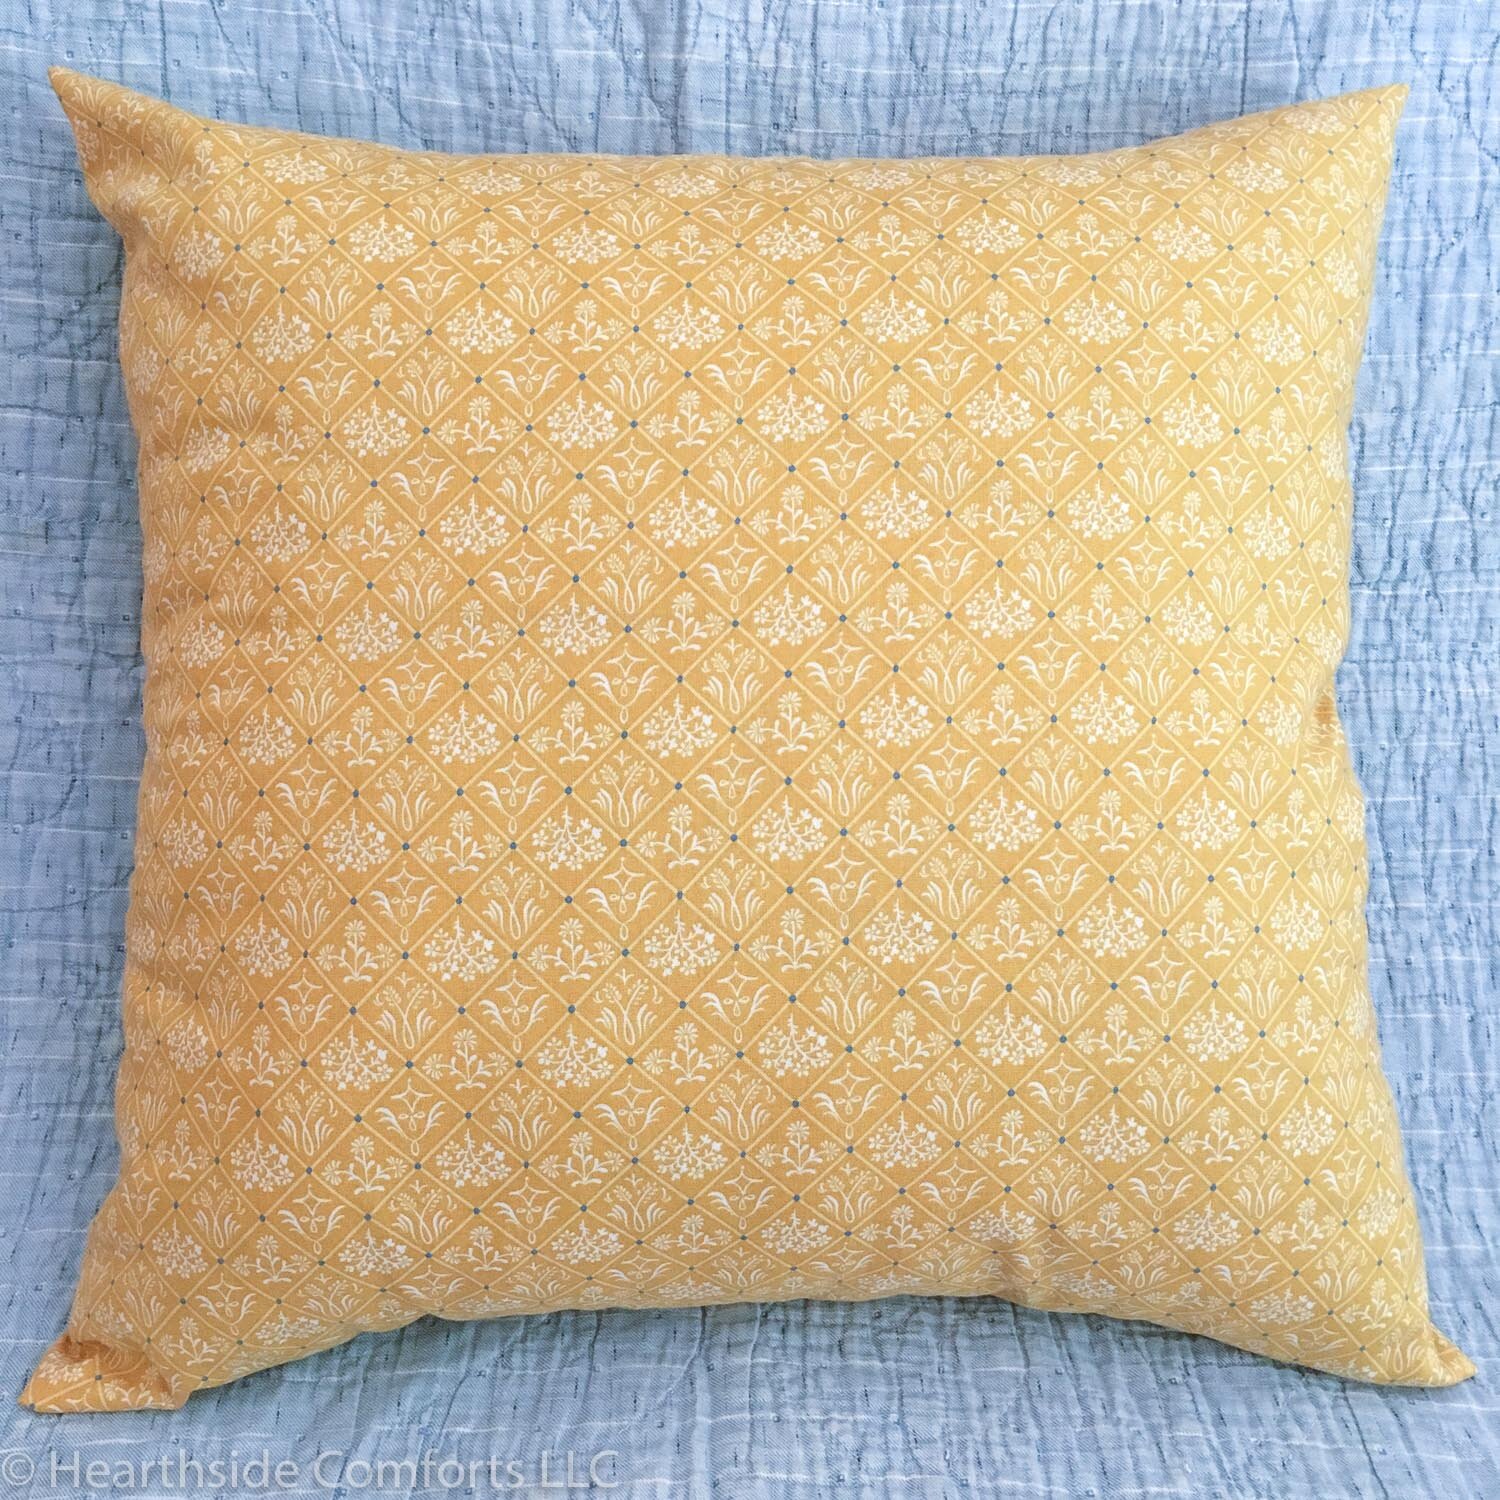
Once you have sewn both sides of the pillow cover turn half of it right side out, insert the pillow form and finish turning the cover right side out.


Voila, you have a new pillow cover!
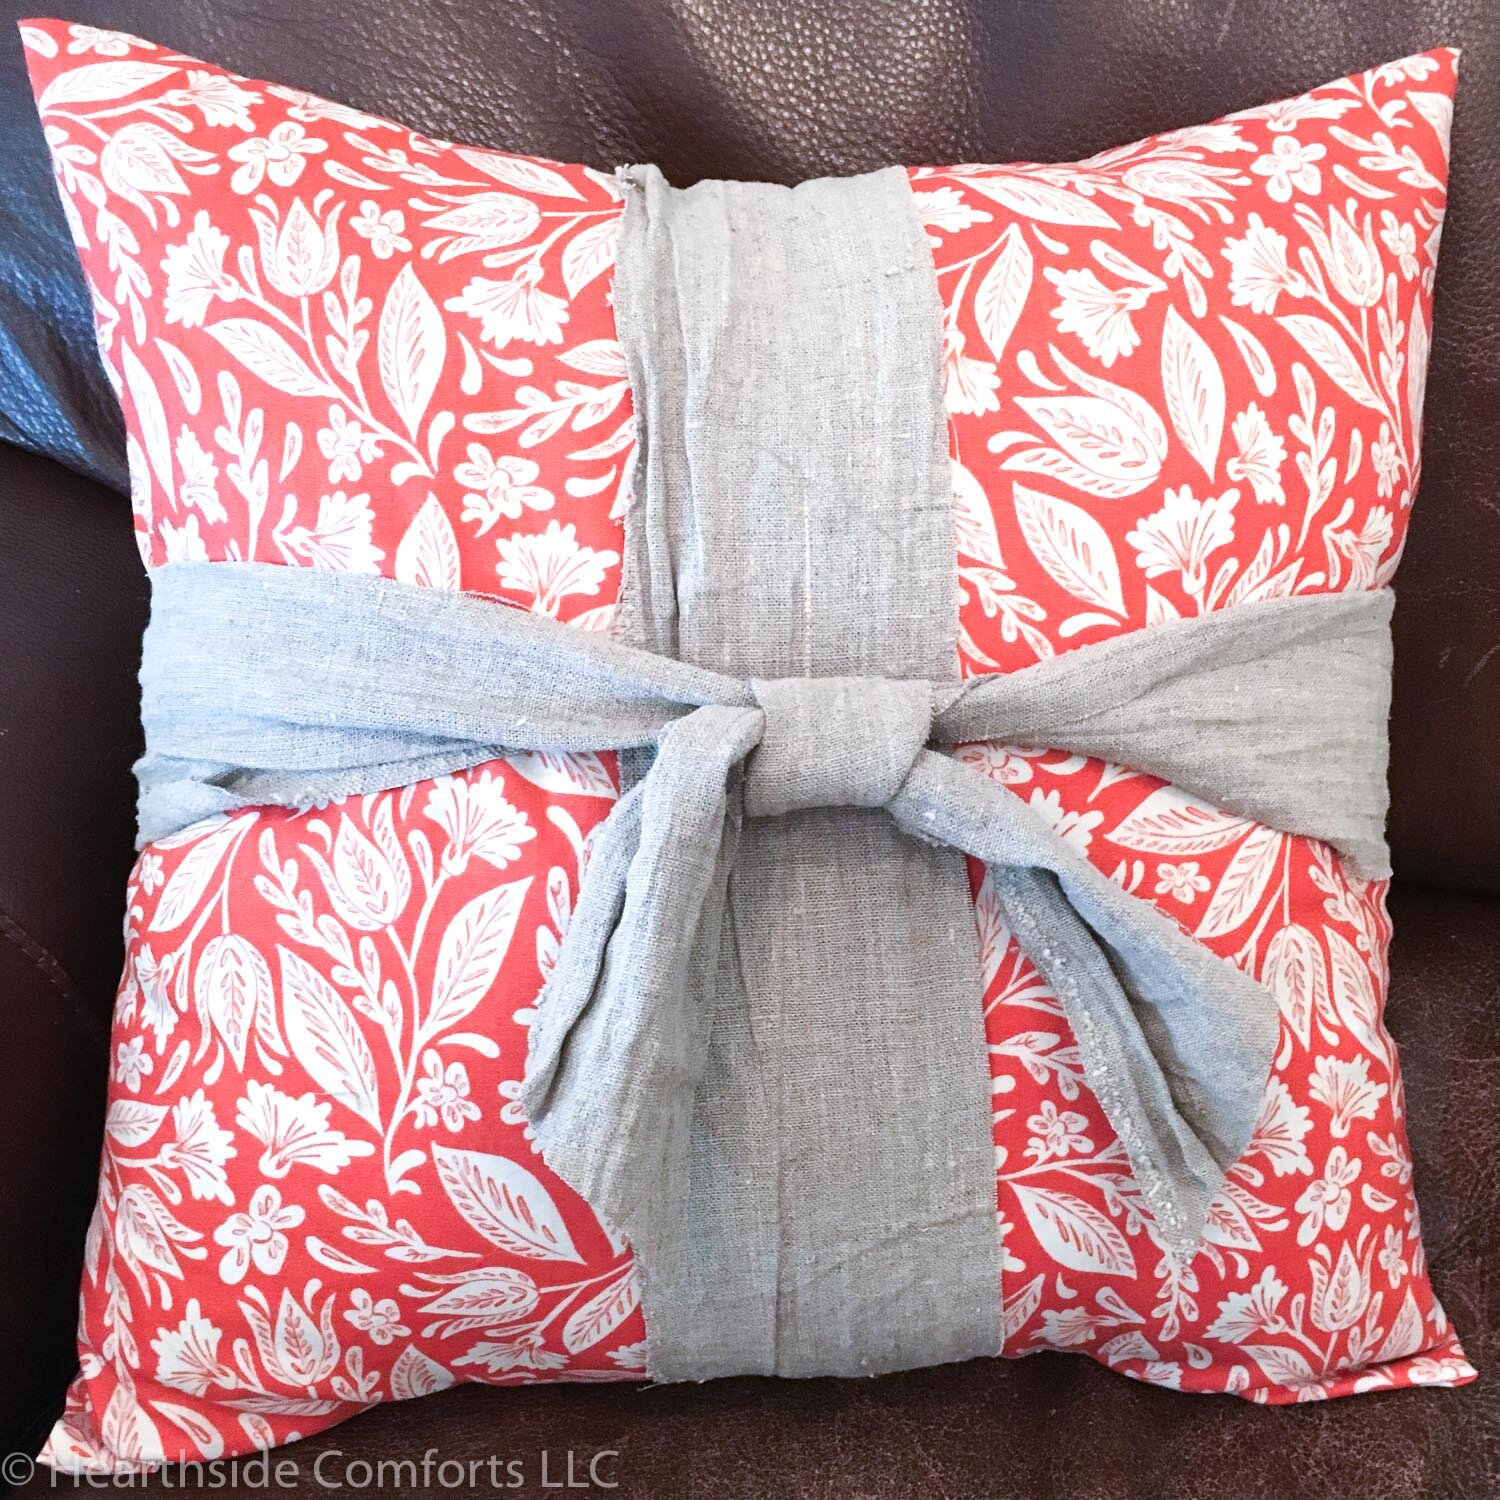
You can either leave it as is, or you can put a ribbon around it (or in this case a strip of rustic linen—you can see that I am all about using what I have on hand—this is a scrap left from the table runners that I am making this week to fill an order).
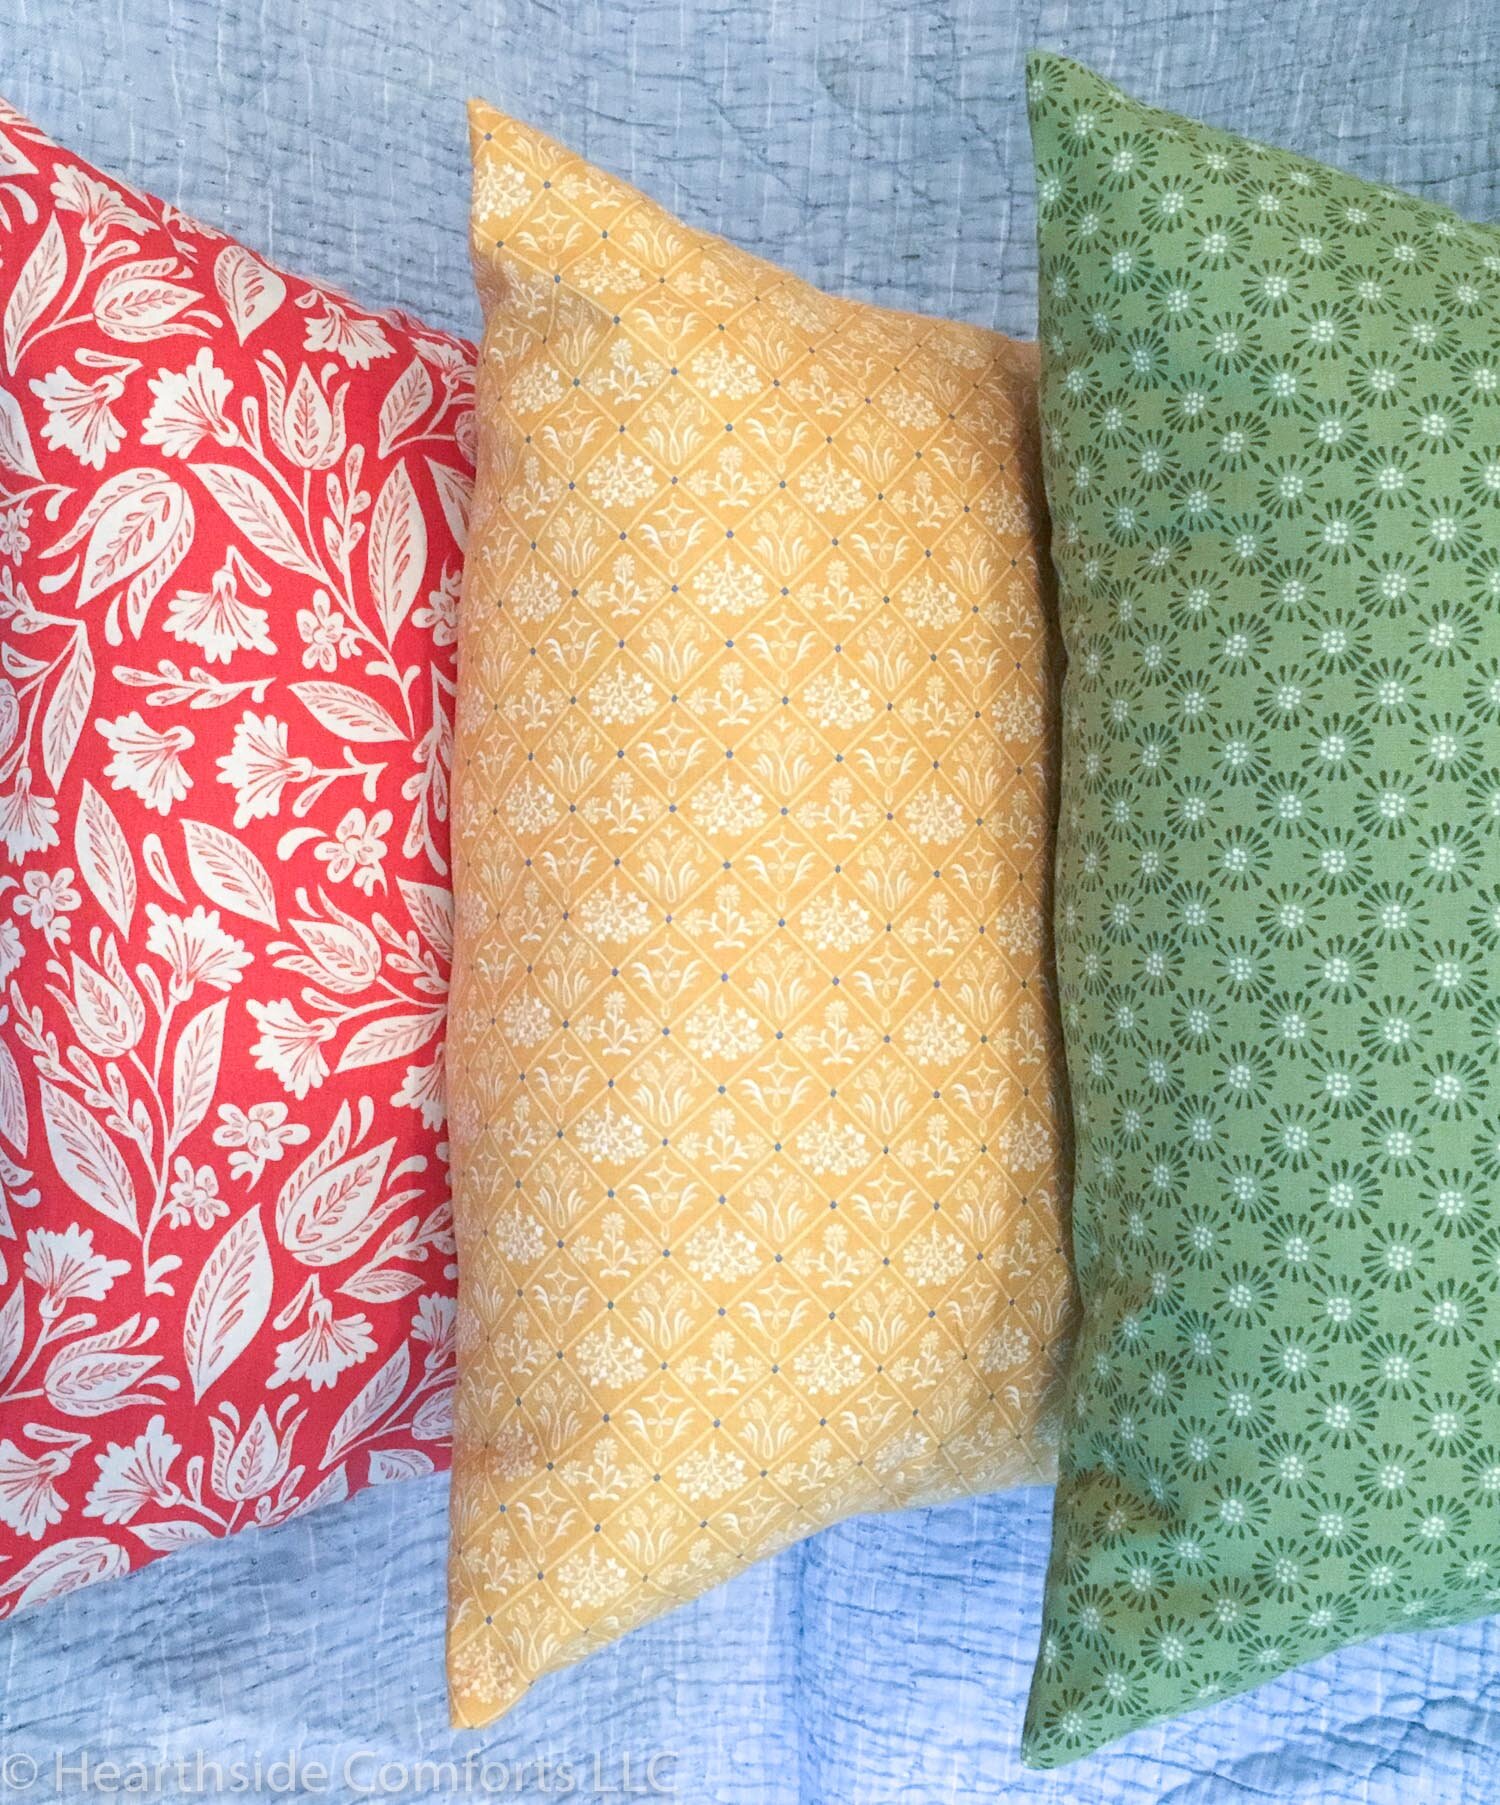
I ended up making three pillow covers. I didn’t take any photos of the last (green) one, and I completed it in less than 15 minutes!
Happy sewing! And if you make some pillow covers using this tutorial, please share on Facebook or Instagram and tag #hearthsidecomforts so that I can see your pillows! And if you want to make a cozy linen throw to go along with the pillows, go to this post.
If you want to save this idea for later while you shop for fall fabric, you may pin the image below.

Disclosure: This post contains affiliate links. As an Amazon Associate, I earn from qualifying purchases.