
How to Make a Braided-Rug-Style Christmas Tree Skirt by Upcycling Worn Bedsheets (DIY Tutorial)
In this blog post, I will teach you how to make a braided tree skirt using old sheets. Note: this tree skirt will fit over the base of an artificial tree BEFORE the tree is assembled! If you need to put a skirt around a tree on which you cannot slide this small circle opening, then please reach out to me for guidance on adapting the pattern.

I have written detailed instructions below, but if you want to go directly to the video tutorial, click this button:
Note: The following text was written last year, but I became too ill to finish the tutorial/video before Christmas. So, here is the tutorial FINALLY!
Last year was the first time that we had a Christmas tree in our eight years of marriage. I had been telling my husband for years that decorating for Christmas was really important to me, and last year he created a budget item for decor. My largest purchase was purchasing a 6.5’ Stratford Spruce Christmas tree with clear lights from Balsam Hill, taking advantage of their 50% sale. We didn’t put many ornaments on it last year—we hung a few of the ornaments that we had from earlier in life, and I bought some candy canes for my 5-year old to put on the tree, and that was the extent of the tree decorating. My favorite part of having a Christmas tree is the lights, anyway, so I was perfectly happy. I didn’t even take the time to “fluff” the branches as Balsam Hill recommends, but I do plan to do that this year!
After I set up the tree this week, I began considering what type of tree skirt I wanted to make. I considered using a rustic linen, but I wanted something a bit heavier. I considered making a quilted tree skirt, but then the idea of making a braided-rug tree skirt came to mind, probably because last week, I made a braided coaster, and I wanted to make a few more items using this technique. Also, I had the perfect fabric for this project: a set of white sheets that had worn out. I had not thrown them out because I knew that someday, I would have a use for them!
And so I started tearing the sheet into strips and braiding the strips together and sewing the braid together. It was so fun to watch the project come together. I love the texture, color, and the fact that it is original and unique and handmade.

DIY Tutorial
Materials needed:
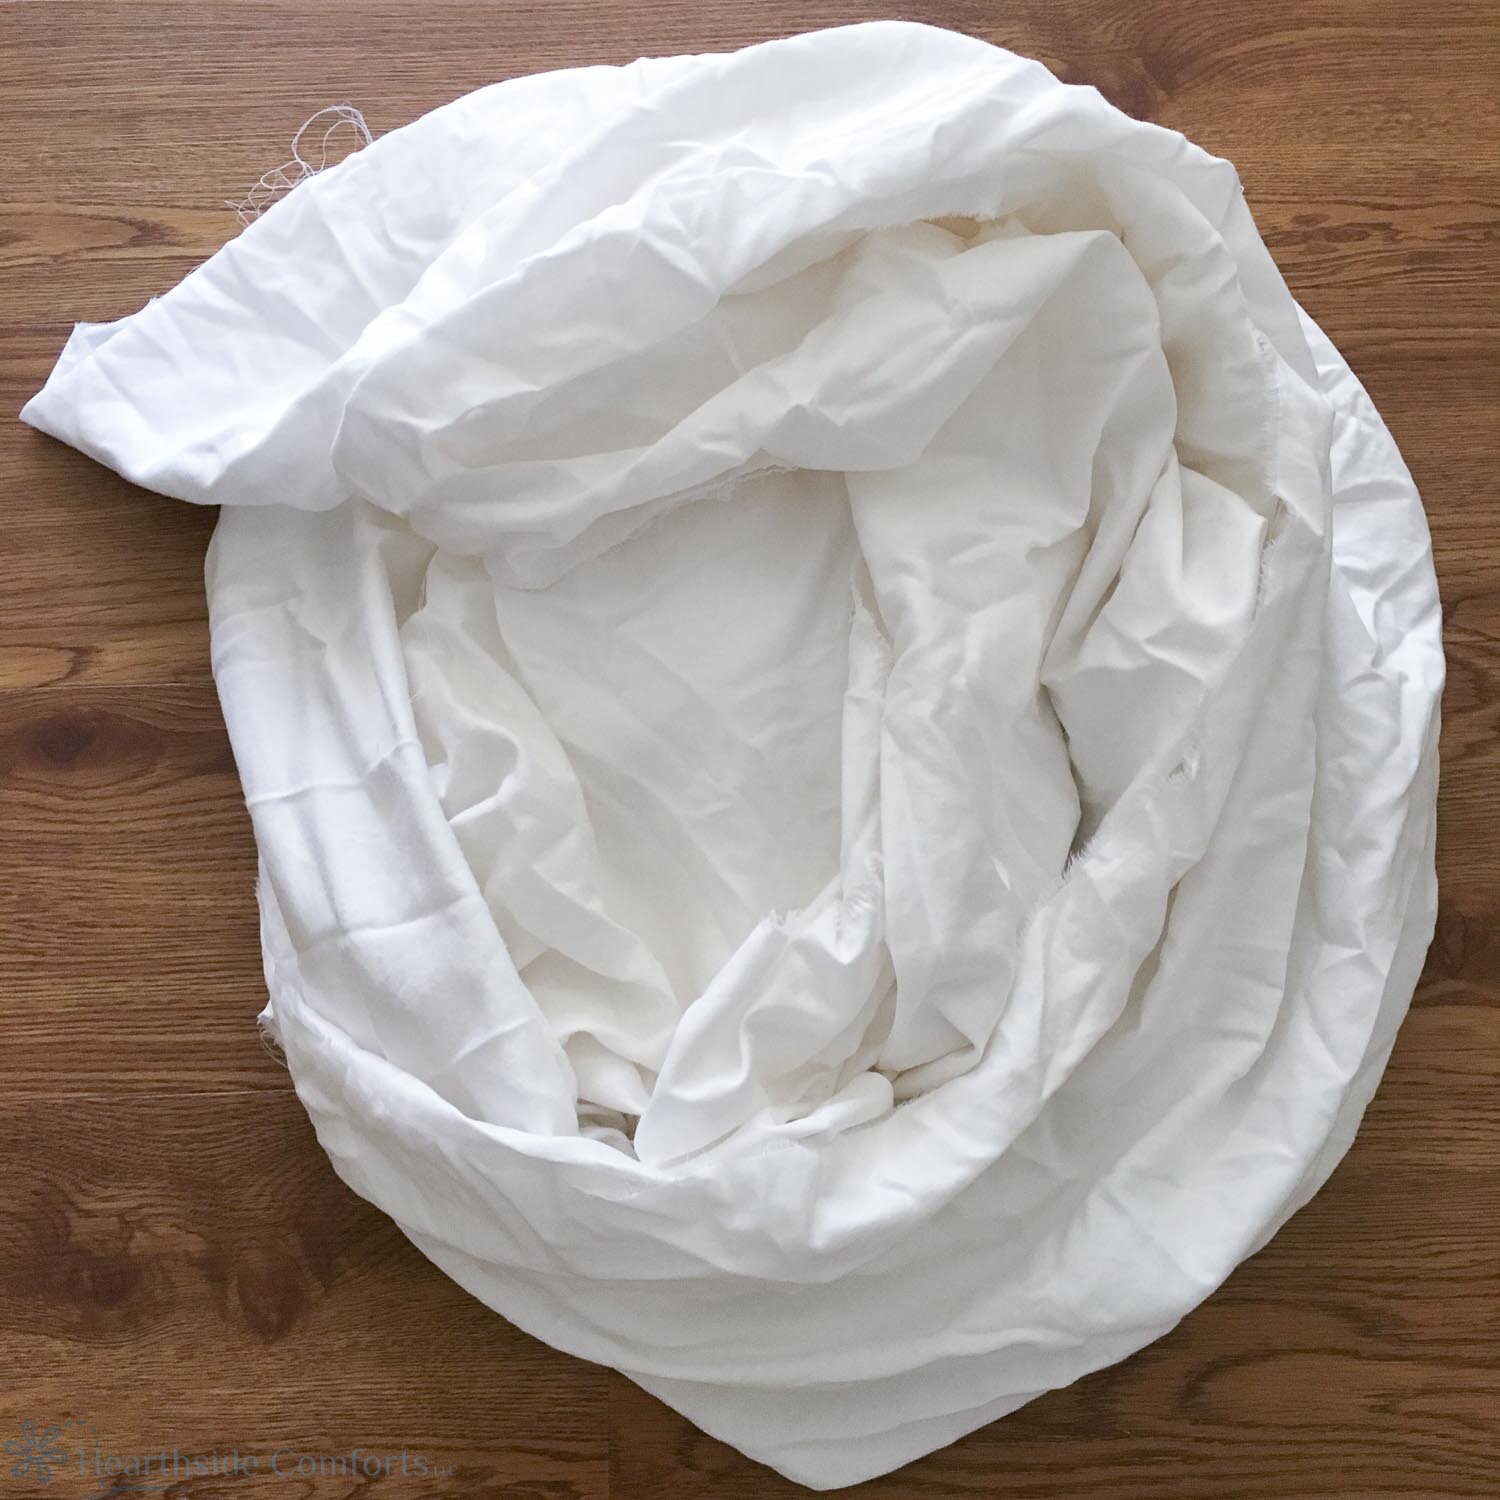
Three well-worn, 100% cotton, queen-size sheets in a color that you prefer
Matching thread (at least two spools or more, I used a lot of partially-empty spools so I don’t have an exact amount. It took A LOT of thread!)
Sewing machine
Walking foot, optional
Sewing needles for jeans/denim size 100/16 or 110/18 (I used 100/16)
Fabric scissors
Disclosure: This post contains affiliate links. As an Amazon Associate, I earn a commission on qualified purchases.
Instructions:
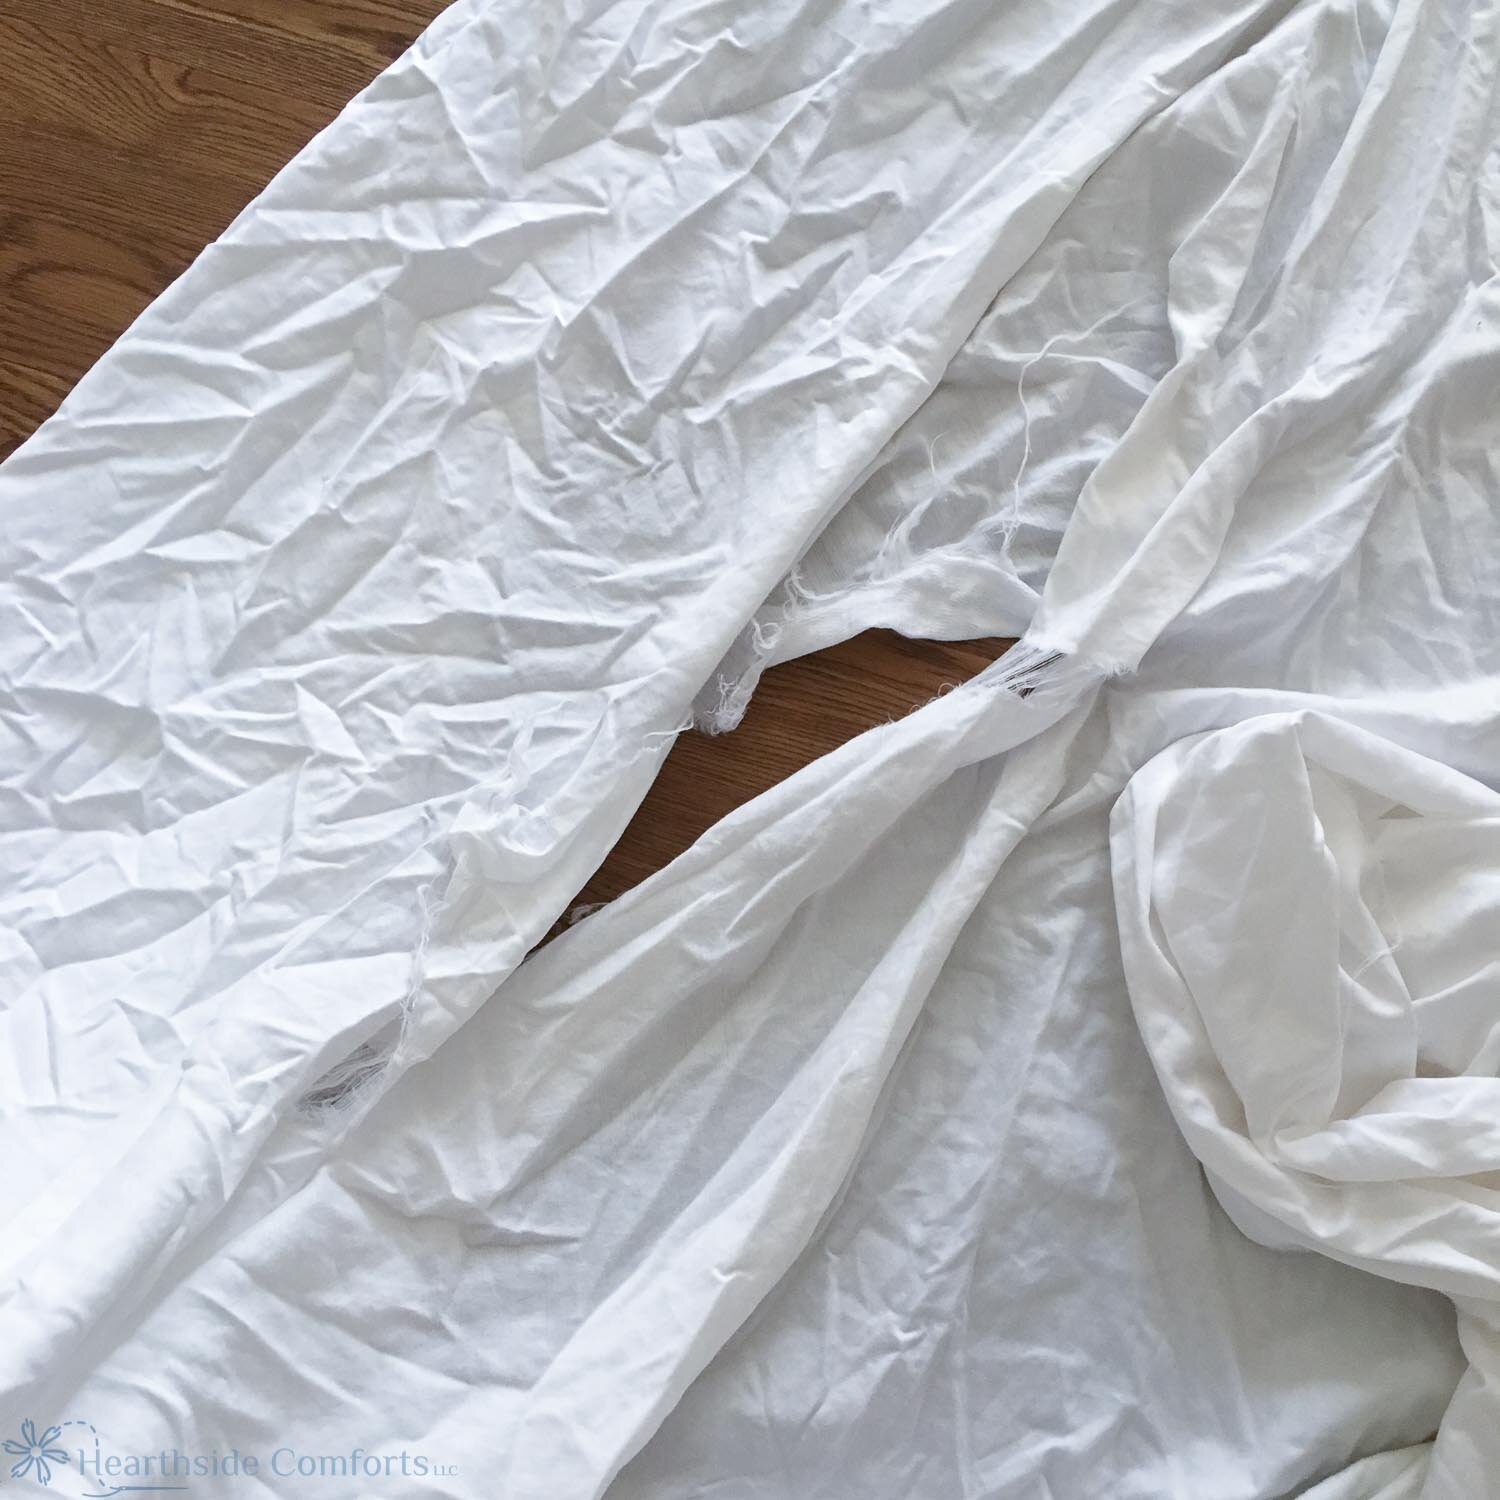
1) Remove the elastic and seams from the fitted sheet and remove the seams from the flat sheet. Make a small cut right along the seam to be removed and then tear the remaining seam. Of course, these seams and elastic can be saved to use for other projects, too. For example, I plan to use the seams from the flat sheet to make a garland or use as ribbon to hang ornaments.
Tear the sheets into one-inch strips by cutting little snips about 1/2” deep along the side of the sheet 1” apart. You may either tear all of the strips at once and wind into a ball or tear as you braid. As you tear the strips, you will need to remove the loose threads—these can be saved to use for stuffing ornaments or small pillows.

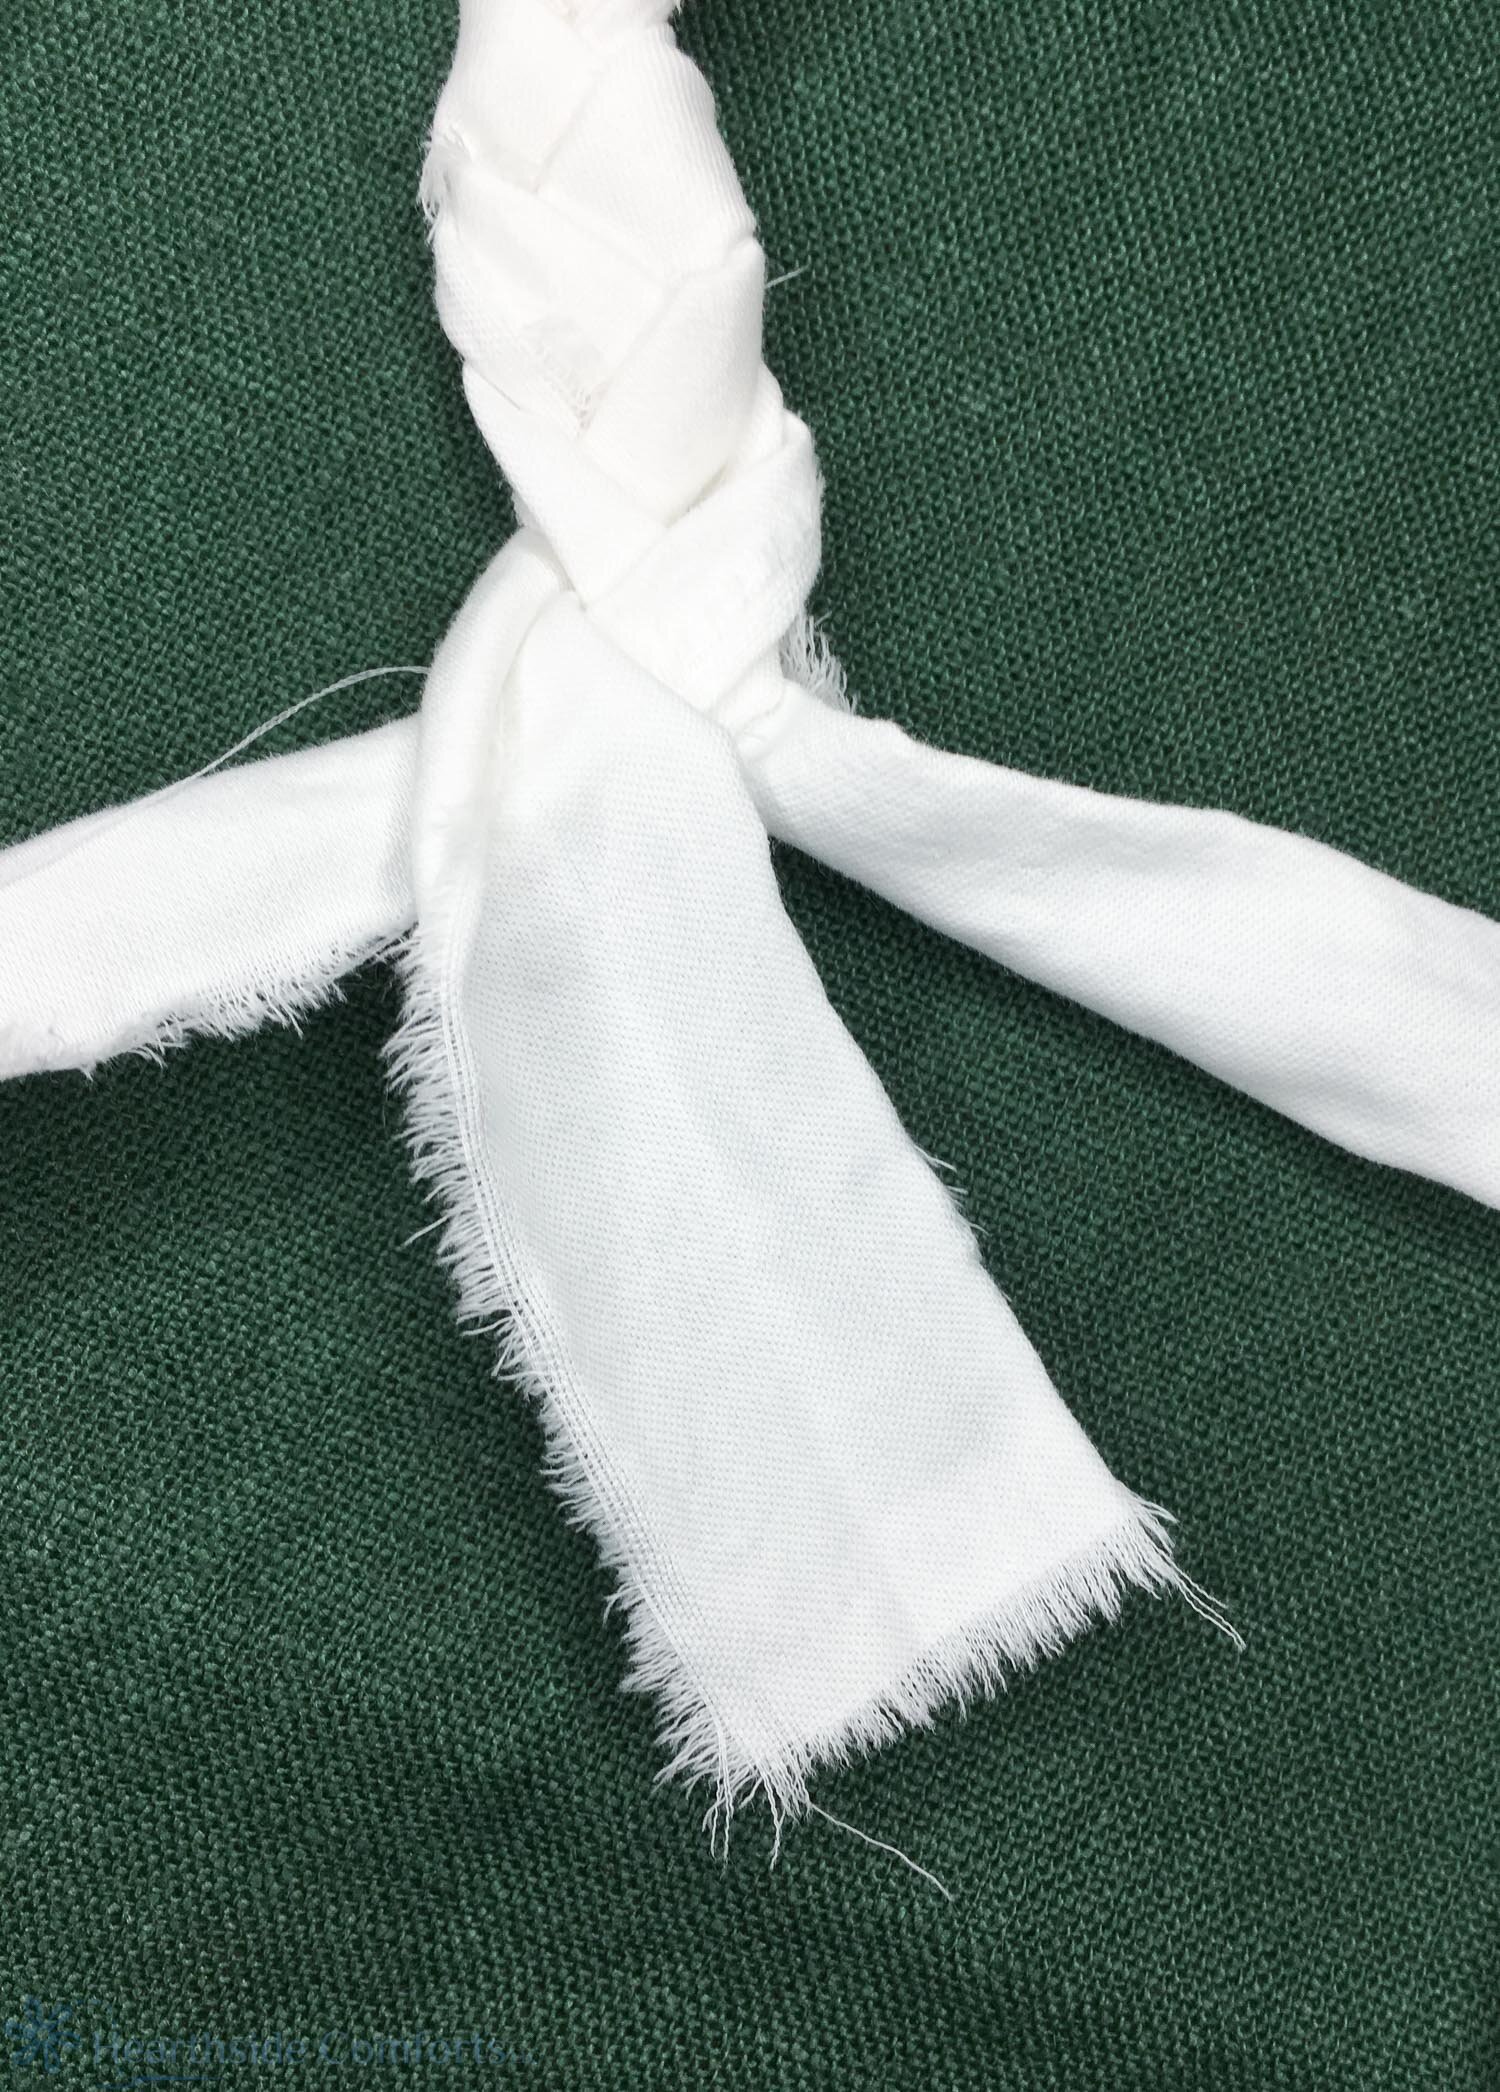
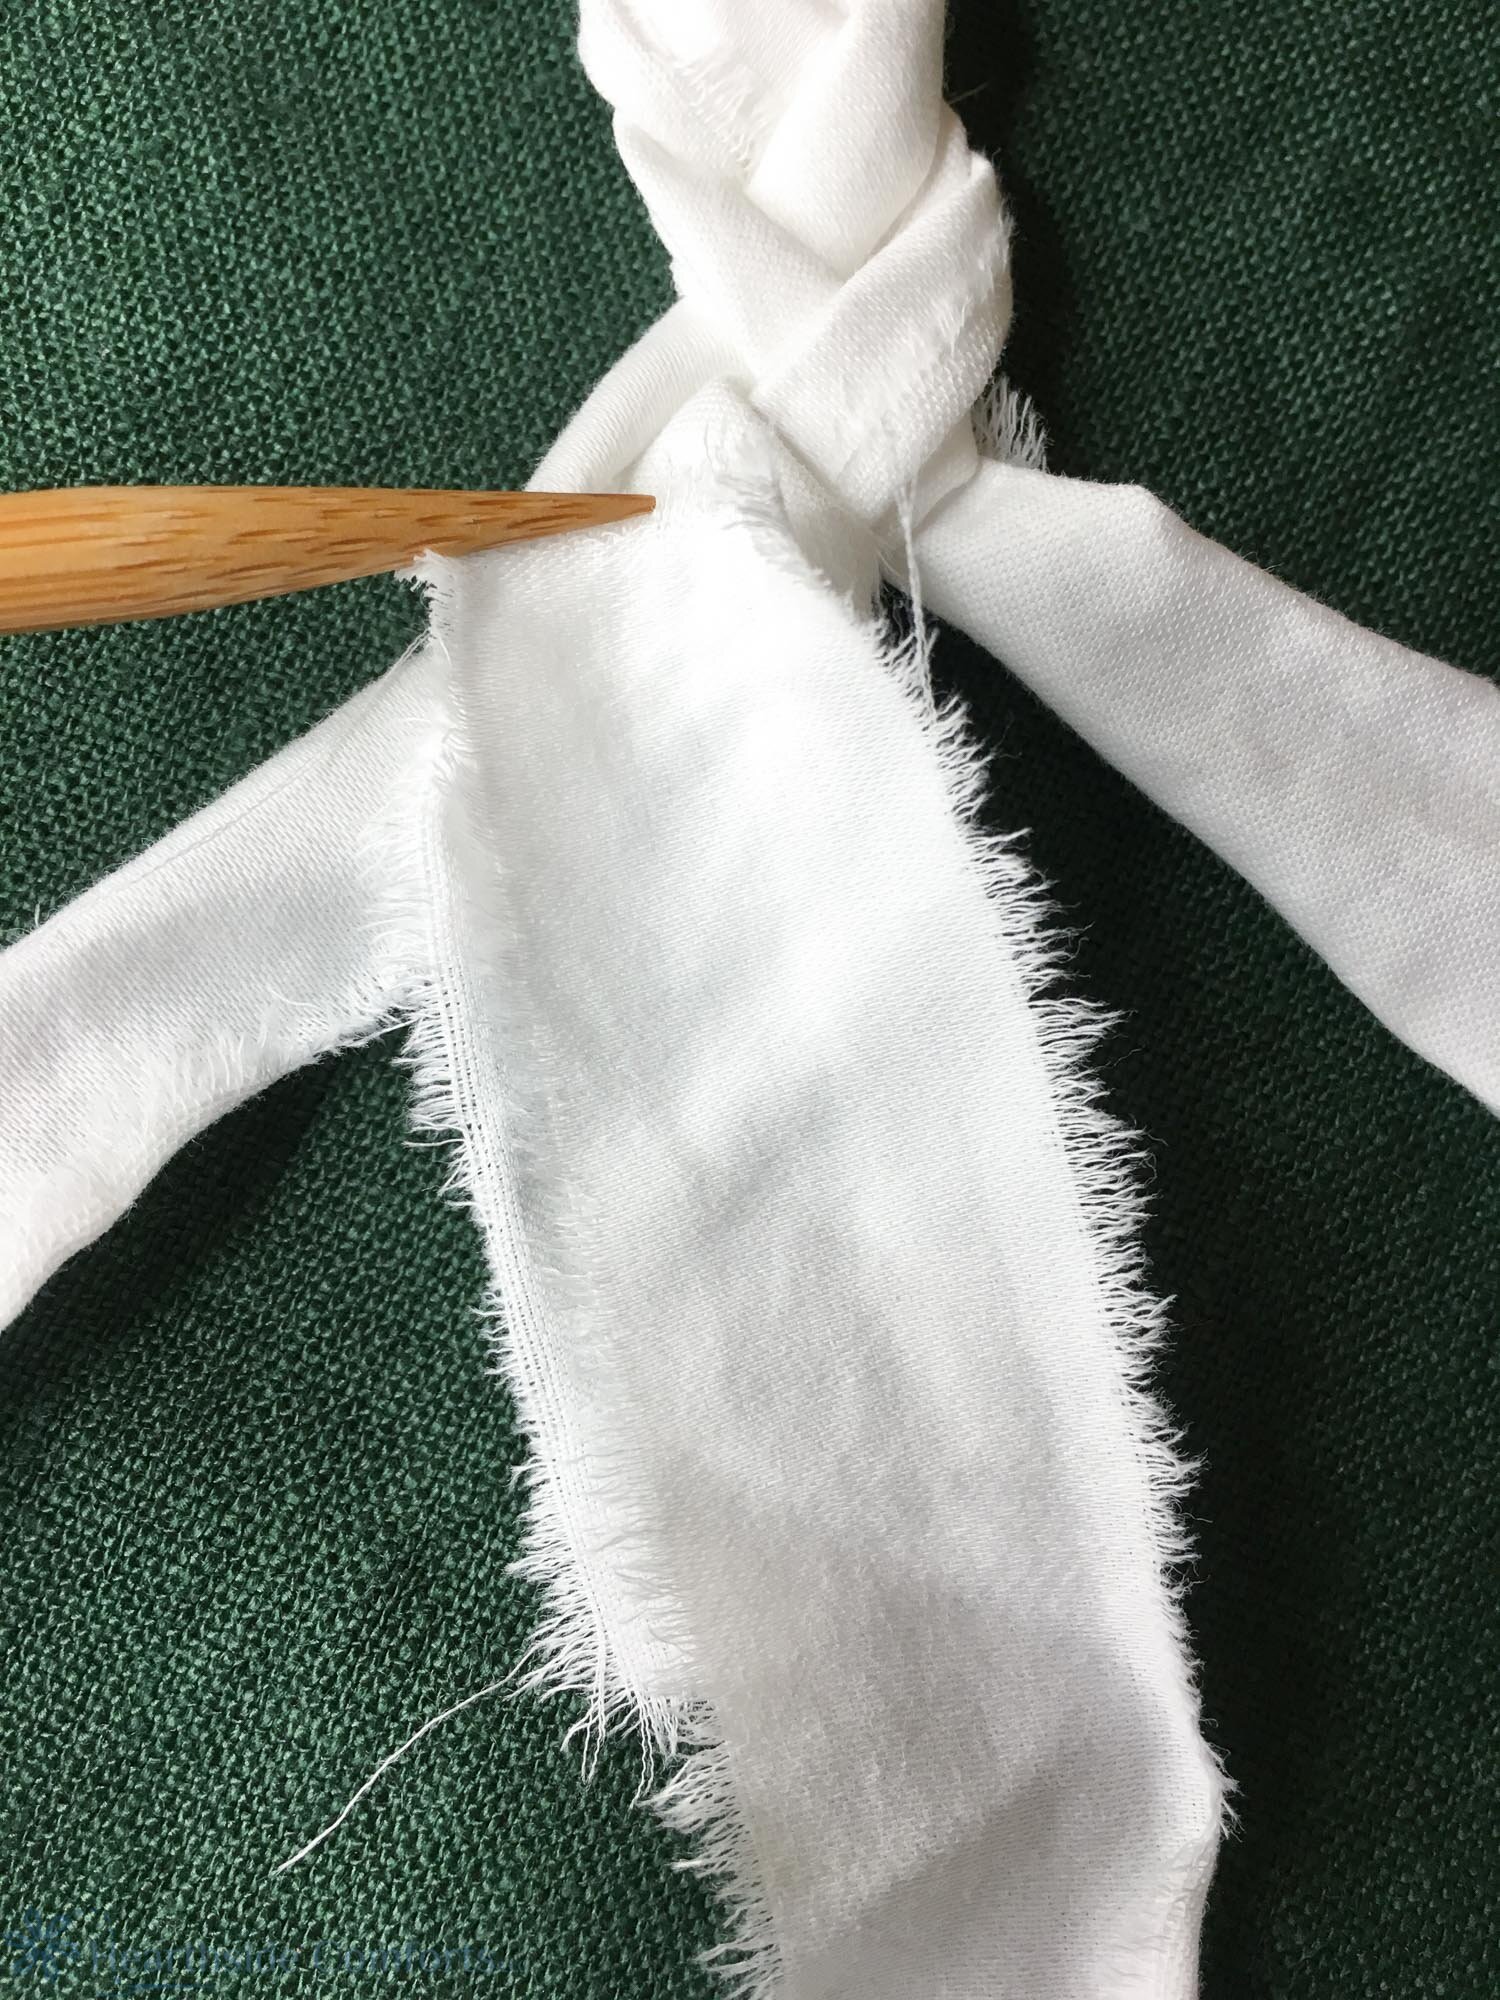
2) Take three 1” strips of fabric and sew across the end or make a knot to hold them together. Braid until you reach the end of the strips and join another strip and keep braiding. I like to join using an easy method of tucking the new strip into place and continuing to braid. I found that an overlap of 2" to 3” worked the best for me because I could get it braided snugly together without the new strip pulling away as I continued to braid.
Again, you can either braid all of your fabric, while watching your favorite Christmas movies, such as It’s A Wonderful Life, or sew and braid as you go. Note: I started with a tight braid and made the tree skirt with a radius of about 6” before switching to a looser braid because I wanted the edges to have a floppy, wavy look—I didn’t want it to be too tightly braided and stiff like I would want for a rug.
4) Measure circumference of the base of the tree where the tree skirt opening will go. To get started sewing, take the braid and make a circle large enough to fit around the measurement that you just took. Connect the starting point by sewing together with a large zig-zag stitch. Make sure that you bring the braid in from the right side of the needle so that as you sew the tree skirt grows to the left of the needle. Sew the braid together by lining up your needle with the center where the two braids connect and using a large zig-zag stitch sew the braids together. If you see that you didn’t catch both braids securely, just backstitch where you missed and keep sewing. This project doesn’t have to be perfect! The raw edges and unevenness of the braids just add to the charm and texture and cozy feel of this tree skirt.

5) Make sure that you have a large table/surface area to the left of your machine to support the weight of the tree skirt as you sew. Use a walking foot to help pull the fabric through if you want (optional). Sew until the tree skirt has reached the size you want it to be and sew the ends to the tree skirt. Trim any threads and put it in place! Enjoy the handmade beauty that you have just created.
VIDEO:
If you make a tree skirt, using this tutorial, please tag me on social media!
Facebook: @hearthsidecomforts
Instagram: @hearthsidecomforts #braidedrugtreeskirt
And, as always, let me know if you have any questions!