
Making a Structured Tote Bag
In this post, I will show you how I made an original, completely unique linen tote bag—even I will never make another one exactly the same!
When I was originally planning this post, I was going to teach you how to design your own tote bag; however, I decided to wait to share that process with you until I have designed and made a few more sizes of bags to give you those instructions. For those of you who have no interest in designing a pattern, ByAnnie.com offers MANY patterns for purses and bags, as well as a variety of other products. Their patterns are well-written and many even include a bonus video tutorial. I must admit that I have even purchased patterns just for the video tutorials so that I could learn new techniques! In addition to selling patterns, they offer many patterns for free download.
Disclosure: This blog post is in collaboration with ByAnnie.com, who provided the Soft and Stable foam stabilizer and the sew-in magnets that I used in the making of this tote bag. All words in this post are my own and reflect my own opinion and technique.
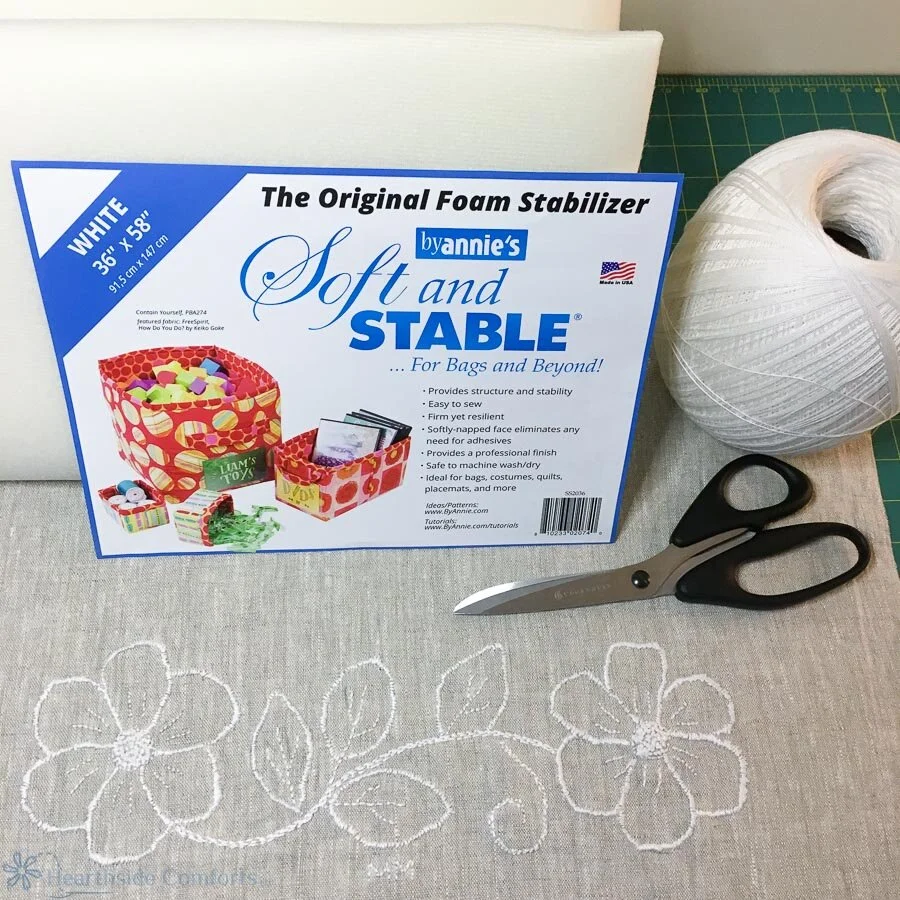
I have been needing a large tote bag for quite some time. Since last October, I have needed to leave the house frequently for medical appointments. Because I never know how long these appointments will take (i.e. how long I will have to wait), I like to take a knitting project and/or a book to read, a notebook, water bottle, and, of course, I usually have paperwork to take with me or bring home. Instead of taking multiple small bags, I wanted one large bag that would meet all of my needs. Additionally, I wanted a neutral-colored bag so that it will go with whatever I wear. As a wardrobe minimalist, I like one bag that will suit all occasions! But my heart desires beauty in all things, too, and so I wanted the bag to be pretty as well as practical. I decided to hand-stitch a stenciled pattern on the linen fabric. Starting the process one Friday evening while I was hanging out with my family, I chose one of my Grandmother’s quilting stencils to trace the pattern onto the fabric.


Over eight hours of stitching later, I had the stitching complete and ready to make into a tote bag. I used DMC pearl cotton size 5 for the embroidery, just in case you are wondering.

(If you want to know the history of how I began making tote bags, you can click here to read this post.)

I cut the fabric to size and stitched it to the Soft and Stable foam stabilizer. This stabilizer is amazing! It is lightweight and yet it provides wonderful structure to purses and bags. In addition to purchasing directly from ByAnnie.com, you can find it at quilt shops or on Amazon.
Here is link to the 18” x 58” piece, which would be what you want to order for one tote bag: Soft & Stable 1/2 yard
And here is a link to 36” x 58”: Soft & Stable 1 yard
And here is a link to 72” x 58”: Soft & Stable 2 yards
Depending on the size of tote you make, you may even be able to use this project pack to make two totes! Soft and Stable Project Pack
Because I used linen for the outside of the bag, I allowed the fabric to be a bit loose and not tight against the stabilizer. I have learned that linen continues to shrink with washing, and I plan to wash this bag as needed. I didn’t want the fabric to get too tight too fast. I may learn that I allowed too much for shrinkage, but only time and use will tell (and I will update this post as I discover how it goes). I used canvas cotton drop cloth for the inside of the bag. UPDATE: The linen remained a bit loose even after washing the first time.
Once I had the front of the bag attached to the stabilizer, I made a pocket to attach to the back of the tote bag and stitched that panel to the stabilizer. Then, I attached hemp webbing handles to the front and back and completed the outer shell of the bag.

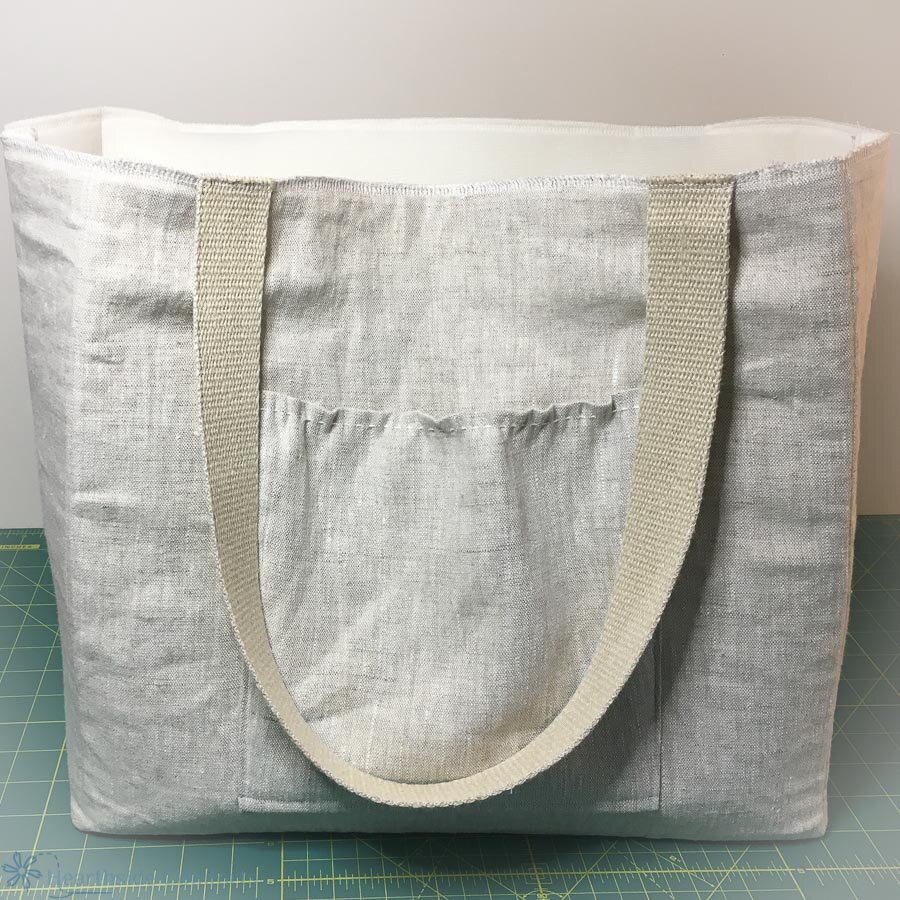
With every tote or fabric purse I have had (even the really well-known name brand ones), the handles have been the first to wear out. Because of hemp’s strength and durability, I decided to start using that natural fiber for handles.
The next day, I worked on the inside of the bag. This process was a learning experience for me as I used a sew-in-magnet for the first time (and I forgot to put it in at the right time so I had to use another method, which worked, but not as seamlessly as it should have been.)

I also made a really large loop of fabric for my water bottle, and to hold notebooks. I made small pockets for pens and pencils and sunglasses. (The outer pocket will hold my keys, and I will be making a zippered purse to fit inside of the tote to hold my wallet and phone. Also, I will be making a project bag to hold my knitting or crocheting project inside of the tote.)

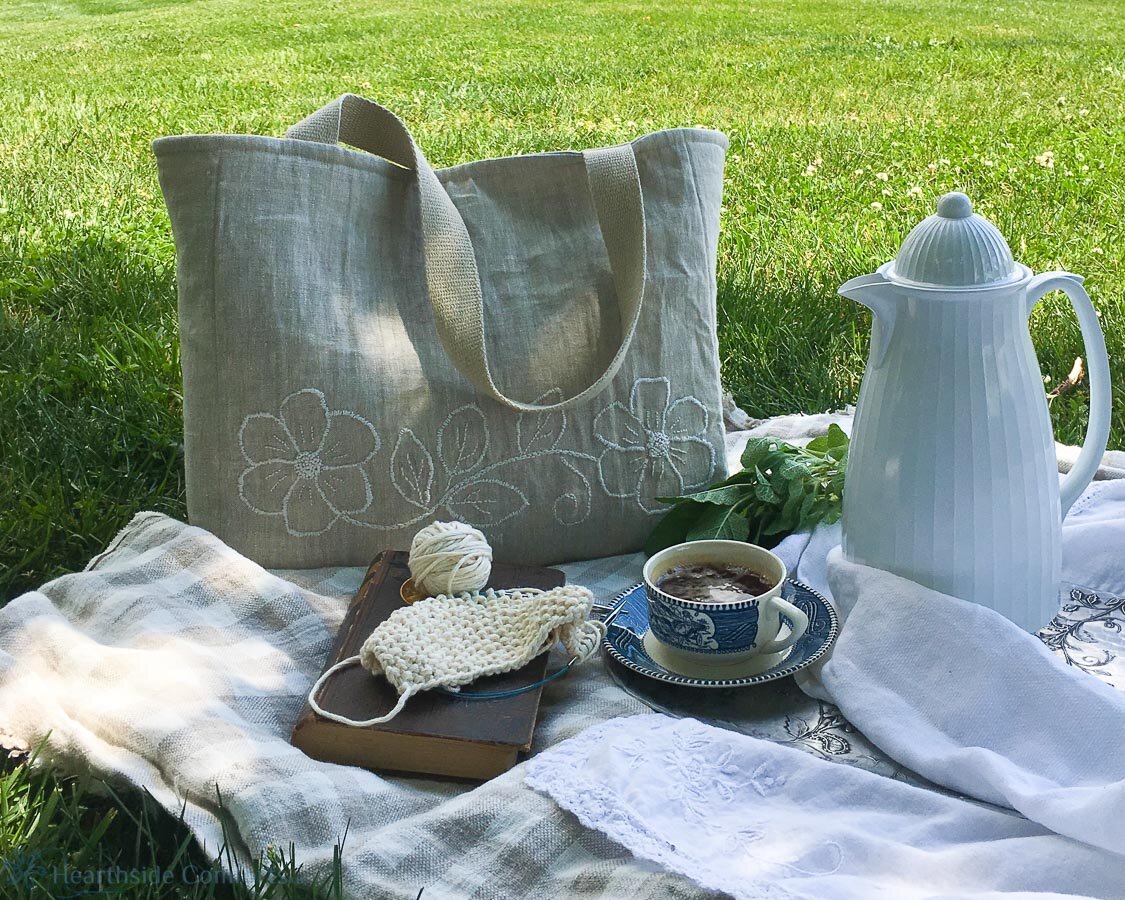
I am so happy with the final result because of how extremely practical it is. Plus, using something that is handmade, beautiful, and unique is additionally satisfying. The uses for it are endless. You can use it as a picnic bag, to carry art supplies, to pack for a day-trip…please leave a comment below to let me know how you would use a bag like this! Earlier this week, I used it to pack 3 water bottles, masks, and snacks when I took the girls to their ophthalmologist appointment an hour away.
The finished dimensions of the tote are as follows: 15” long by 6” wide x 13” tall. A great addition to the bottom of the tote would be a base stabilizer (check with your local quilt shop or order online By Annie Base Stabilizer). The base stabilizer is available in multiple sizes.


You can even pack a tea party to go!
Disclosure: This post contains affiliate links. As an Amazon Associate, I earn a commission on qualified purchases at no additional cost to you.