
Making Candles
A few weeks ago, I asked my 5-year old what makes the house feel beautiful to her. Her response: “Candles!” She frequently asks me to turn off the lights and light the oil lamp or candles on our dining room table. We are running low on oil for the oil lamp (and the store where Ryan planned to purchase more was out of stock), and we were down to one candle remaining in our supply. I decided to make some candles, which is actually something that I have been wanting to do for a long time.
For some reason, I have always been fascinated old-fashioned ways of living. Maybe it’s because of the books I read as a child? In my earlier adulthood, I always had the why-buy-something-if-I-could-make-it philosophy. I dreamed of having the ability to grow all of my own food, make all of my own clothes, build my own furniture, sew all of the household linens, make my own soap…now that I have had children, I can appreciate modern conveniences and wonder how in the world pioneer women accomplished everything. But still, within me, is that longing to do everything by hand.
Knowing how much I enjoy antiques, my parents gave me a taper candle mold as a gift, but I haven’t found the correct wick size for it yet. In the meantime, I decided to try a candle-making kit from CandleScience. I had heard about this company from one of my friends, who used to make candles to sell. She gifted me with several candles, and I was always impressed with their burn quality.
When I tried to place an order, they were actually out of stock. Apparently, making candles is a popular quarantine activity. Eventually, the kit I wanted was in stock, and I placed an order. The other Saturday night, I finally opened the kit and made my first batch.
The kit contained everything I needed except for a couple of supplies that I already had in my kitchen. I was thankful for the kit because I didn’t have to decide on wax type, or wick size, or container size…in the future, I will need to figure that out as I continue making candles, but I was thankful that for my first try, those decisions were made for me, providing me with guided experience.
CandleScience offers four types of starter kits, which are again waiting to be re-stocked:
A Starter Kit with Year-Round Scents
A Starter Kit with Fall & Holiday Scents
A Pro Candle Kit with Year-Round Scents
A Pro Candle Kit with Fall & Holiday Scents
I decided that for my very first attempt, I would try only three candles, using one pound of wax. The kit contained enough supplies to make 12 candles; however, because I was getting started right before bedtime on a Saturday night, I wanted to keep the process as short as possible. Both girls were very interested in watching me and being involved with the process.
I chose my favorite fragrance (lavender) from the ones included in the kit (according to the instructions, it takes 1 ounce of fragrance per one pound of wax). Note: I someday dream of having a rose and lavender garden, and it was lovely to have a bouquet of red roses that Ryan had purchased for me the day before nearby as I made the candles.

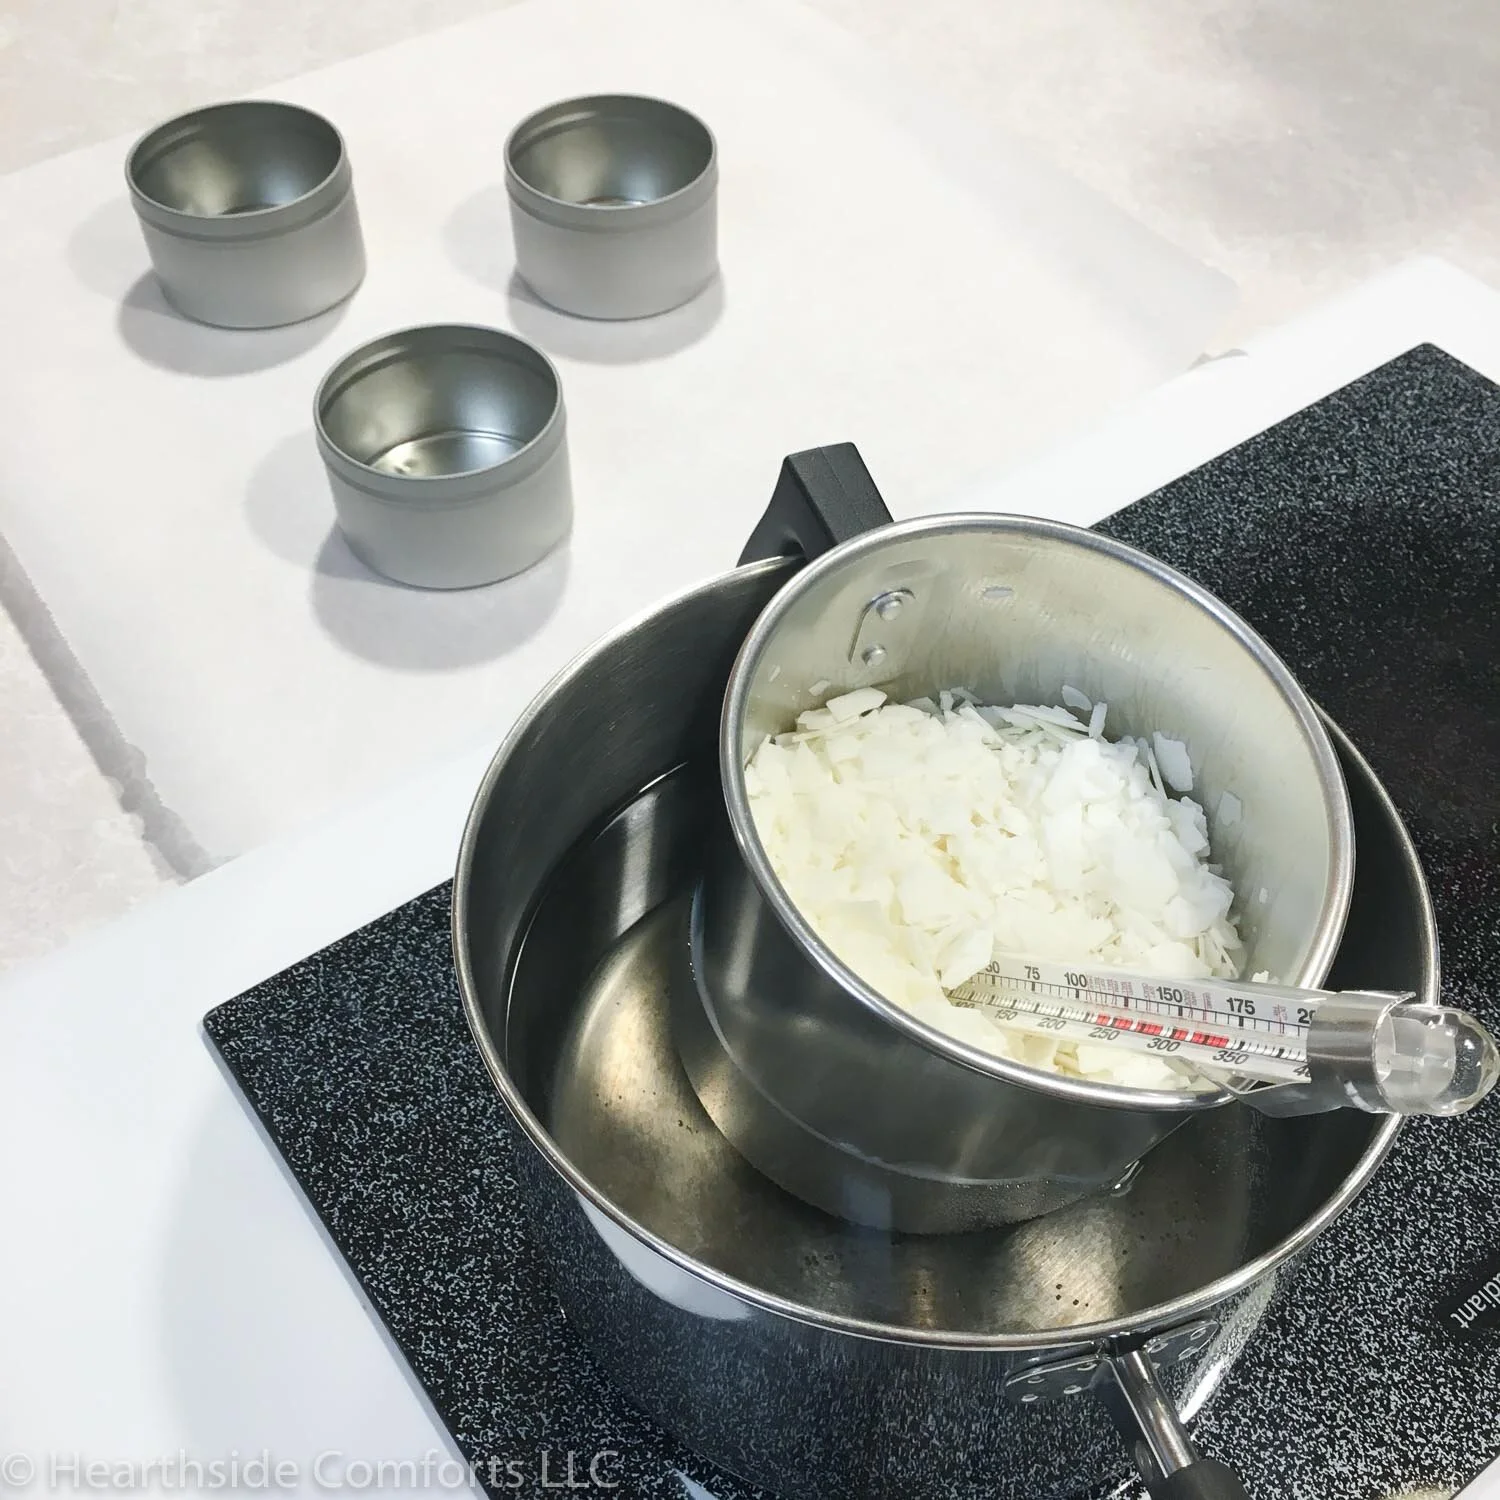
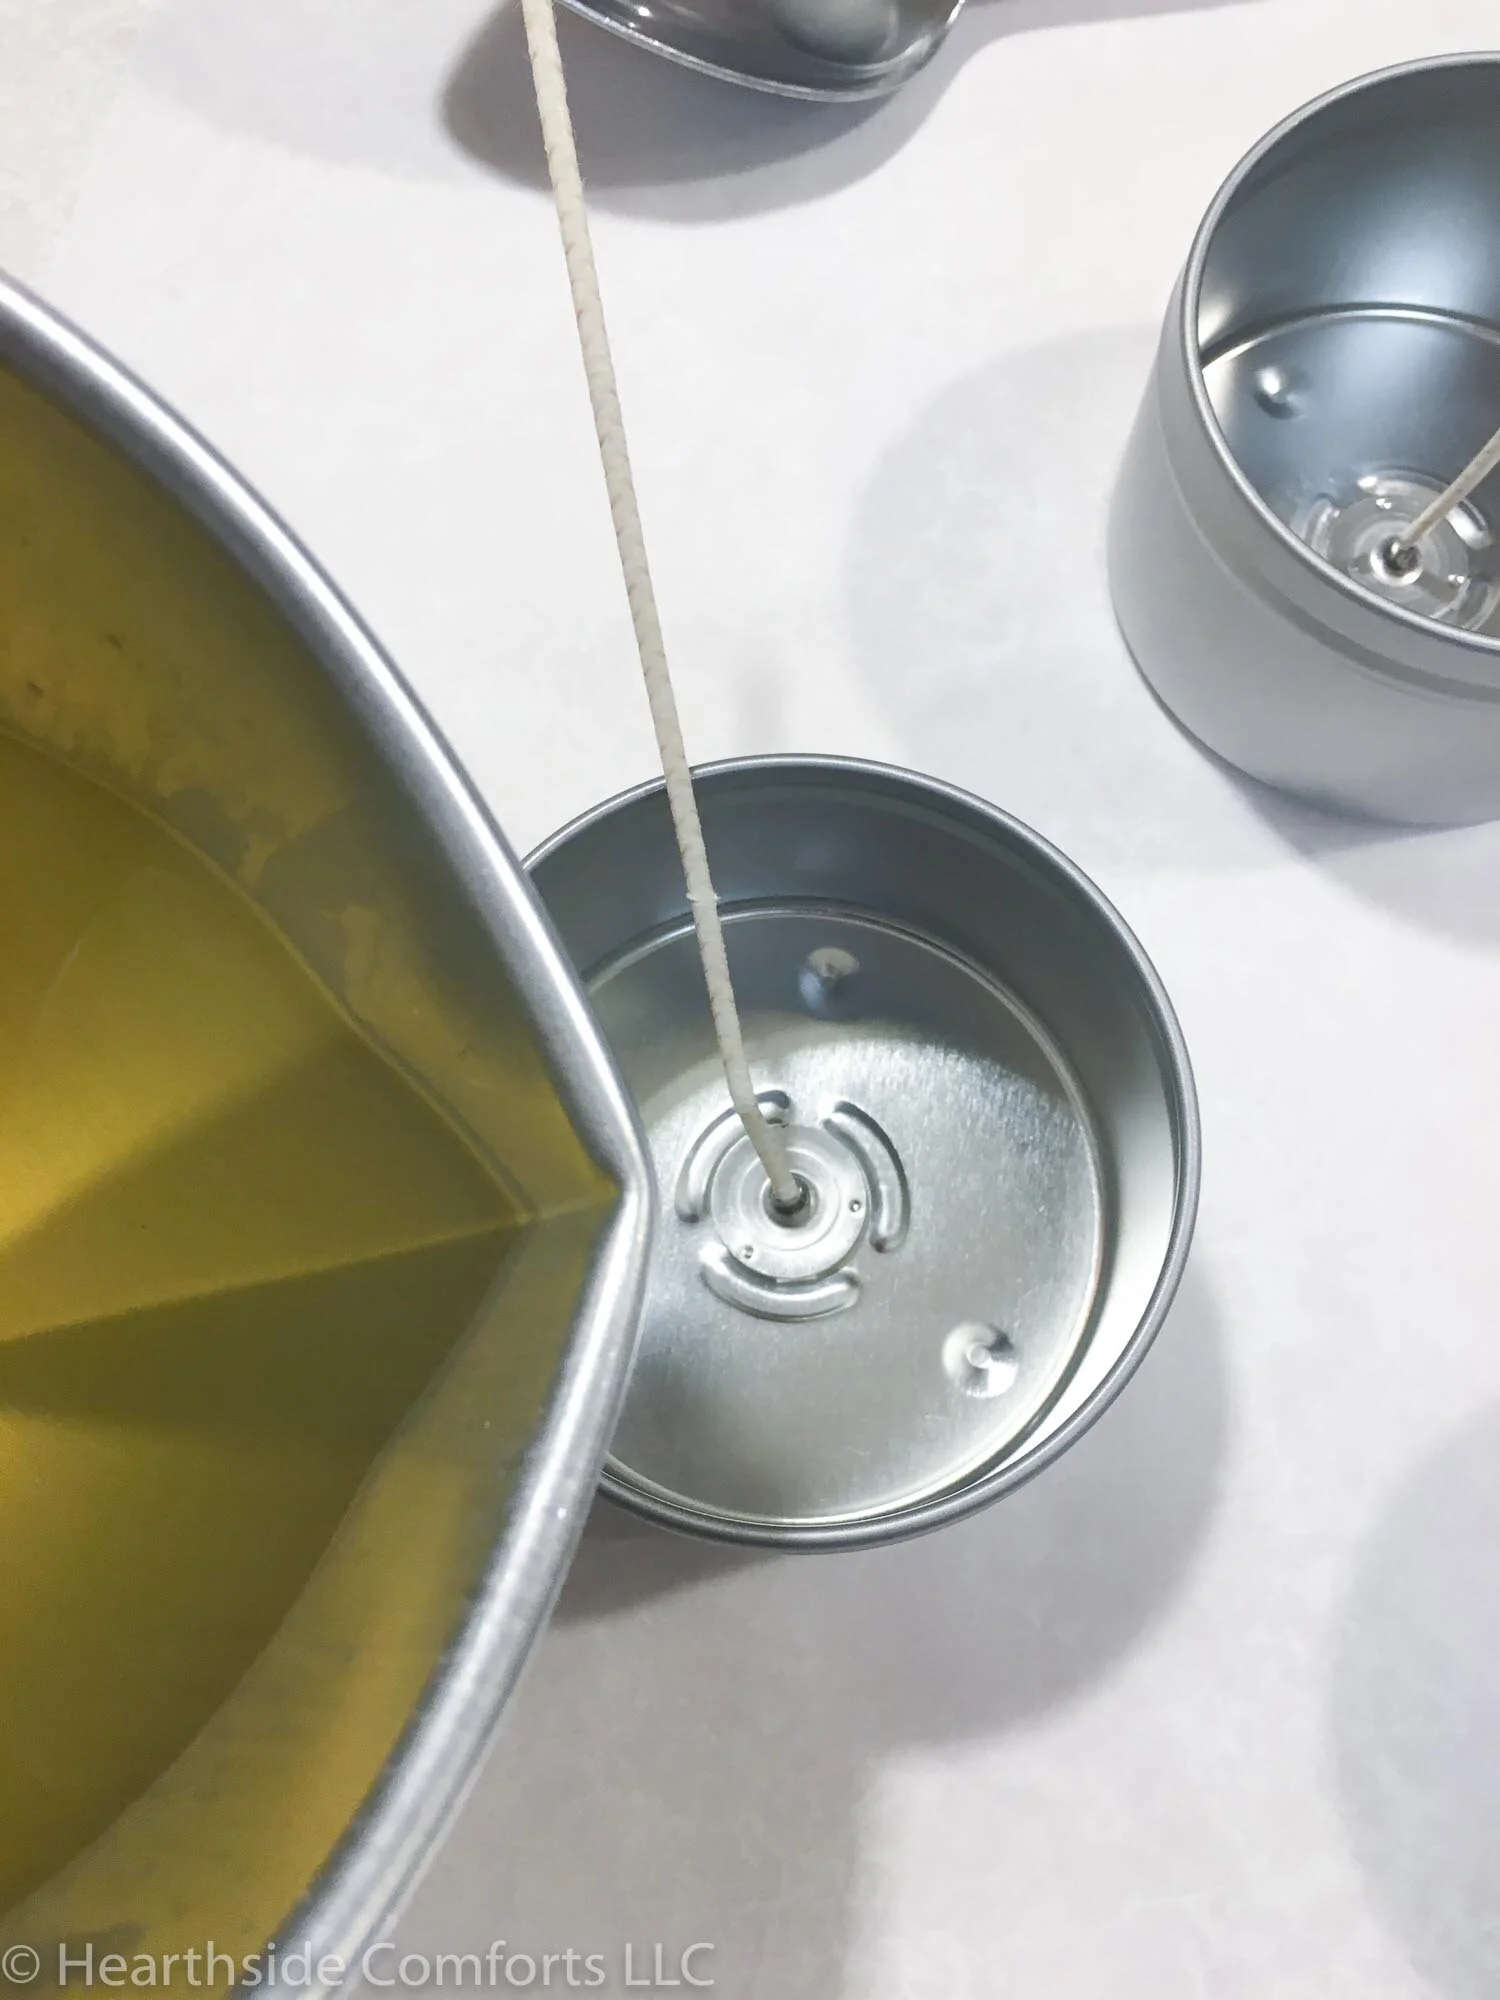
I put the wax into the pouring pitcher included in the kit and set it in the saucepan of water, creating a double boiler:

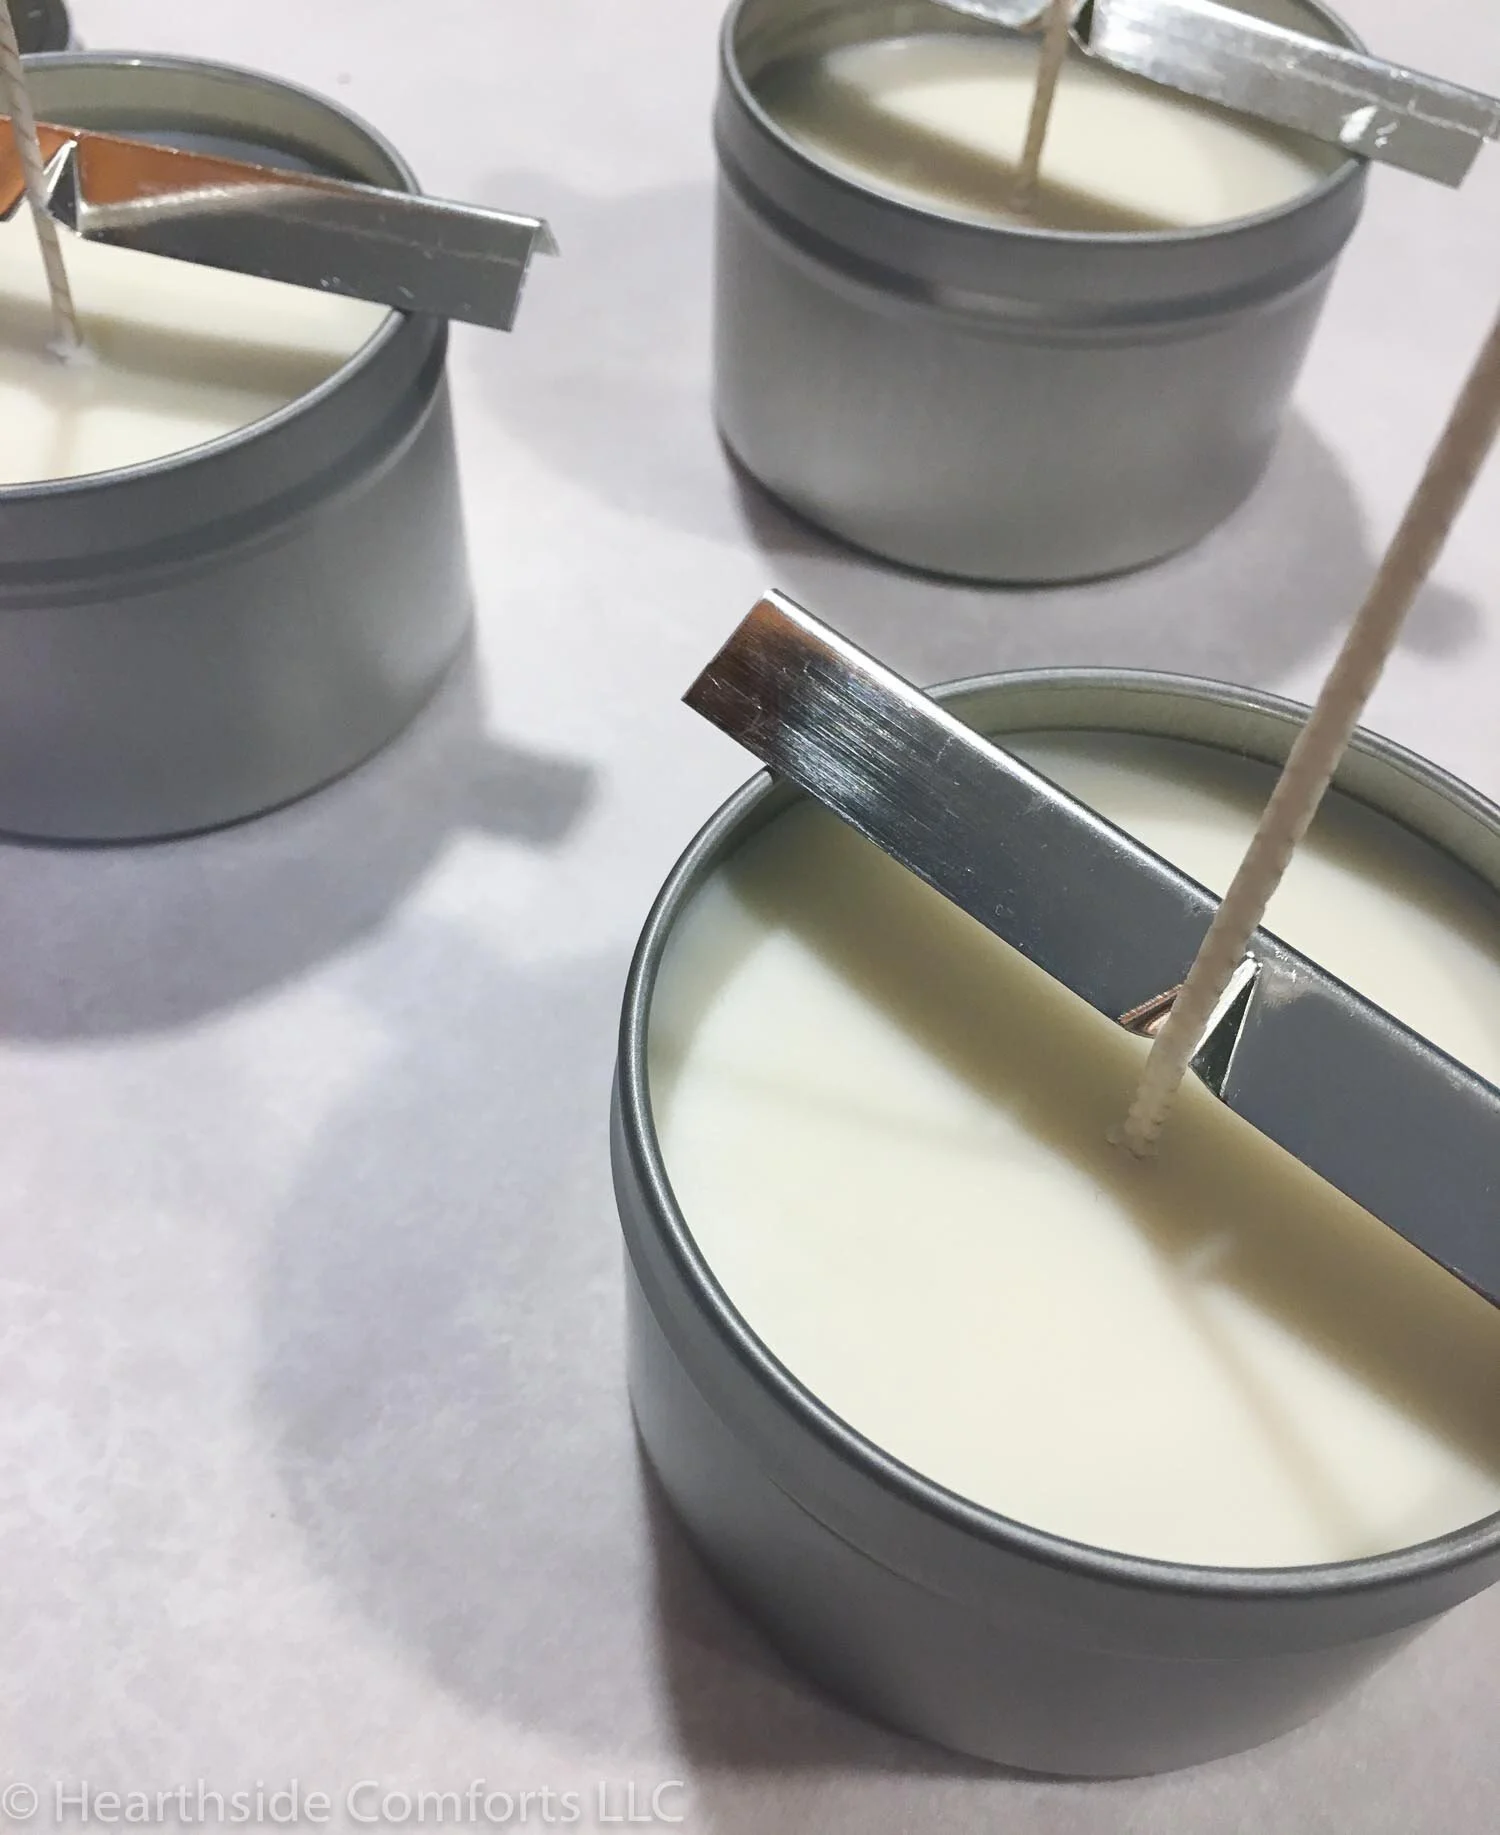
Per the instructions included in the kit, I set up my candle tins in a space that wouldn’t be disturbed while the candles were hardening, and put parchment paper under them to make cleaning any spills easier.
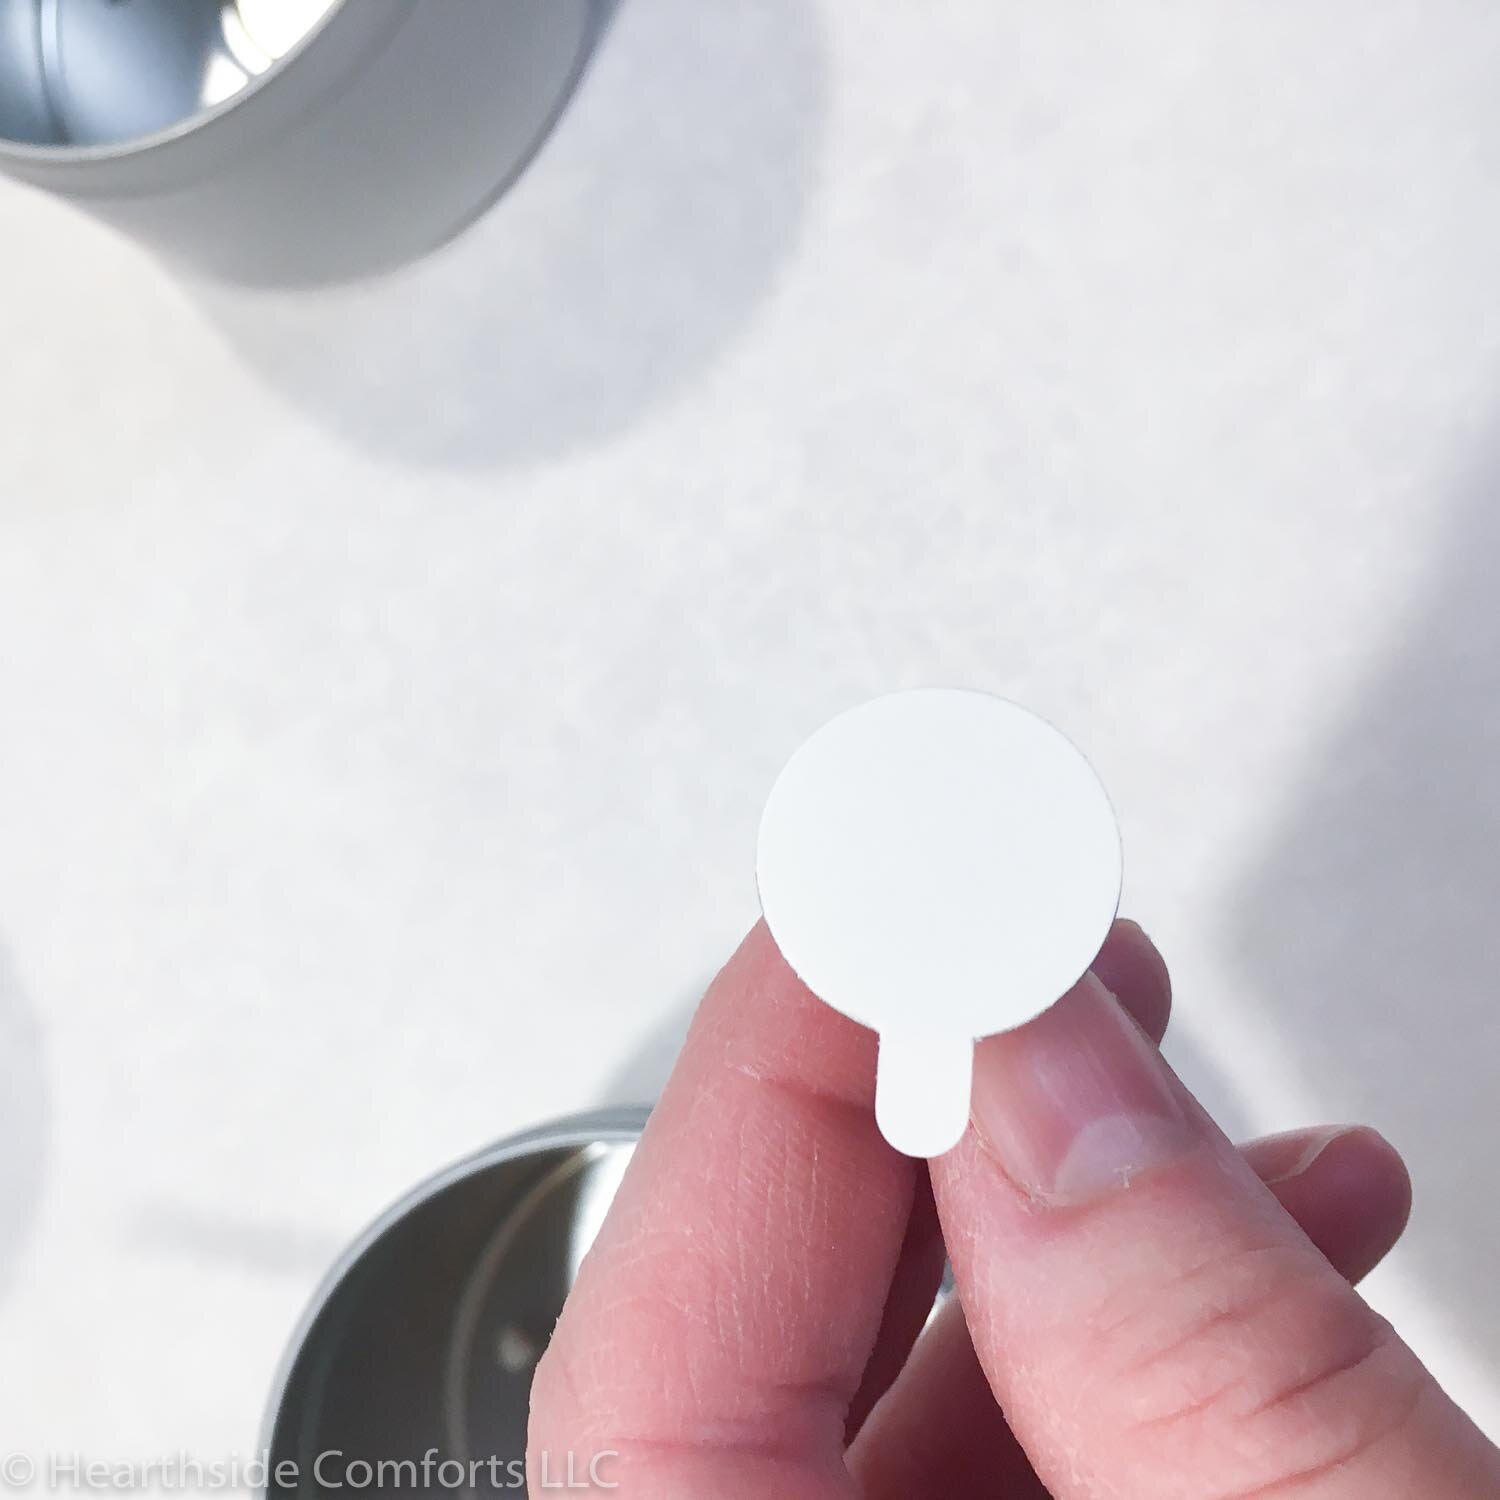
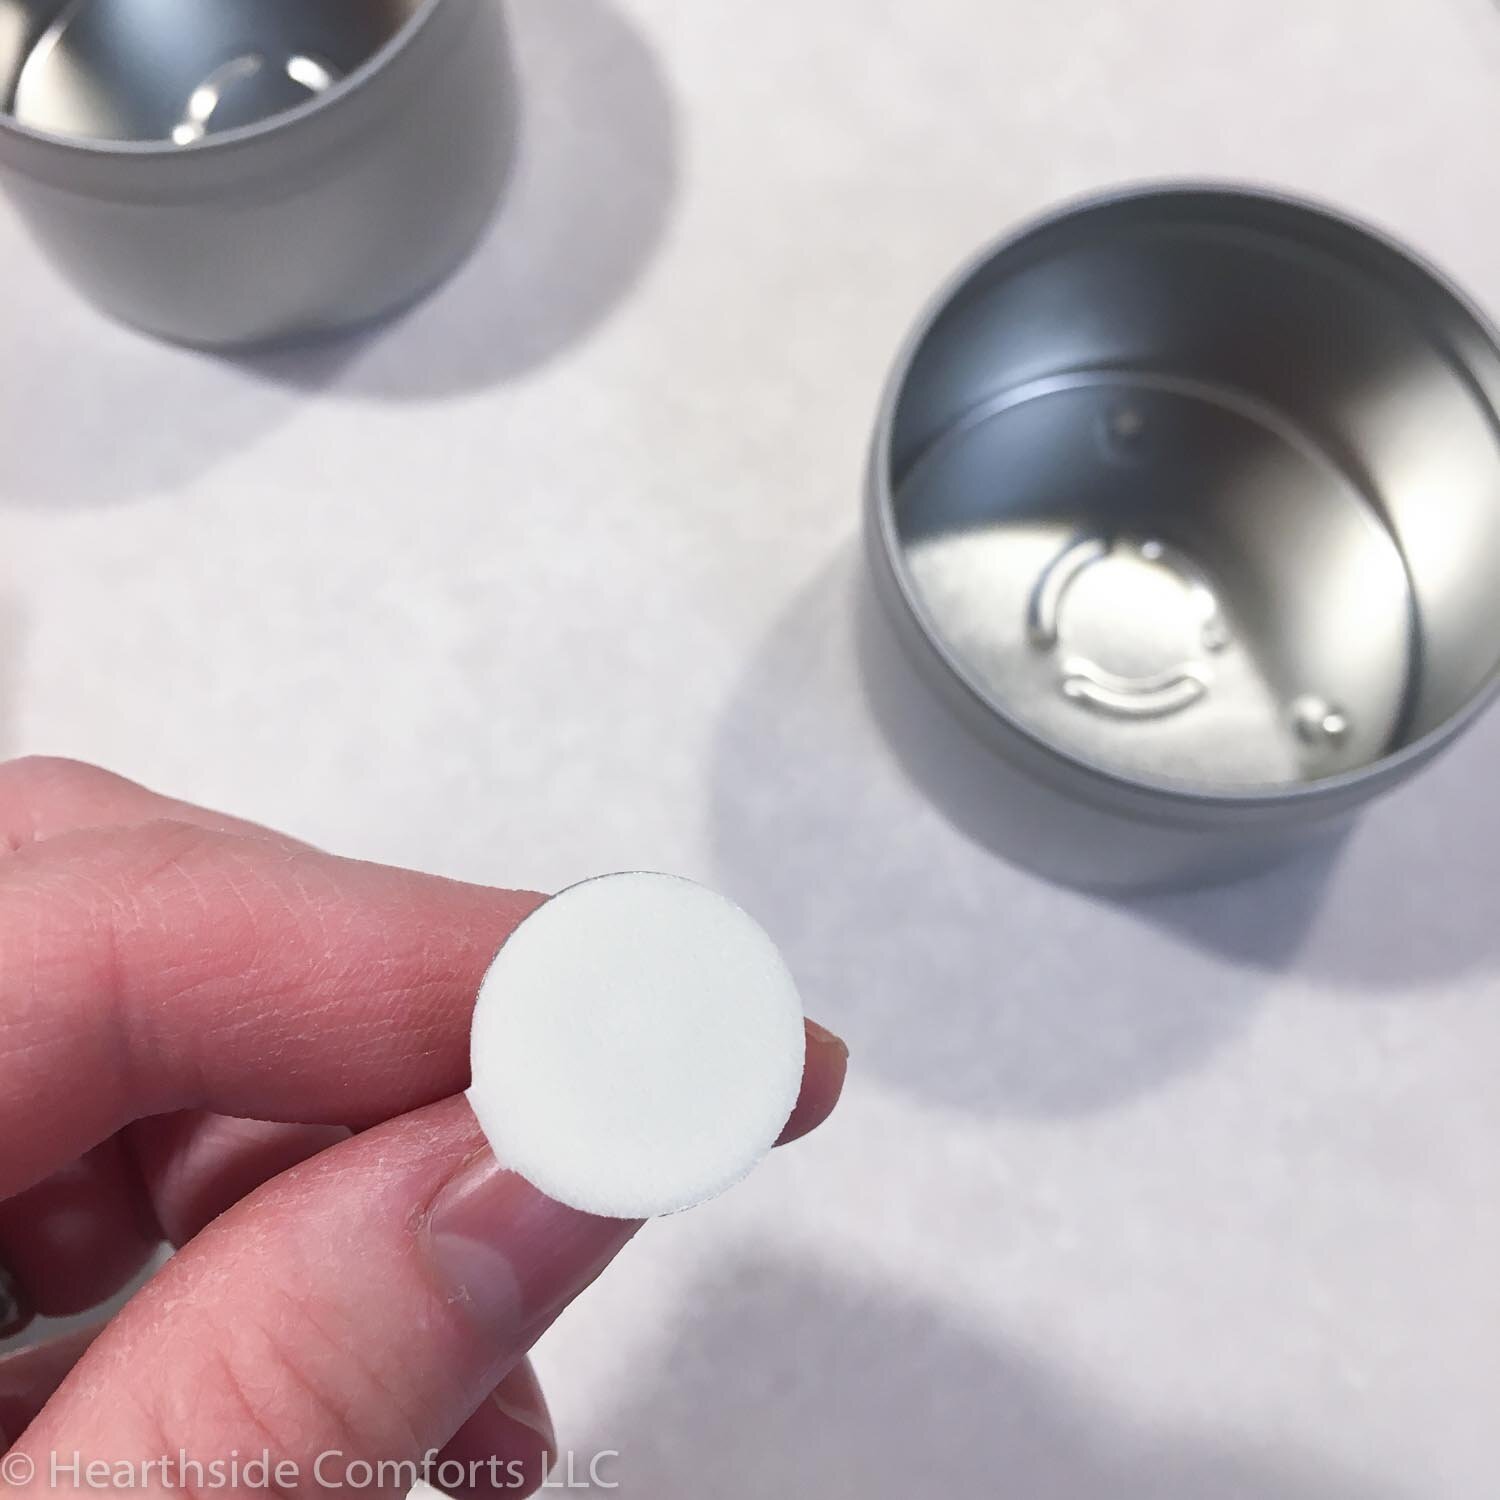
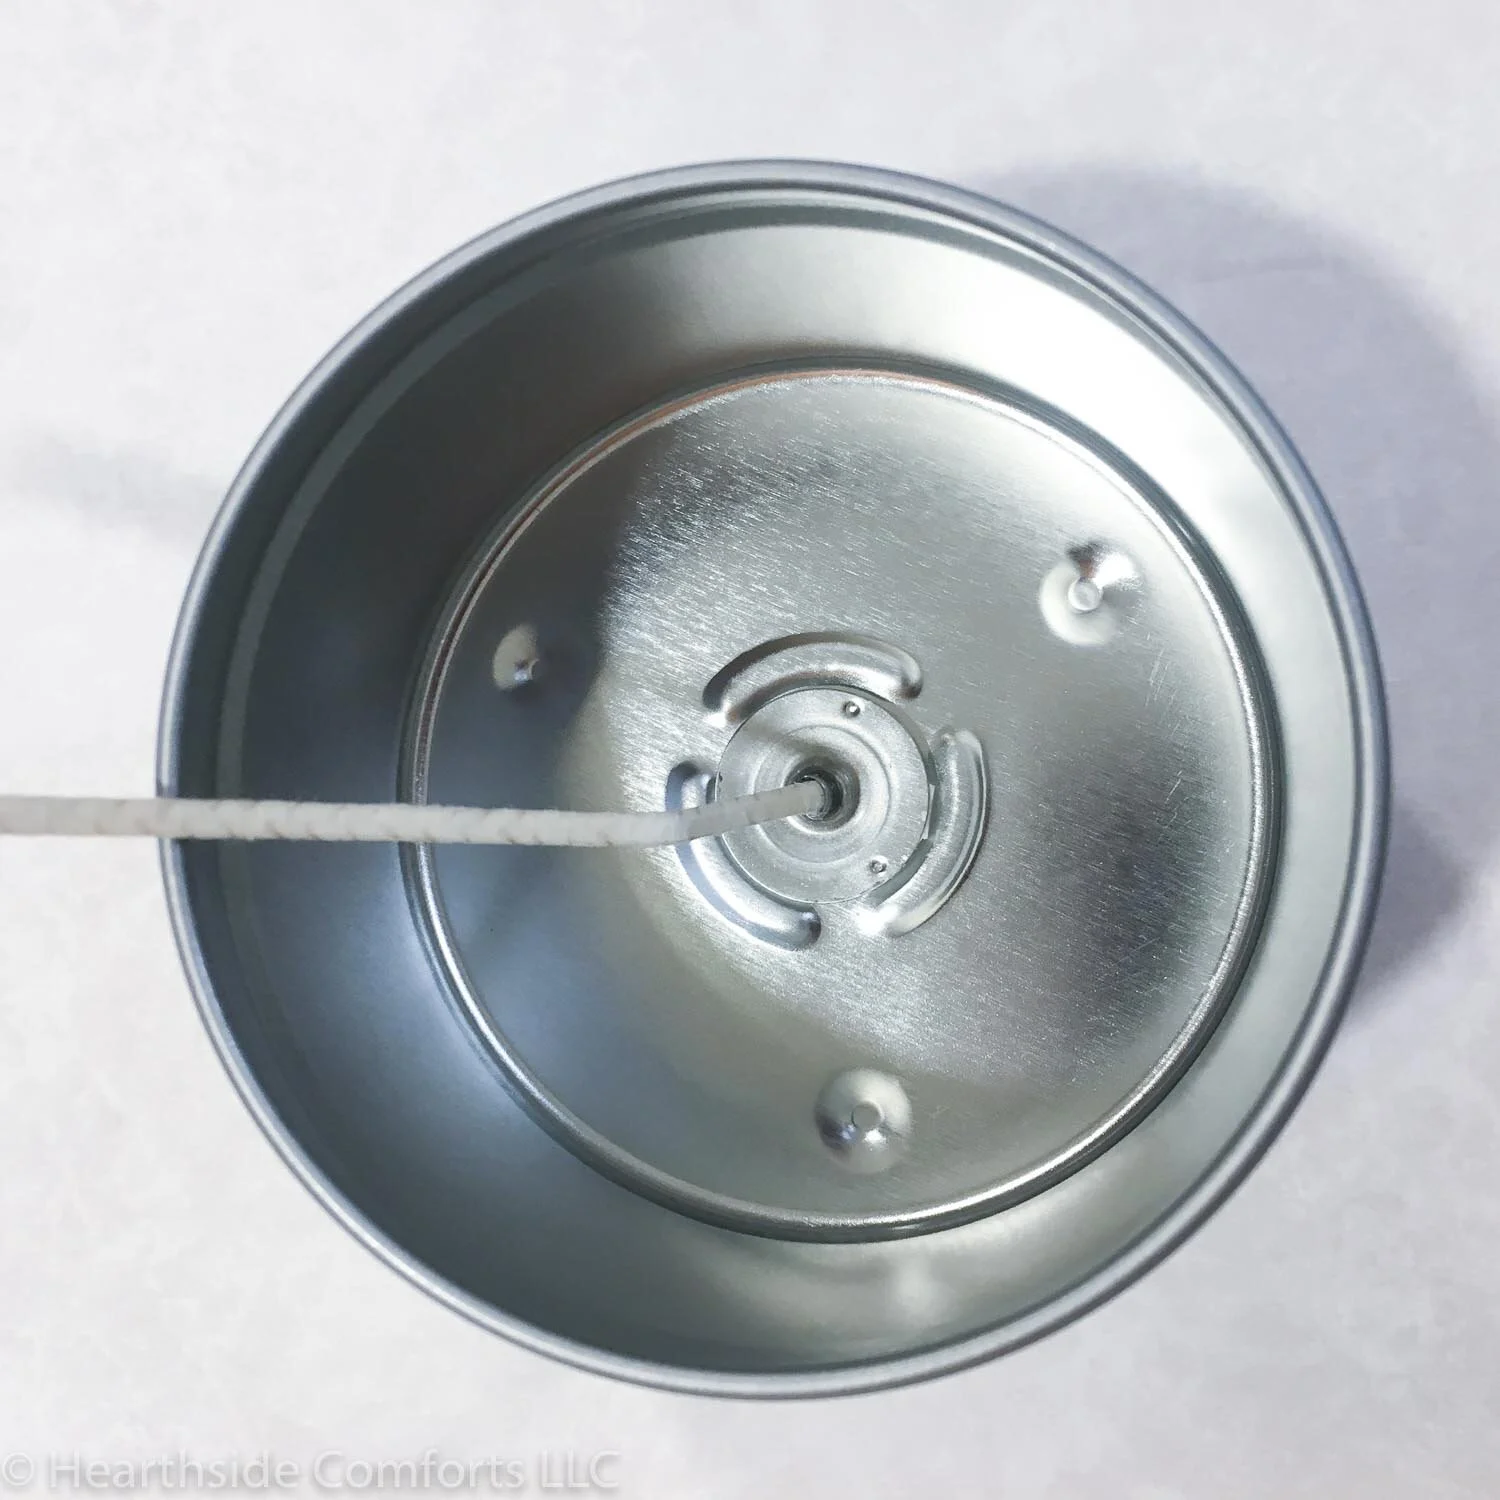
The kit also included wick stickers to attach to the bottom of the wicks before placing in the containers.
And it also included a thermometer! I melted the wax to 185 degrees Fahrenheit before adding the fragrance.

After adding the fragrance, I stirred the wax 1-2 minutes, and then allowed the wax to cool to 135 degrees F before pouring.
The kit also included wick bars to keep the wicks in place while the candles became solid. As you can see in the picture below, I had two very interested observers.

And that was it! Super easy: melt, stir, pour, wait.

According to what I saw on CandleScience’s website, candles need to cure for two weeks for the best fragrance throw, and so I haven’t actually burned one of these candles yet! But this weekend, I made the remaining nine candles in the kit, and I left some of them unscented to use on the dining room table. (I don’t like smelling strong fragrances while eating!) After waiting 24 hours to burn (again, per the instructions), we started enjoying the unscented ones yesterday.
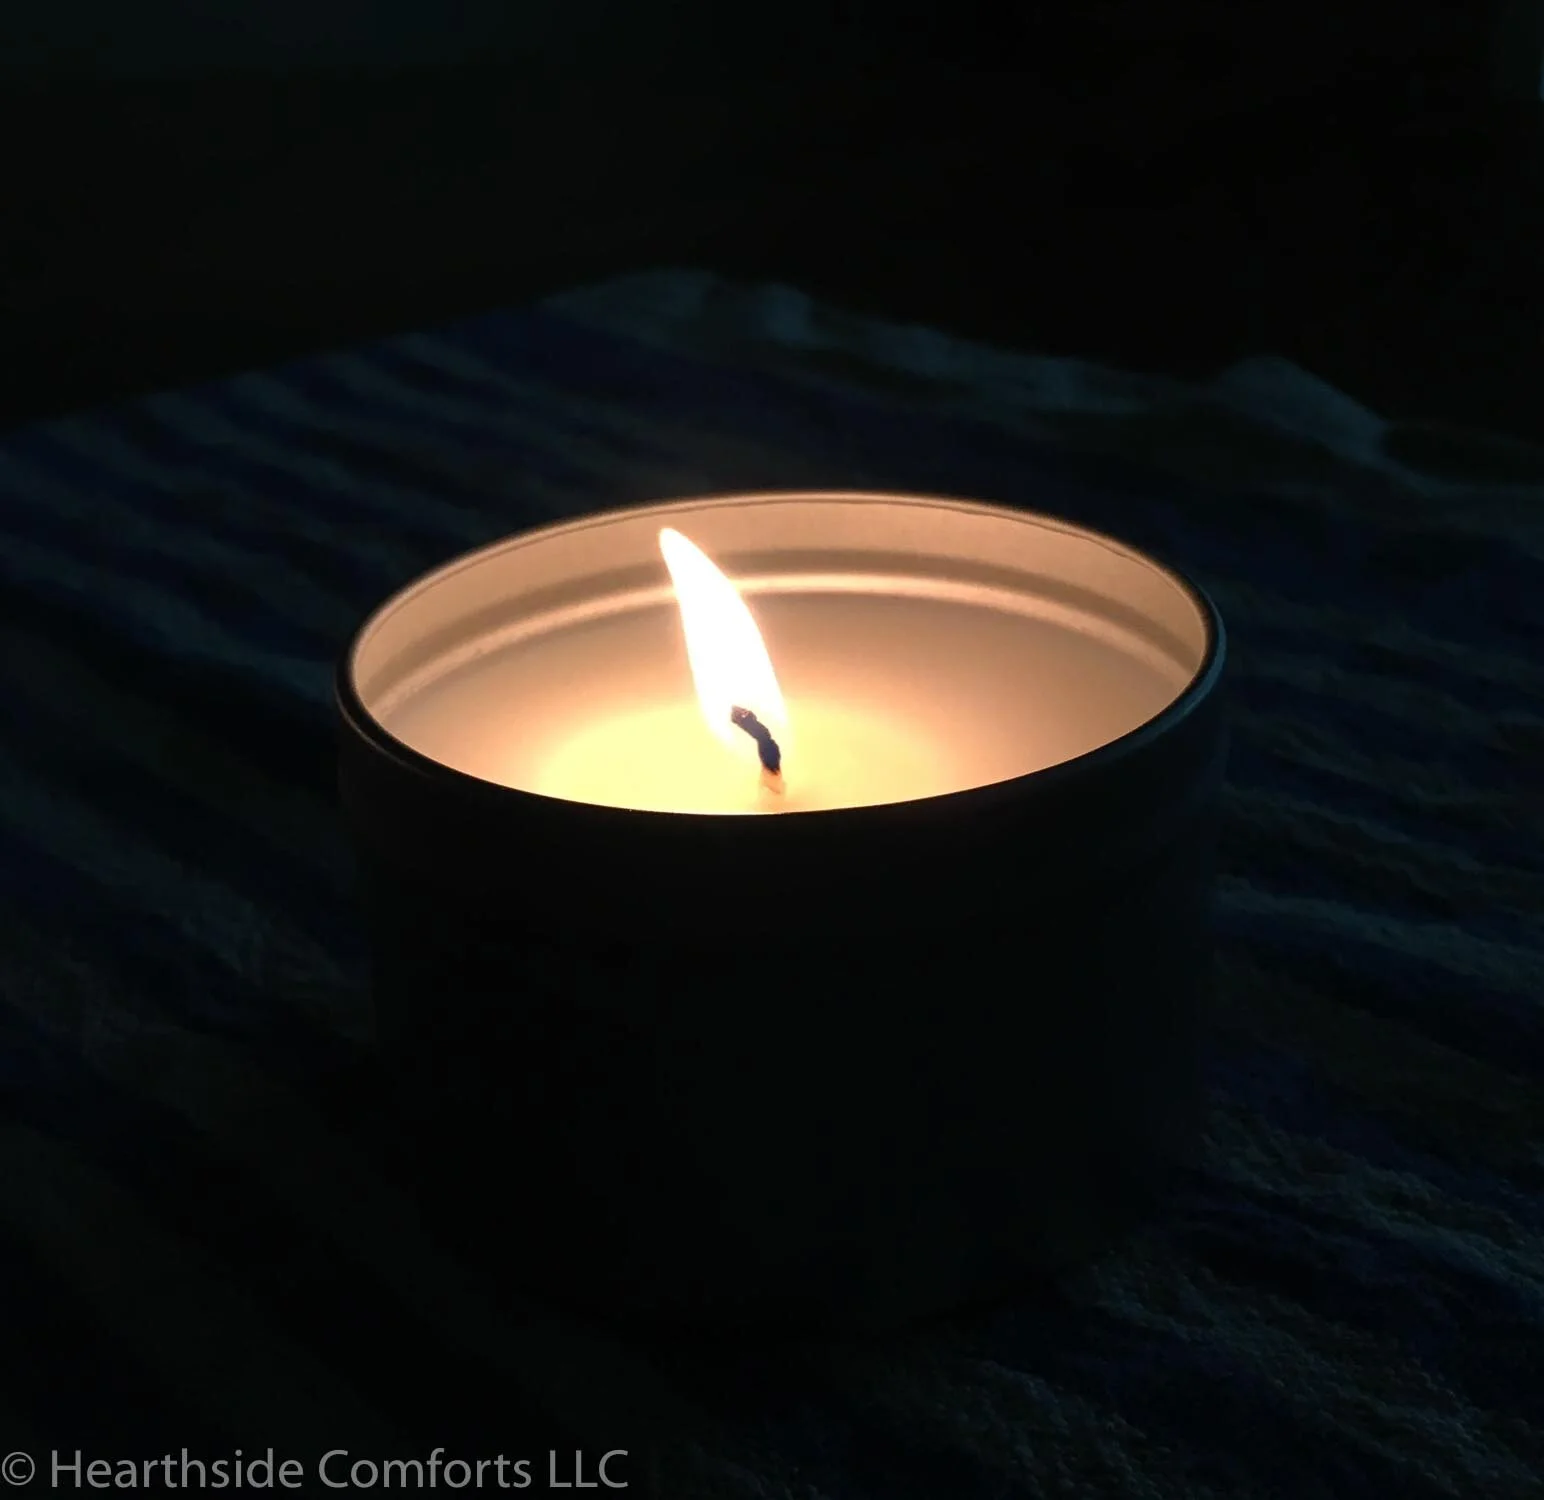
There is something about candle light that is so peaceful, calming, and cozy. Considering that this week is cloudy and rainy, having a burning candle will certainly help add some beauty to the dark days.
If you give candle-making a try, please let me know! I would love to hear how it goes!
And if you prefer to buy candles, check out these candles made by Amy at Oldfield Society Candles: Shop Oldfield Candles. Her candles are literary-inspired! She will be sending me one to try soon, and I can’t wait to see what she sends and how it smells and burns!
Happy Tuesday!